Color Fusers January 2022

Hello friends and welcome to another year of the Color Fusers Blog Hop! I really love participating in the Hop because it forces me to look at my SU colors in a new way and experiment with new color combos! The color combos are all submitted by the Hop Team Members. To kick off the new Year, Happy 2022 everyone!, we are playing with Night of Navy, Mint Macaron, Blushing Bride and Soft Suede.

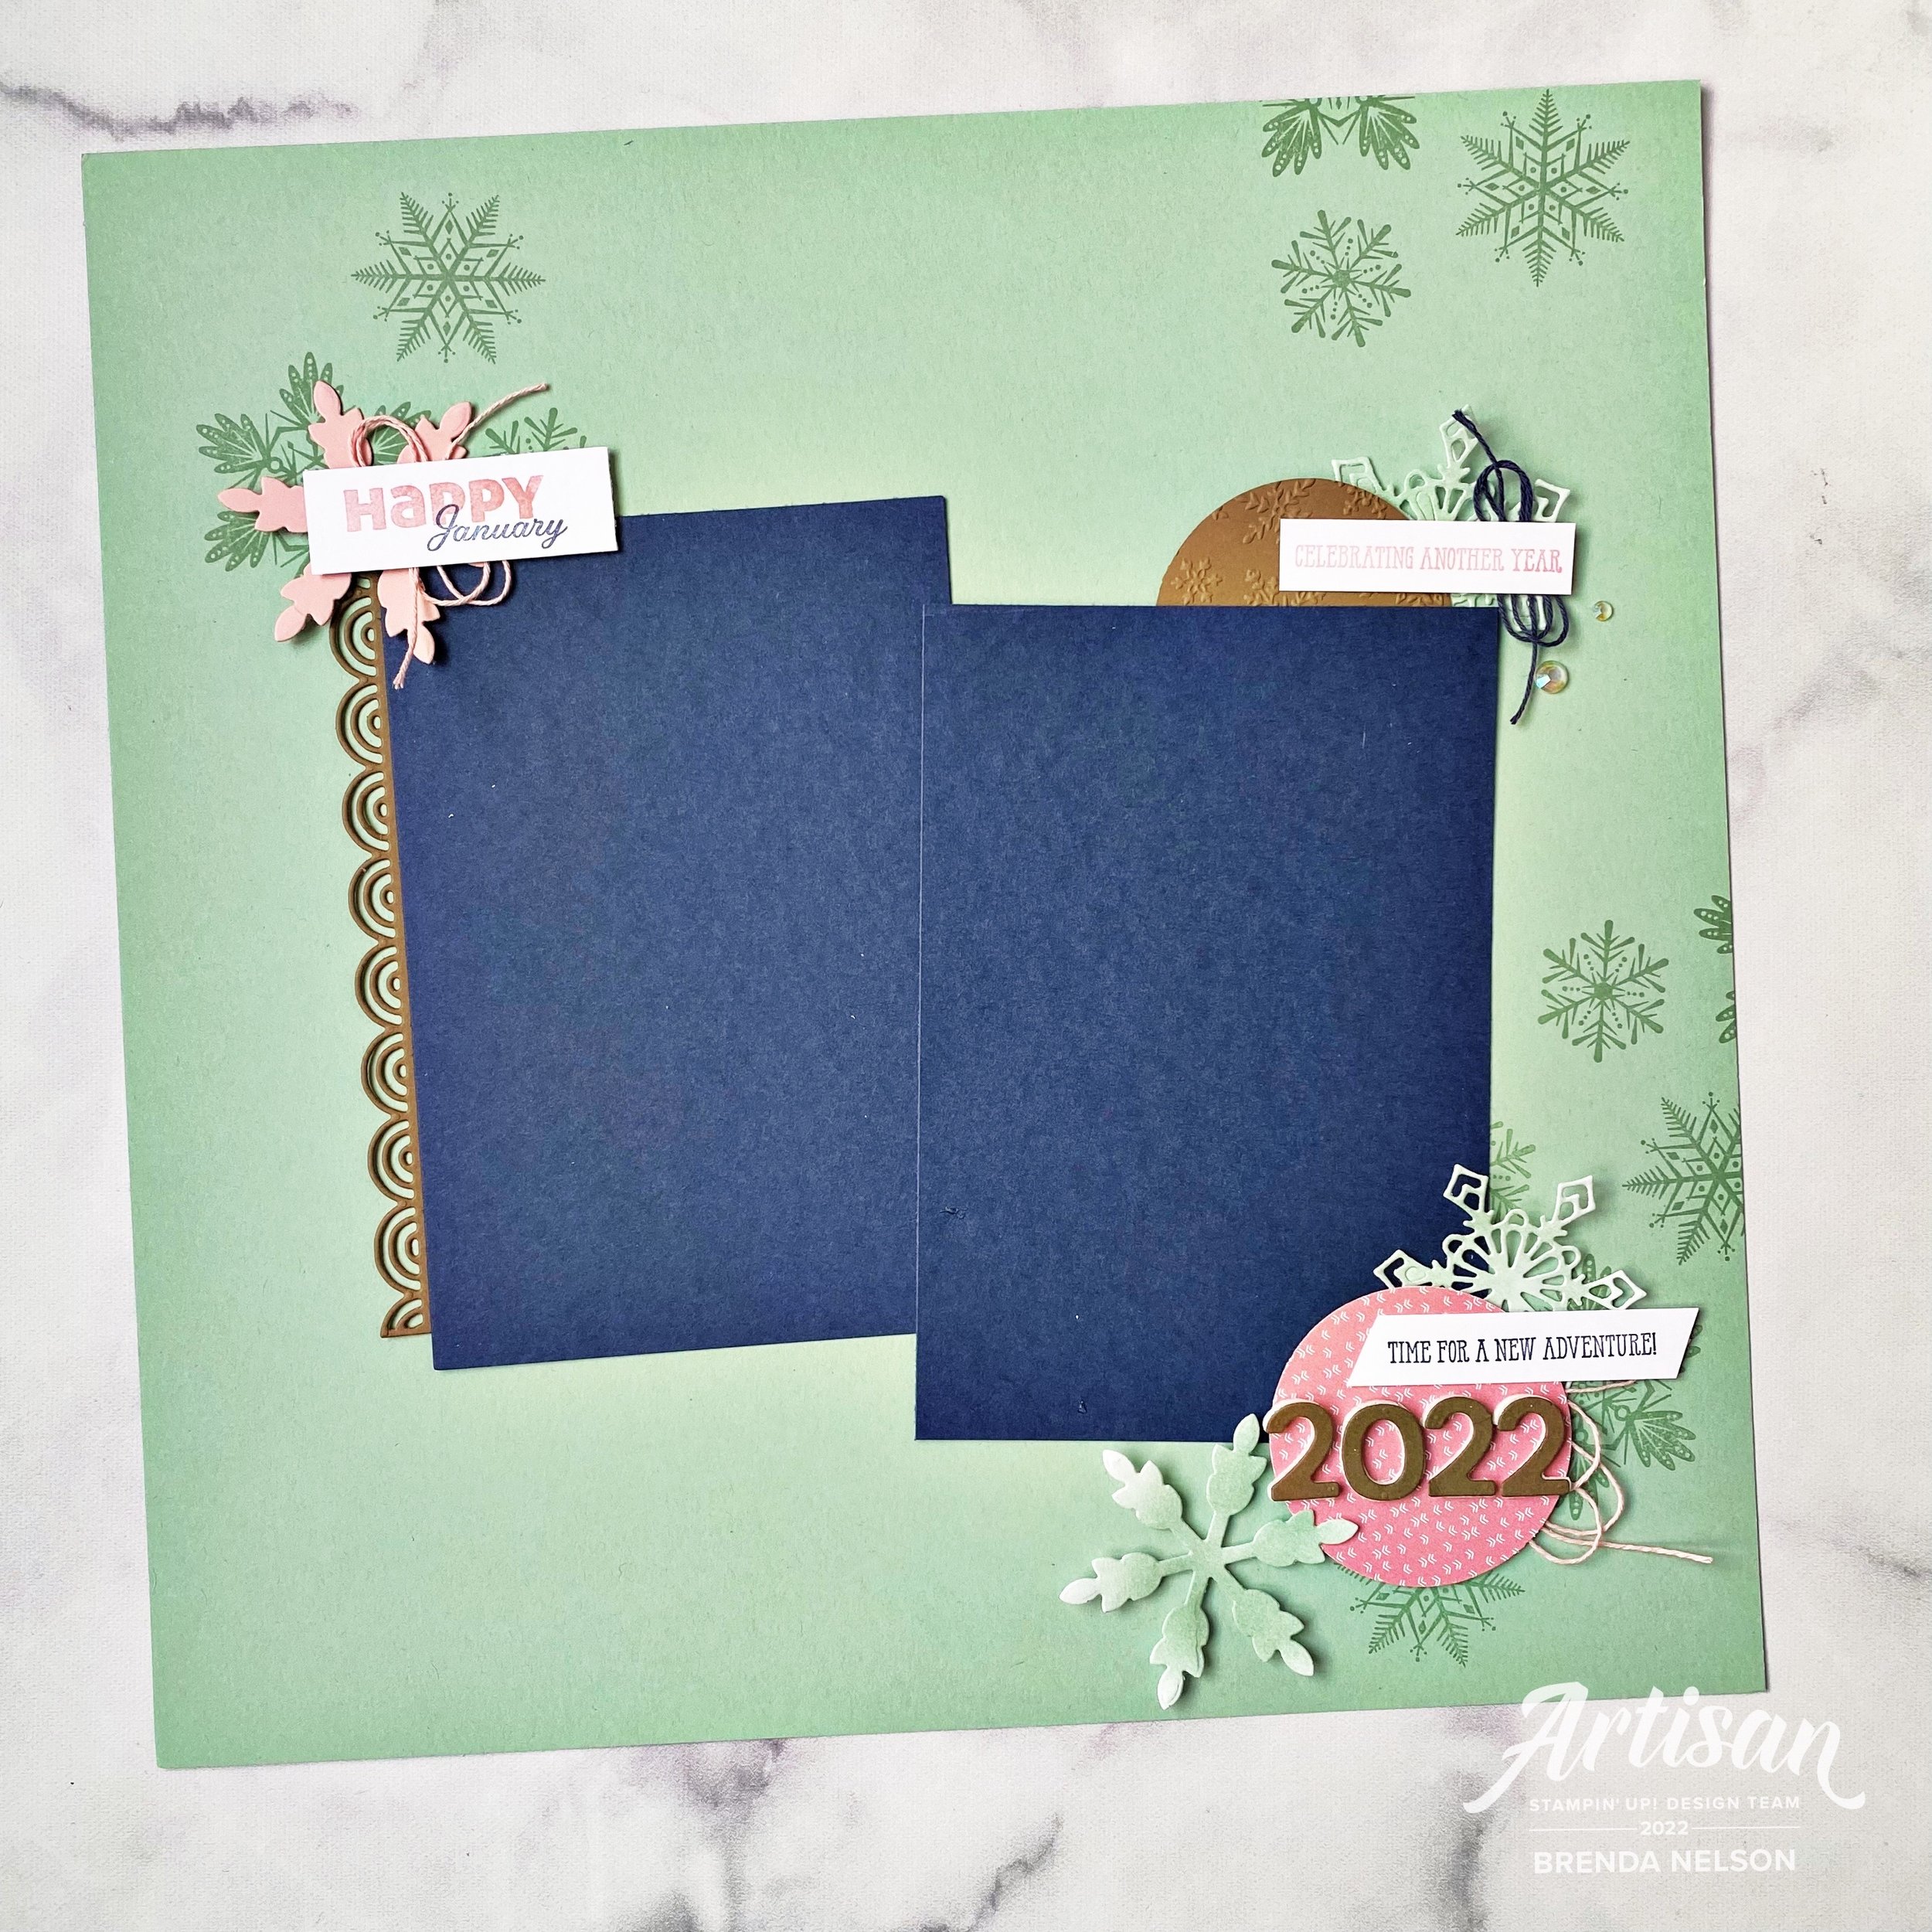
As soon as I saw these colors I knew that I wanted to make a scrapbook page —a January winter theme page. Making this in advance will also hopefully ensure that I get outside in January to do something fun, so I have a couple of cute pictures to add to my page! This might sound ridiculous, but when its -30, trust me, you don’t really want to be outside!

This layout also works perfectly to support a monthly class that I offer, Year in Memories, where we scrapbook each month of the year. At the end you have a complete album of 2022!

I started with a base of Mint Macaron because I felt that it was the color that linked the other 3 together. Soft Suede works perfectly as an accent color, along with Blushing Bride. Night of Navy gets a bit more attention as I chose it for the photo mats. I also decided on vertical pictures, because let’s face it, we take alot of selfies.

Fun Fact: I have over 4,000 selfies on my camera roll. Guess you could say I like myselfie. Hahaha!


This page is a mix of recently retired, really retired and new products! Sometimes past products are the perfect fit for our projects so I try not to stress out too much about using them, but I always make sure there is something NEW and CURRENT on my pages too. This way I can discuss all sorts of things during my classes.

The sentiment “Celebrating another year” is actually masked from a larger phrase and is from the stamp set Well Said. This set is retired but I have hung onto it because it has some more unique phrases such as “Time for a New Adventure” which is at the bottom of my page. I thought they were both rather fitting for a January, new year, page.

The Soft Suede half circle is embossed with a retired folder too. Behind the sentiment you see some twine and a snowflake, cut from the Gingerbread dies. All 3 of the Mint Macaron snowflakes were die cut from Basic White card stock and then I ran my Blending Brush across with some Mint Macaron ink. I added my favorite new embellishment, the Iridescent Rhinestone Jewels, to the side.

The top left corner of my page features the Merry Snowflakes stamp set in the background. I mounted the 3 snowflakes from the set onto a block and used it with Mint Macaron ink to stamp across the background of my page.

The Blushing Bride die cut snowflake is from the So Many Snowflakes Dies which are in the Annual Catalogue. Paired up with some new stamps, this is a fun little area of interest! The Brilliant Rainbow Dies supplied the Soft Suede scallop border along my photo mat and I isolated “Happy” from a stamp in the Slim Sayings set, which is a new JJ catalogue release. January can be found in the set Days to Remember which was one of the best new sets in the Annual Catalogue for memory keepers! It isn’t too often that date sets come around!

The bottom little section is my favorite though because I love how “Time for a New Adventure” and 2022 work together! In the spirit of a new year, I would agree! And I am choosing to enter this new year with a positive heart and mind. The date is mounted on a circle from the Sunshine & Rainbows paper which is a free Sale-a-bration choice.

Overall I really love this color combo and I think it completely suites this page design! I can’t wait to add some photos to it! Thank you for joining us on our first Hop of 2022! I hope you will leave a comment and join us for the whole year!

Next up on the Hop is the amazing Bonnie O’Neill—I can’t wait to see what she makes with this color combo! You can also hit the Previous Tab to see Tami’s creation. We are a small group this month so make sure you give us all some love.

Create with Connie and Mary-Meet the Team!

Hello friends! I have been a part of the Create with Connie and Mary Design Team for a while now and its been such a fun experience for me! I personally love the weekly creative challenges as they do get me out of my comfort zone and using up stamps and supplies that I may not have been using!

21DesignTeamBadge.png

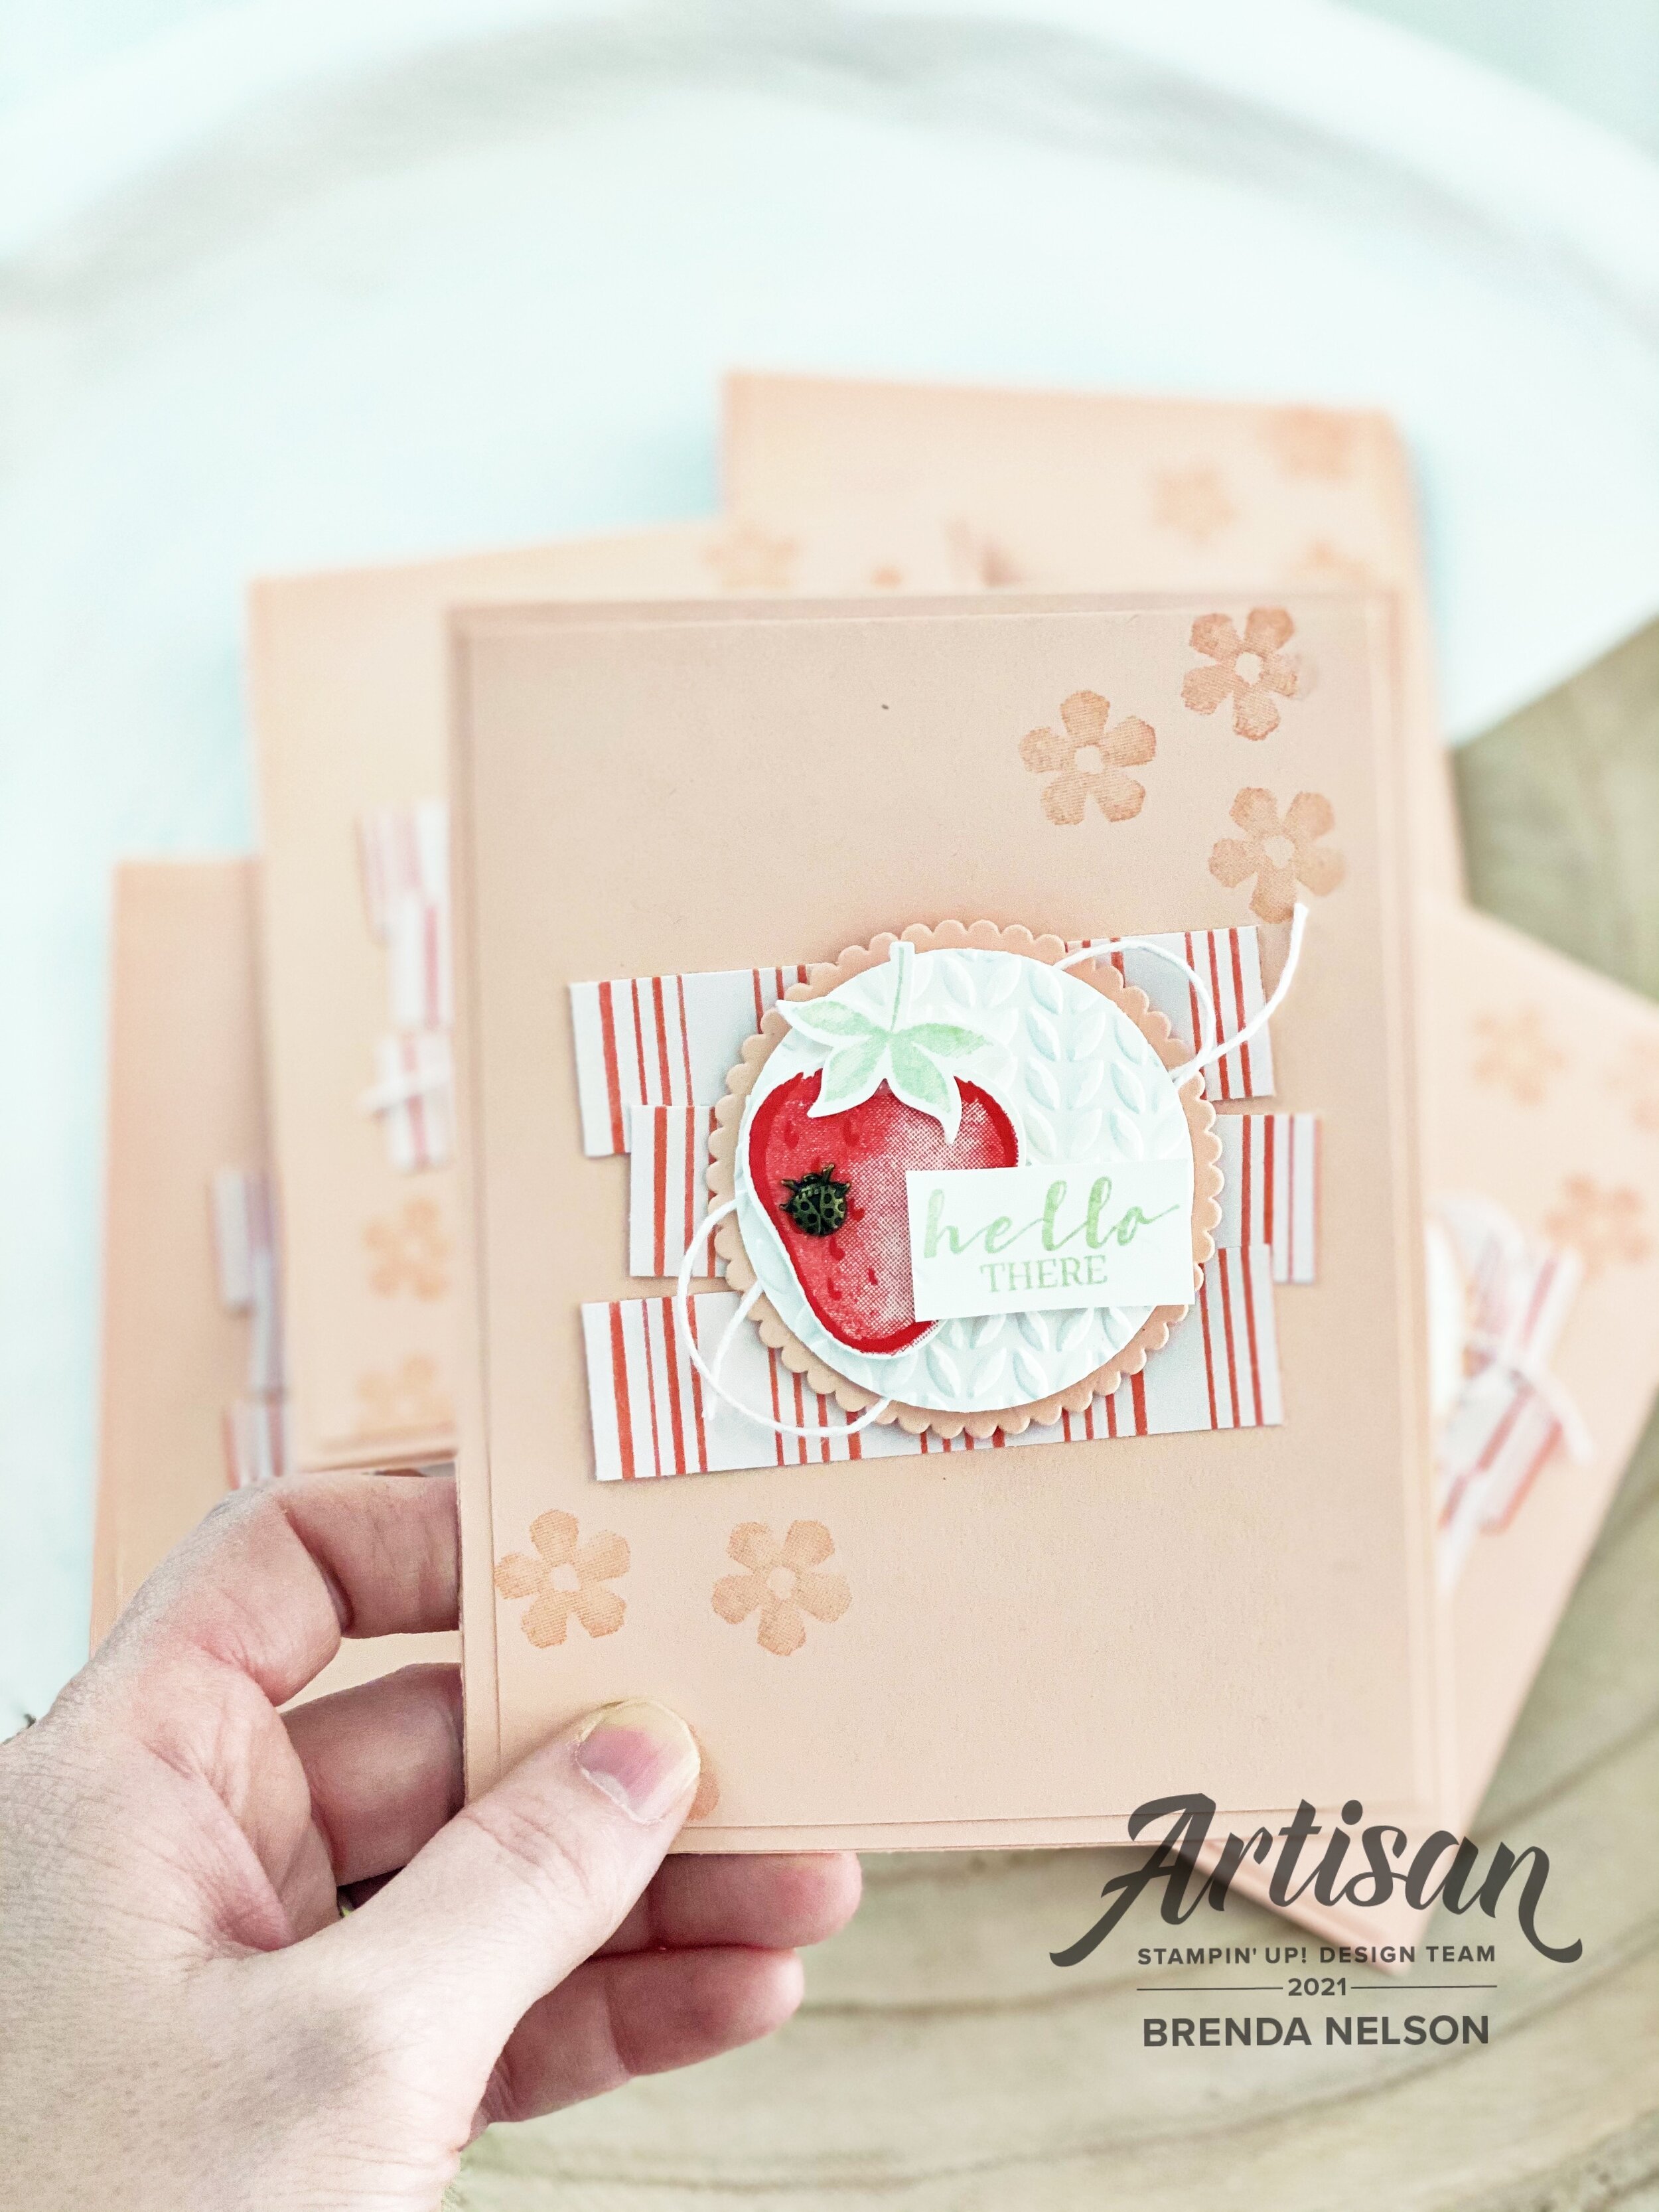
I love everything about this card, especially because it really highlights #goodcarddesign a topic that I have recently begun working on with my team to help them develop crafting confidence. I touched on this topic last week so I really encourage you to go back and read this post! You will also find several other card examples following this same "#goodcarddesign as this strawberry card.

I do believe that every good card has 5 design elements and if we create a card that uses them it is a lot easier to create future projects using the same #goodcarddesign. This allows us to save time and also show others how you can create something similar with different stamps, paper and embellishments, because that is what it’s all about right?

final (1) 6.jpg

I used the Sweet Strawberry bundle and I am so happy its a bundle carrying forward in our new upcoming catalogue! I stamped some of the little flowers on the background using Blushing Bride ink to create that tone on tone stamping. I added three strips of Designer Series Paper from the Playing with Patterns collection. They are 3/4 x 3 each. I also like the fact that they are offset from each other too as it gives are more whimsical feeling to this project.

A Blushing Bride Scallop Circle is cut from the Layering Circles Dies. I added a white circle over top and ran it through the Greenery Embossing Folder for a little bit of texture. In between the circles I added some Basic White twine from the Snail Mail Twine Combo.

The strawberry is stamped in Poppy Parade ink and I thought the little ladybug embellishment was the perfect little touch. The strawberry stem and sentiment are stamped in Soft Seafoam ink.

I hope this project inspires you to get stamping today!

I hope this project inspires you to get stamping today!

Thank you so much for checking out my blog today! I share with the Design Team every Saturday so please remember to check back in every week!

You can head back to the main Create with Connie and Mary page by clicking “Next”!

Around the World on Wednesday--3D projects!

Hello friends! I love when I can participate in a 3D Design Challenge because I loosely interpret 3D as anything but a card—-so the sky is the limit with what you can create! I can’t wait to see what everyone has designed this month!

91442295_10216484369808661_2887014979863576576_n.jpg

The days are getting sunnier and the snow is melting here in Edmonton, where I live! So I have definitely been feeling those spring vibes and I wanted to create a wreath for my front door to welcome in the change in season!

IMG_4631.jpg
 

I picked up a twig style wreath from my local craft store. Typically these are pretty inexpensive wreaths that have a lot of creative options.

I used hot glue to pretty much assemble the entire project from the flower construction to adhering everything to the wreath itself.

IMG_4625.jpg

The Butterfly Brilliance Bundle is really exciting and new right now so I knew that I wanted my spring wreath tot have some butterflies on it. I stamped them with Momento Ink and colored them with a light hand using the Water Painters and the following ink colors—Calypso Coral, Mango Melody, Just Jade and Mint Macaron. I also added Wink of Stella over top of the butterflies to give them a little glimmer.

I love that you can stamp all these butterflies ONE TIME and then die cut them all in one go! It makes creative projects like this so much faster to put together.

IMG_4628.jpg

I cut the word SPRING out using the Playful Alphabet Dies and the Foam Adhesive Sheets. The letters are cut from the Butterfly Bijou Designer Series Paper and are placed on a Stitched Oval that is stamped with some of the butterflies from the Butterfly Brilliance stamp set in Soft Seafoam. Behind the sentiment I created an oversized bow with the Fine Art Ribbon from the Art Gallery Suite.

The large Calypso Coral flower is created using the Heart Builder Punch. The inside is just a strip of Bumblebee card stock that I cut little slits into and rolled up to add to the center. When its rolled you just fan it out!


I used both of the daisy punches (original and medium) along with the Perennial Petals Dies to fill in my wreath. I stamped some medium daisy’s in Pool Party from the Daisy Lane stamp set.

The Blushing Bride and Calypso Coral flowers shown beside are created by cutting the flower 5 times and then stapling them together. You can then fold and squish them together and add a smaller flower into the center to hide the staple.

IMG_4626.jpg
IMG_4627.jpg

I love how the Perennial Petals Dies layer up so well to create so much dimension! The Pool Party flower shown here has 4 layers with an Elegant Faceted Gem in the center.

I am really happy with how this spring wreath project turned out and I can’t wait until I can display it on my door full time. Living here you never know when 3rd, 4th or 5th winter might kick in again! Hahaha! Probaby after May long weekend we should be safe.

Next up on the hop you will be visiting the awesome Tricia Butts in the United States! I love how our hop takes you all around the world!