Twelve Days of Christmas--Last Project Share!

I can’t believe that we are at the end of another 12 Days of Christmas! Time flies when you are having fun crafting and being inspired, doesn’t it? I hope you love the projects that Mel and I have been sharing with you over the last 12 days! If you missed any posts, make sure to go back and check them out and please leave us an encouraging comment!

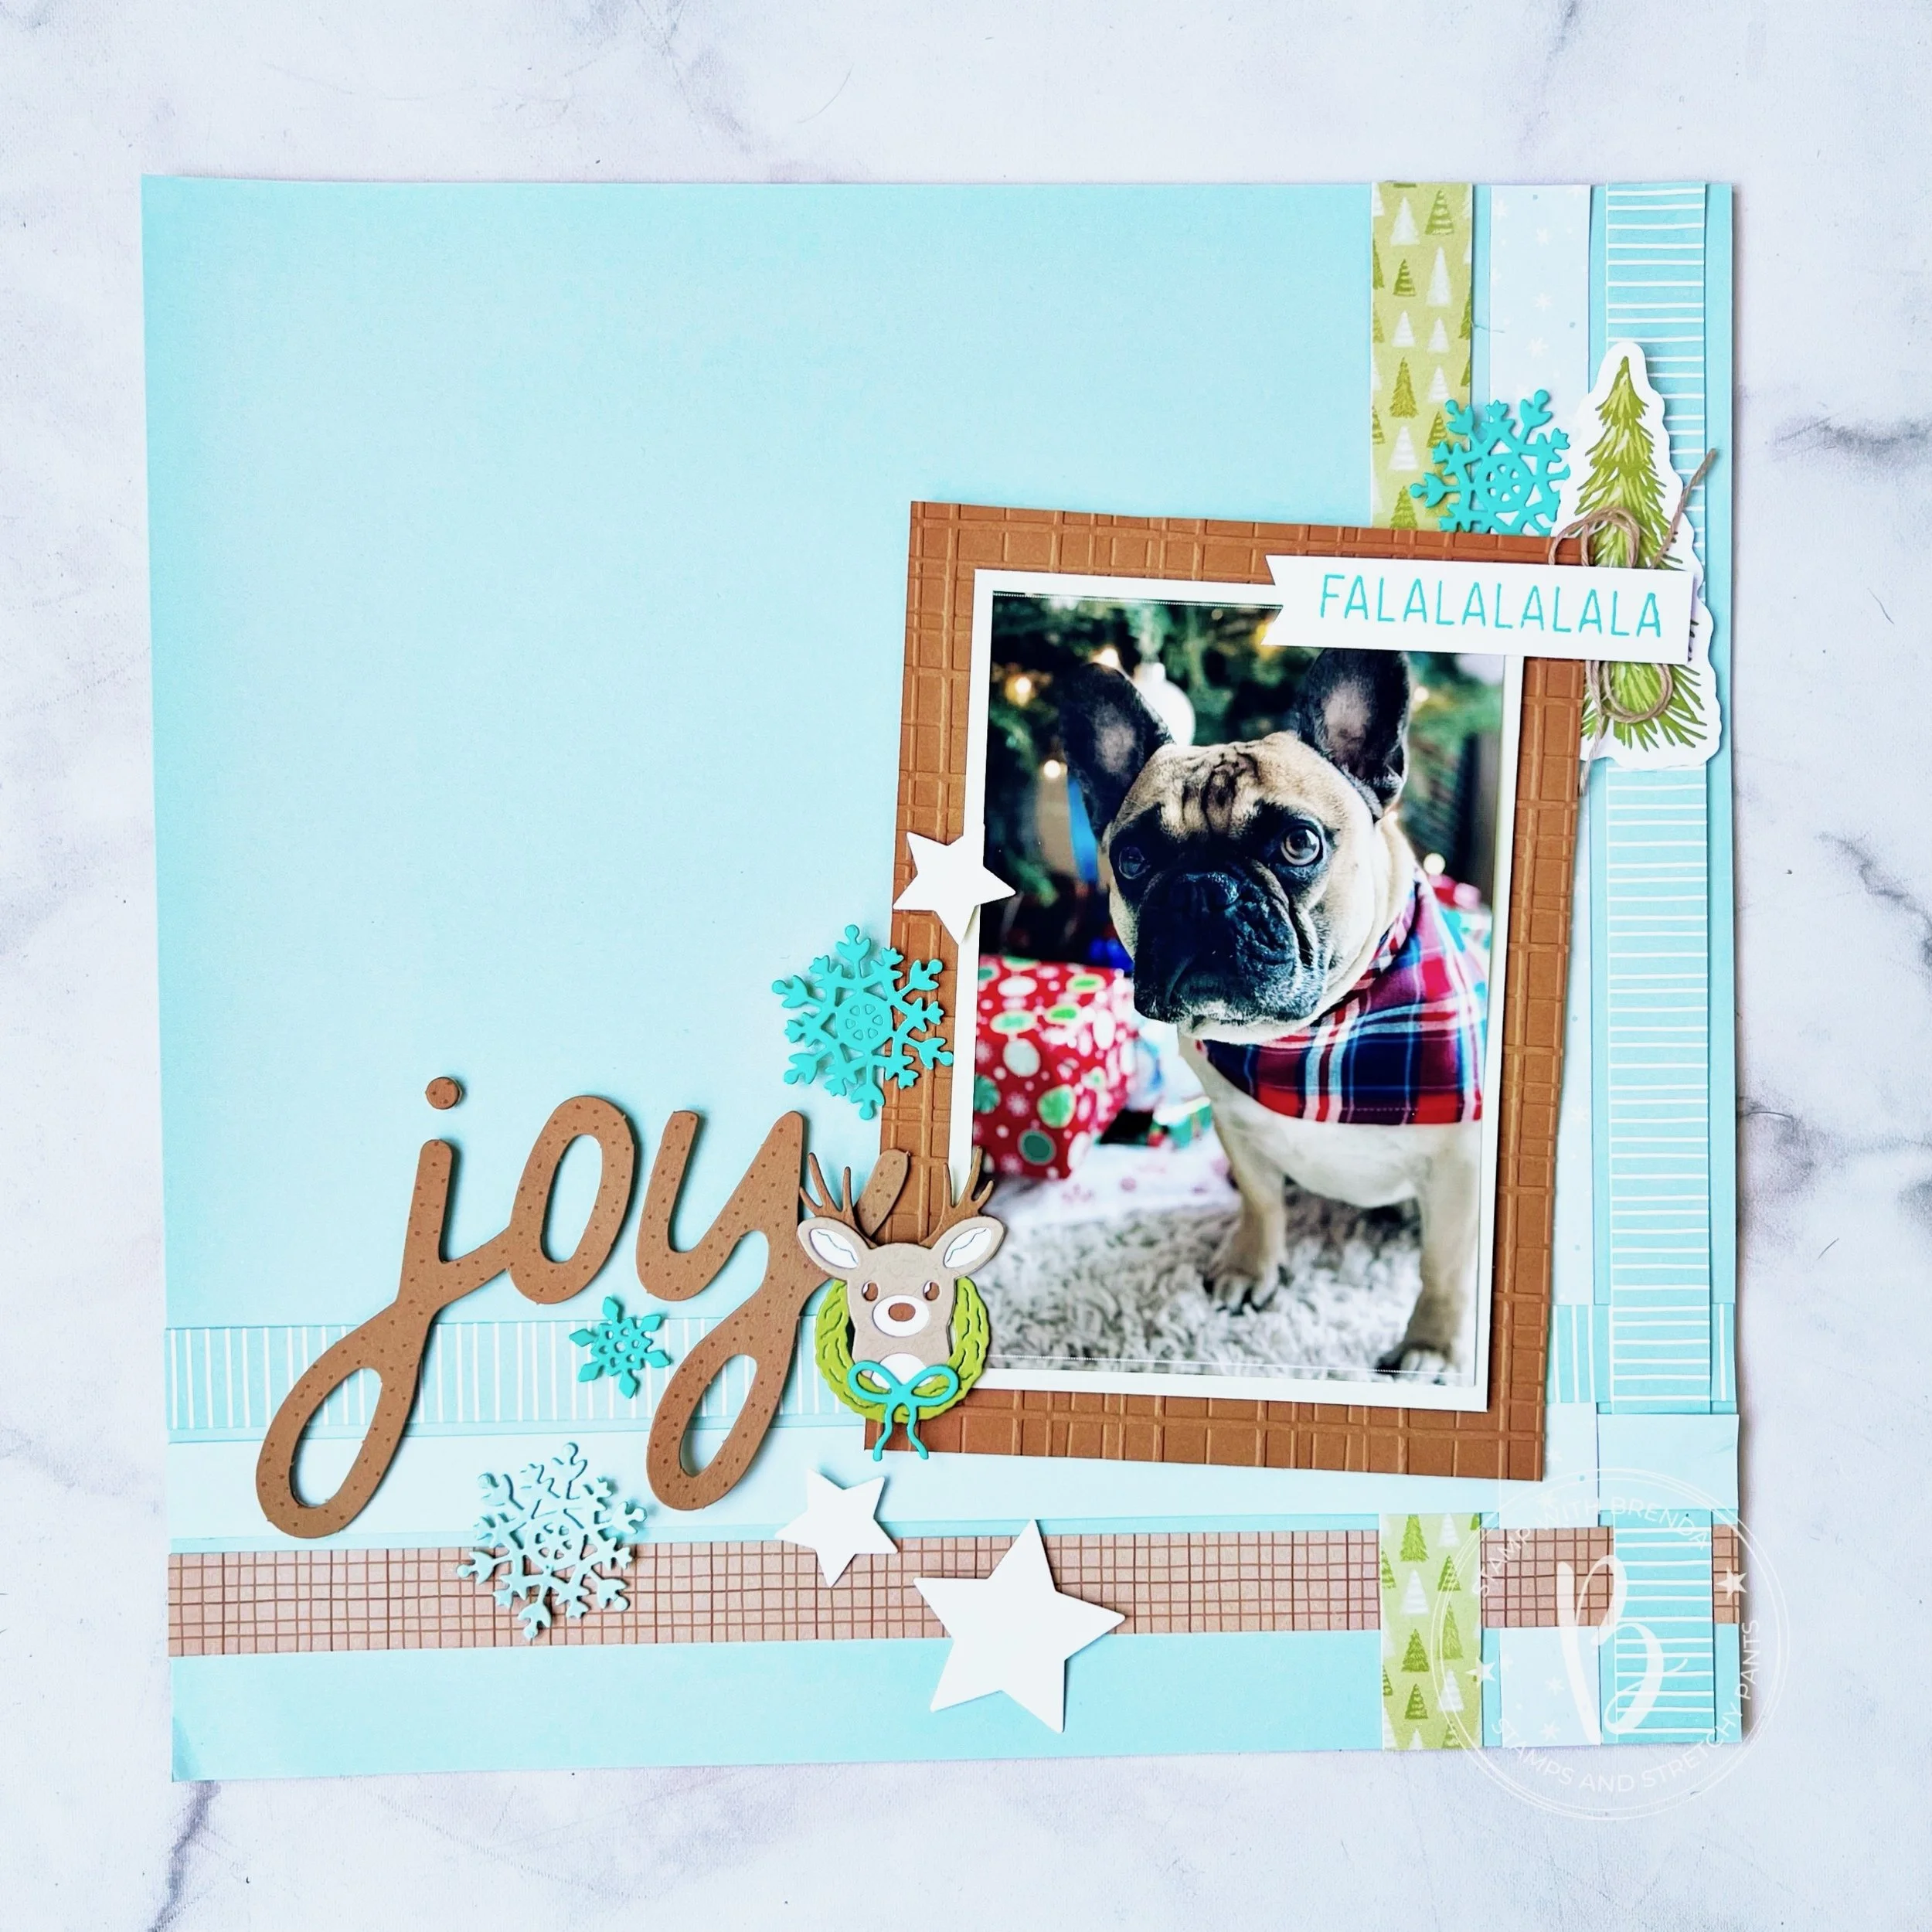
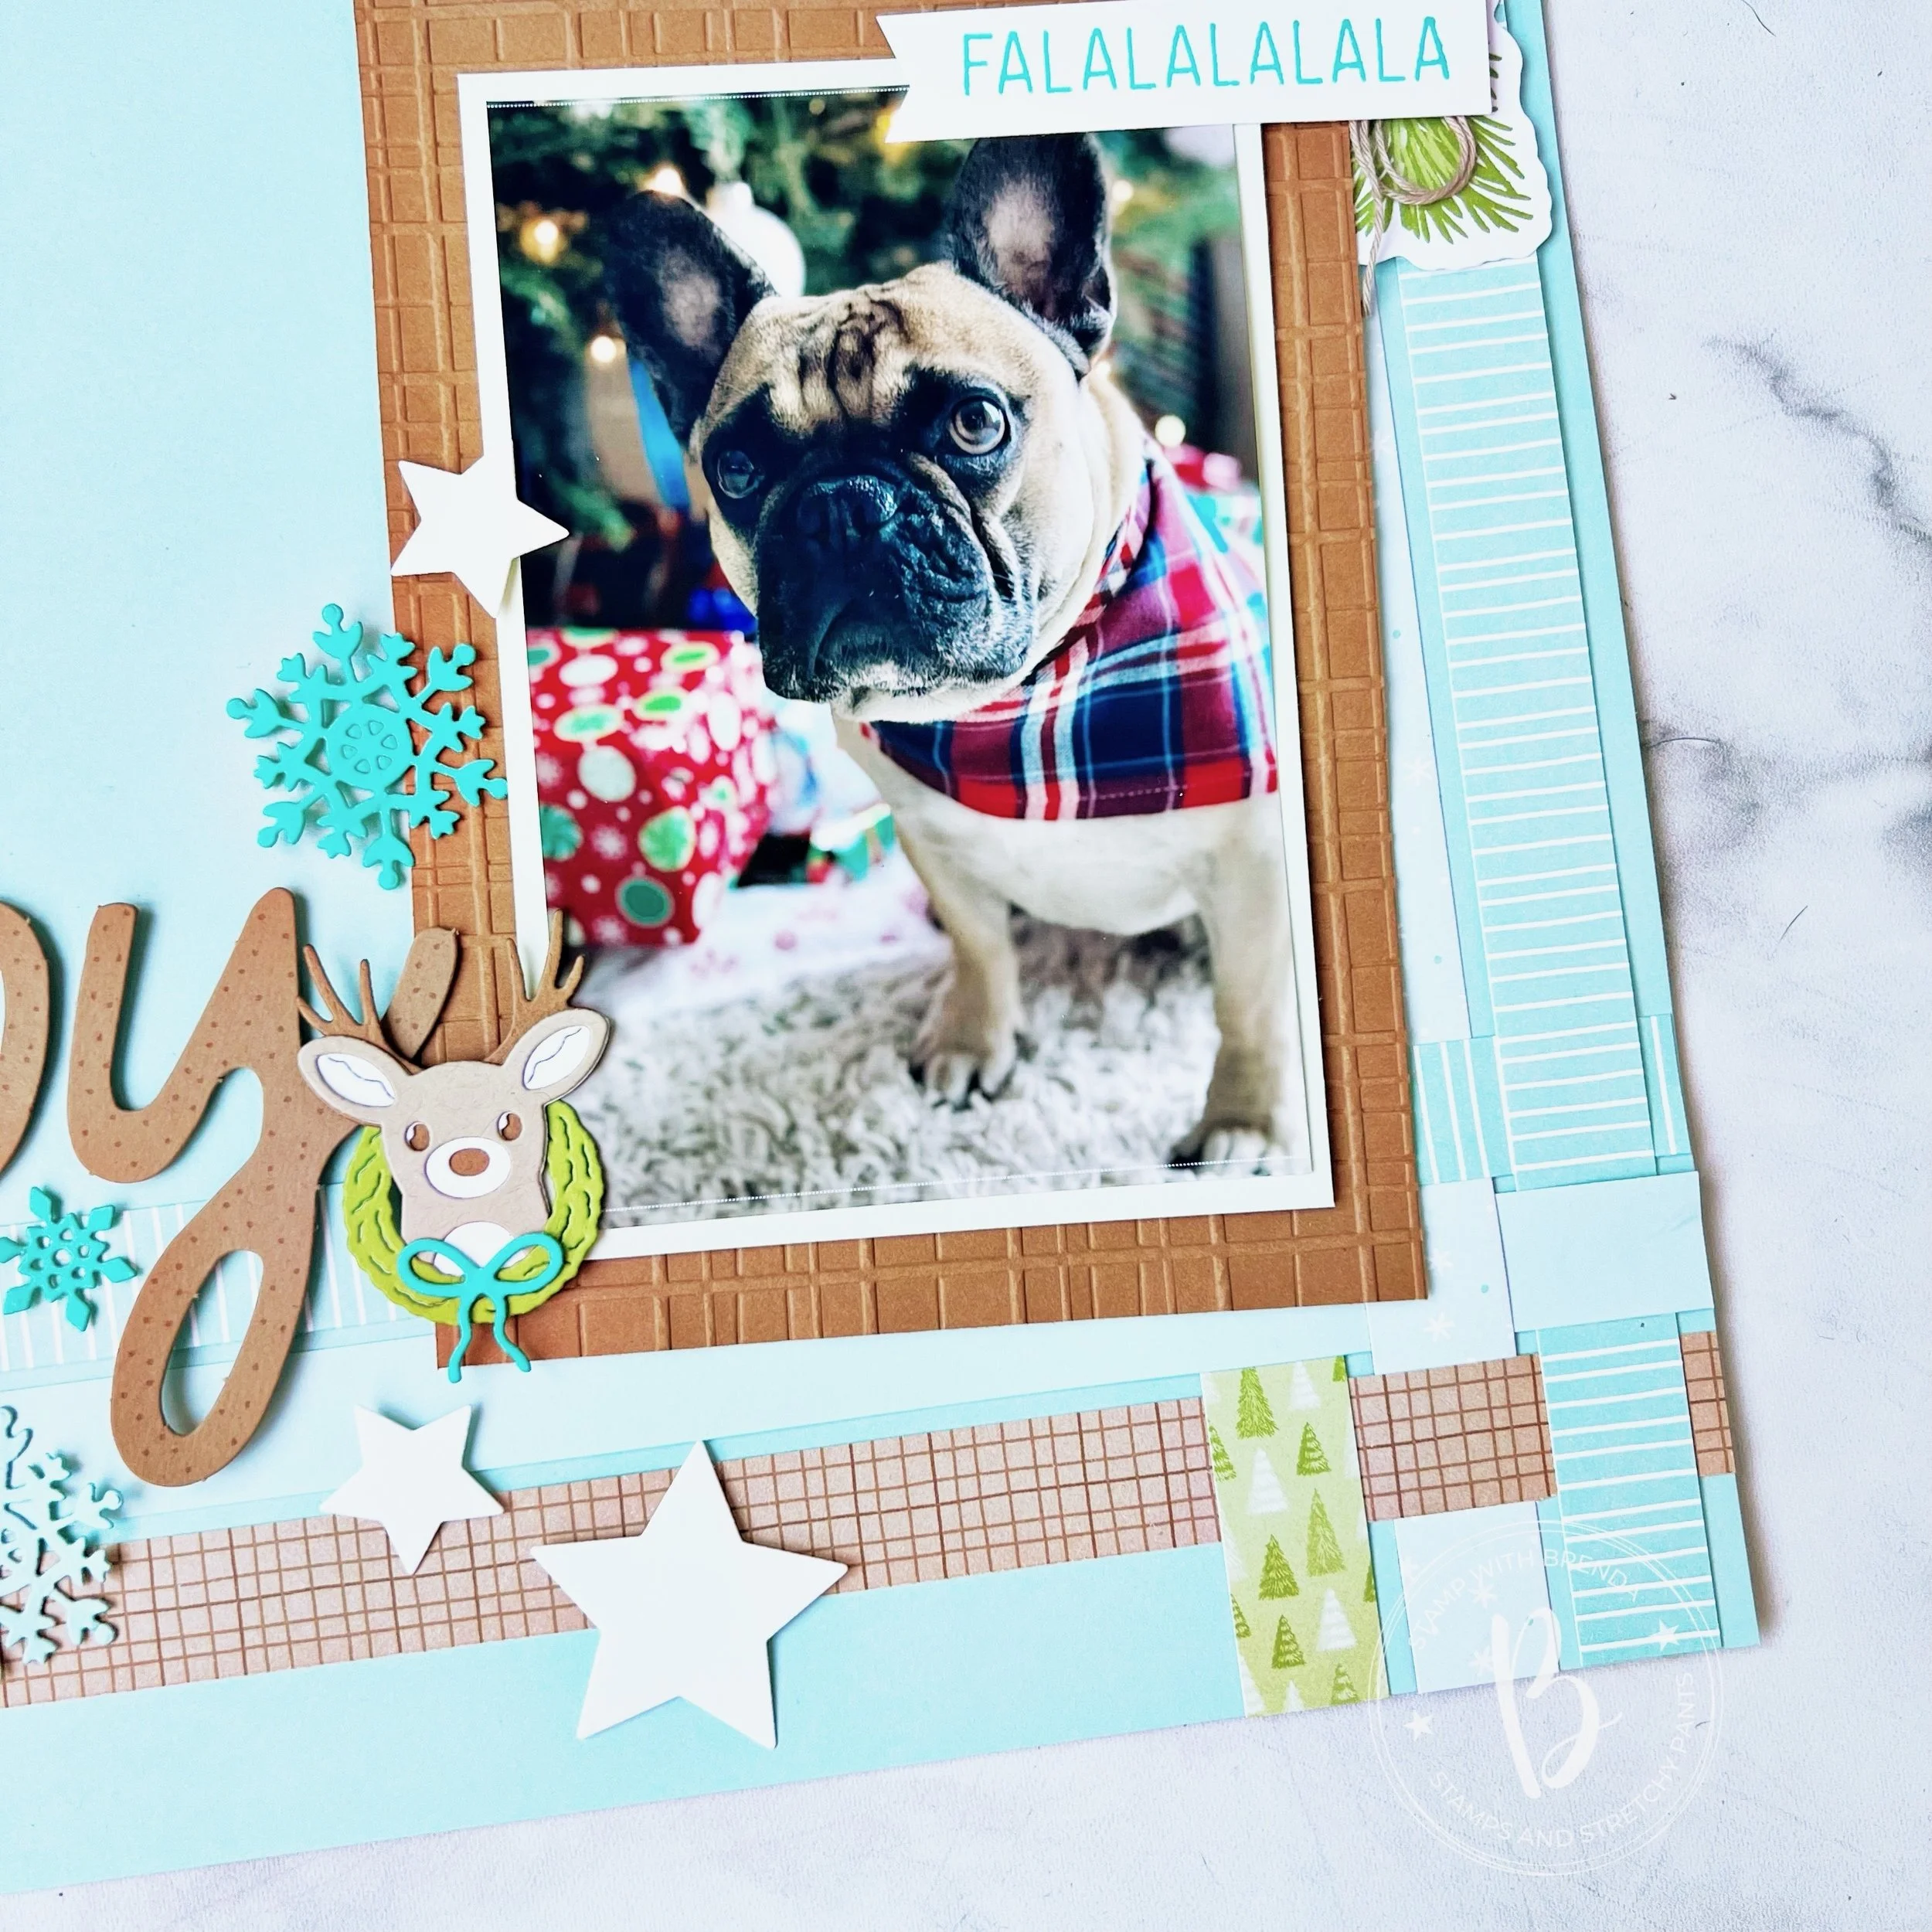
Of course, I had to end my 12 Days of Christmas 2024 with a scrapbook page of my bestie, Hawkins. He is my loyal companion, always at my feet in my craftroom.

I used Pool Party 12x12 as my base and elements from the Reindeer Memories Scrapbooking Kit for my page. I have really enjoyed these kits, using the pieces to design my own layouts.

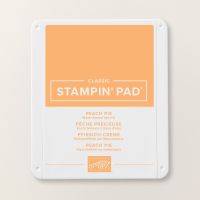
The photo mat in Pecan Pie and I chose this to match the die cut word ‘Joy’ that you get in the scrapbooking kit. I ran it through the Forever Plaid embossing folder.

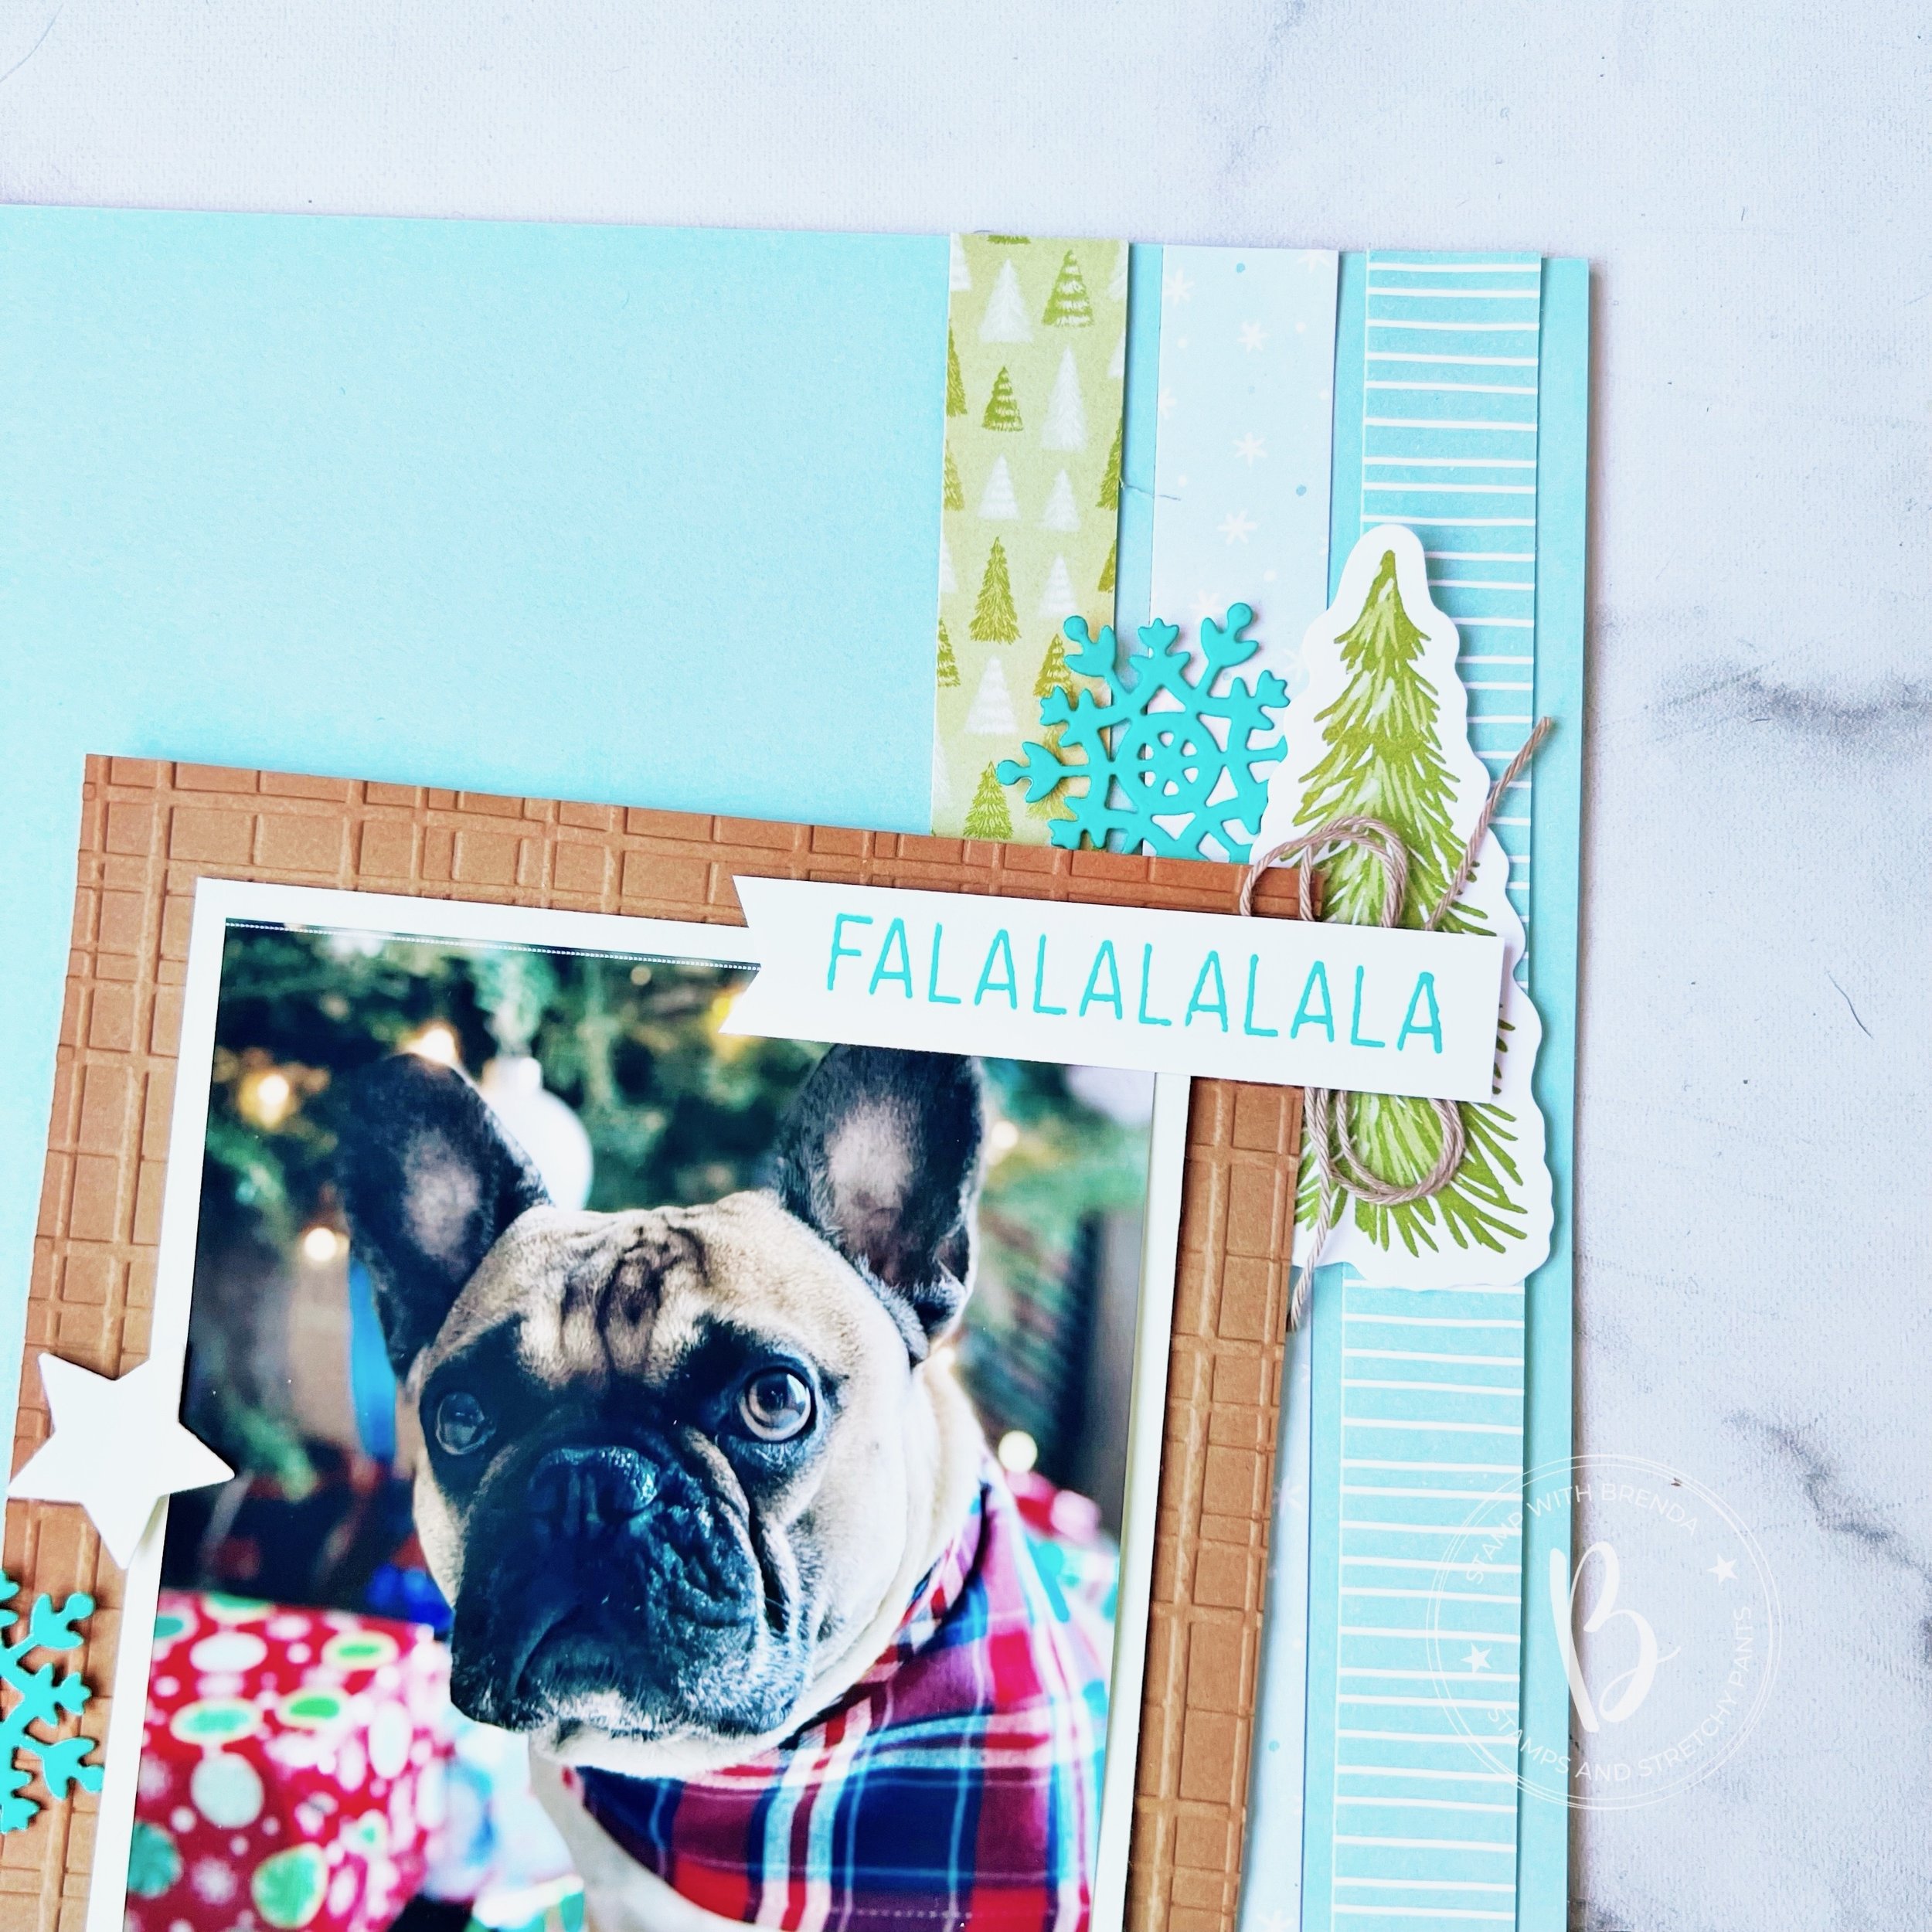
Isn’t Hawkins so handsome? I added FALALALALALA to this page as I like to think that might have been going through his mind! hahaha. It is from the Reindeer Memories stamp set, which is also found in the Scrapbooking Brochure. A little Crumb Cake Bakers Twine is layered behind along with a tree die cut from the kit and a snowflake from the One of a Kind Dies.

A did a fun paper weaving technique on the page using 3/4 x 12 inch strips of DSP from the Kit, the Reindeer Days DSP, and the Sweet Days of Autumn DSP.

I love this Joy die cut. I added some polka dots using my Pecan Pie Stampin’ Write marker for a little extra interest. I couldn’t resist adding the adorable deer from the Reindeer Days die set, plus more snowflakes and some stars I had laying around in my scrap pile.

I hope this page inspires you to scrapbook your bestie too and to think about a holiday layout in a completely different color palette. I have truly enjoyed curating this projects to share with you. Melanie and I were so happy to offer this to you again for our 3rd year running.

Thank you to everyone who has been by my side this past 18 months. You know who you are and how much you mean to me!

Cheers to an awesome festive season and let’s bring on 2025. The best is yet to come (insert 1000 hearts).

Head on over to Melanie’s blog to see her final festive project and if you missed anything, take a loop back!

Twelve Days of Christmas--Project #6

Hi friends! Are you enjoying our project shares? I really hope you are finding some fun and different ideas between myself and Melanie! Today I want to share another holiday scrapbook page idea with you!

I offer a class each month, on the last Sunday of the month, over zoom, that is called The Making Memories Membership. Each month I design and share a layout with the members, share my creative strategies and design process and then recreate the page using completely different supplies. You craft along with me using your own supplies! It has been a wonderful first year offering this class series. If you are looking to develop your scrapbooking skills, please message me to find out how you can join for 2025!

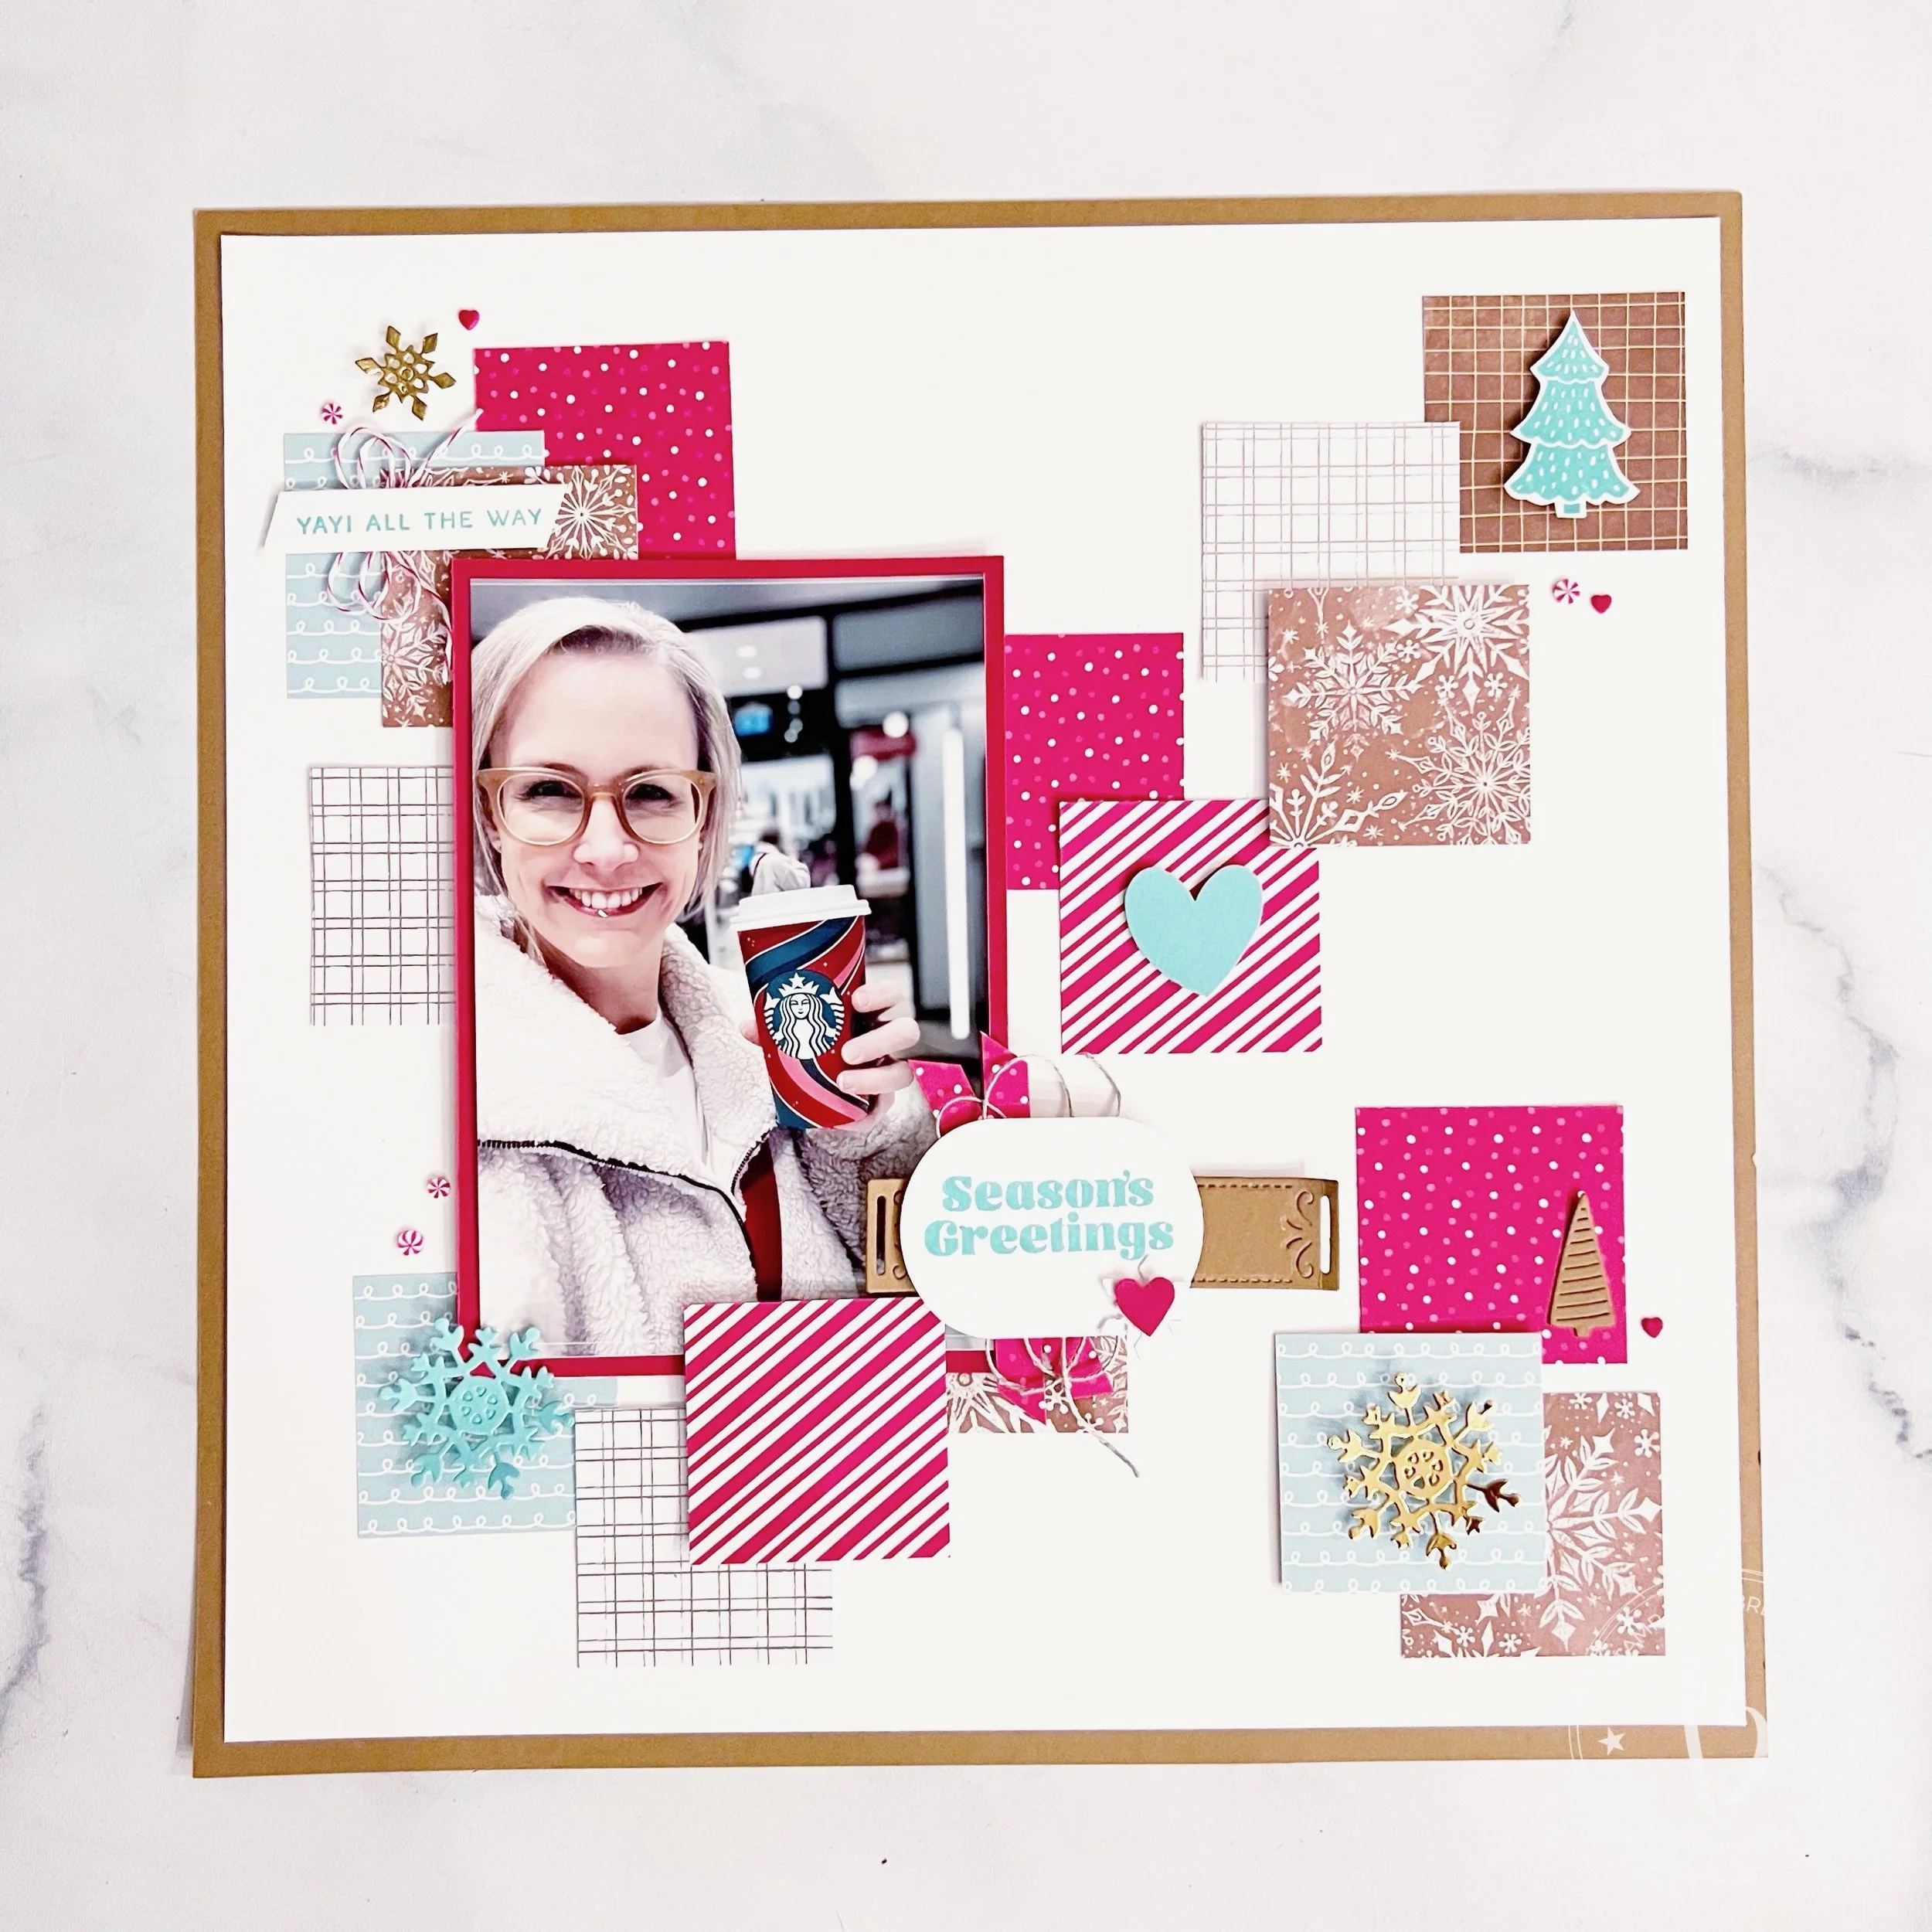
This page was one that I shared this past month with everyone in The Making Memories Membership group. Typically, I do not share publicly what I create for this group, but I love this page so much and I would love you to join my creative community, so here you go!

Tell me I am not the only one who snaps pics of the starbucks holiday cups? hahaha!

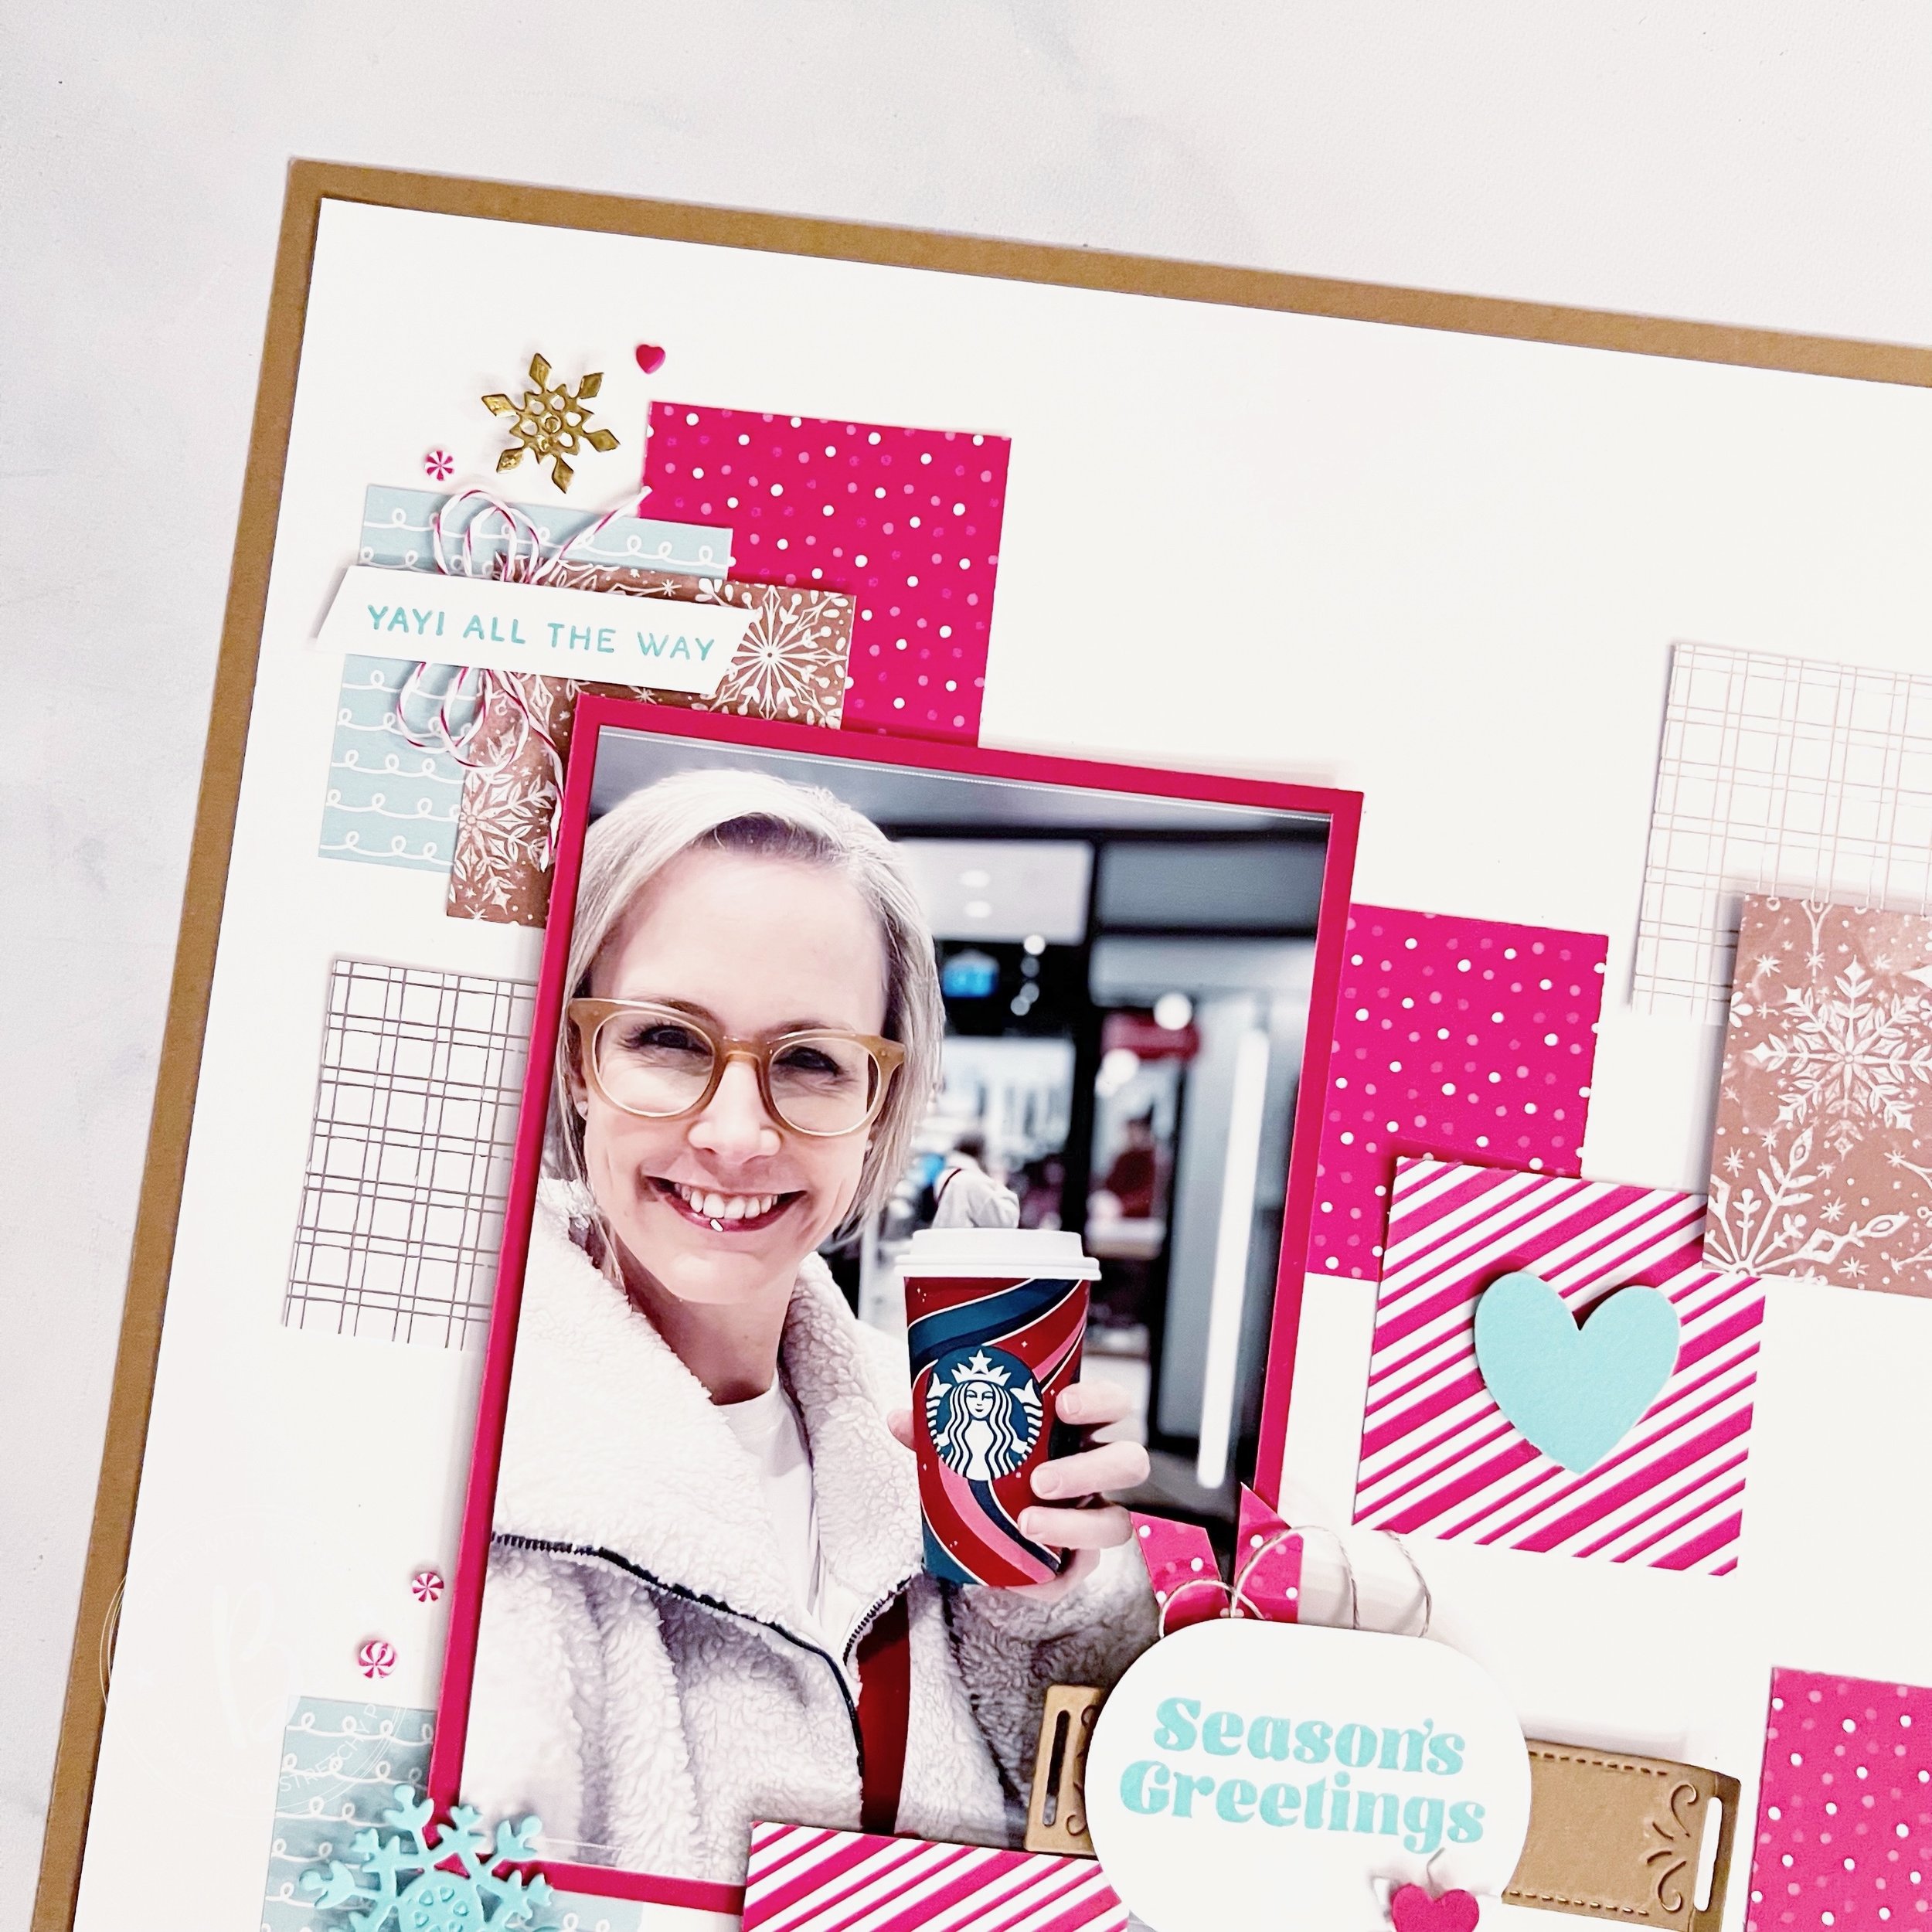
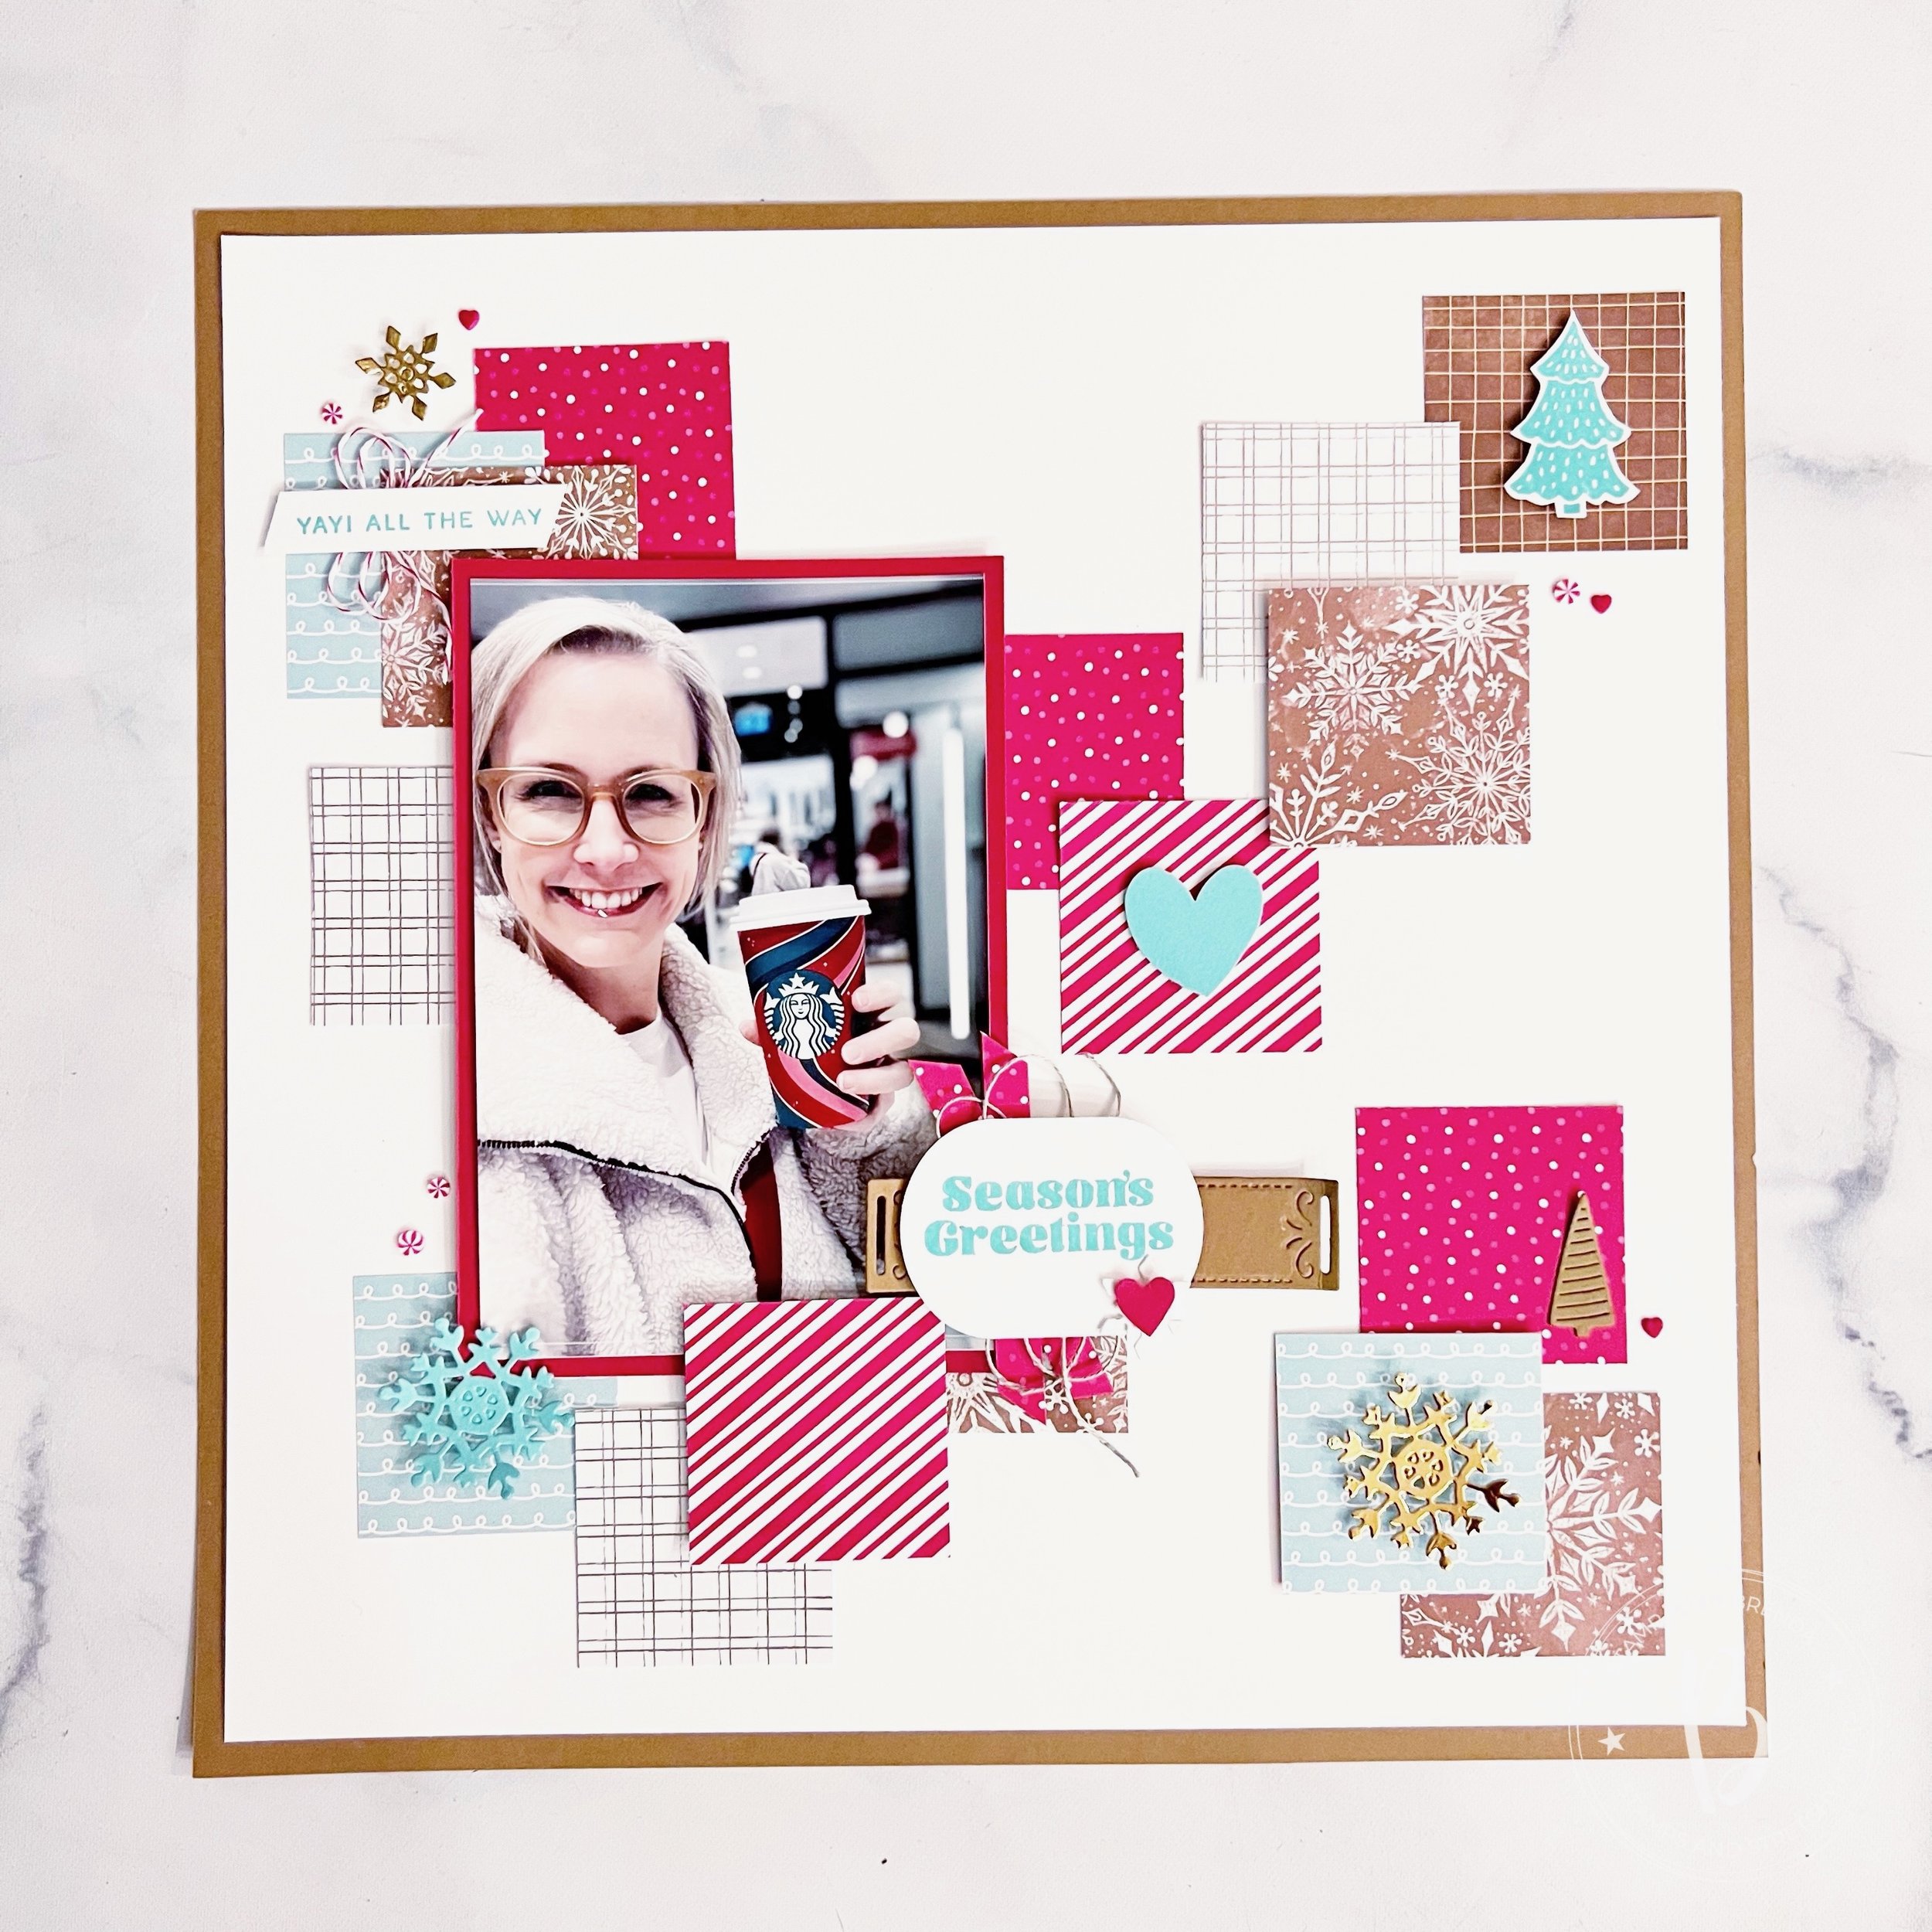
The base of this page is Pecan Pie with a layer of Basic White over top. I used a variety of 2x2 squares in a bunch of DSP patterns to give life to this page. Some are retired, some are holiday prints and some are more neutral, however they come together in perfect harmony. There is literally SO MUCH you can do, design wise, with a 2x2 square!

‘Yay all the Way’ is from the Sophisticated Sled Bundle —with a little Real Red & White Bakers Twine in behind and a gold snowflake from the Snowy Wonder Dies. This bundle is where you will find the ‘Season’s Greetings’ sentiment as well. I used the Modern Oval Punch for that sentiment and layed it over top of a label die from the Peaceful Season Dies.

I wanted to add little images or shapes to some of the squares to help tell the story or the theme of my page. I stamped the little tree from the Snowy Wonder stamp set, a heart from the Bee Builder Punch, a little die cut tree from Snowy Wonder and the snowflake from the One of a Kind dies. Plus a few fun peppermint embellishments and some really old little heart embellishments (that I have been hoarding!).

If you are going to try and recreate this page, make sure to pop up your Real Red photo mat plus a few of the square to give dimension to your page. It really helps bring the layering effect of the 2x2 squares to life.

If you have questions about The Making Memories Membership program, please reach out!
And check out Melanie’s project tomorrow, or see what she shared yesterday, as we are alternating our schedule!
Twelve Days of Christmas--Project # 5

HI friends! Are you enjoying all of our projects so far? I hope so! It is definitely starting to feeling like holiday season! Today I am sharing a card and a coordinating ornament or gift tag idea!

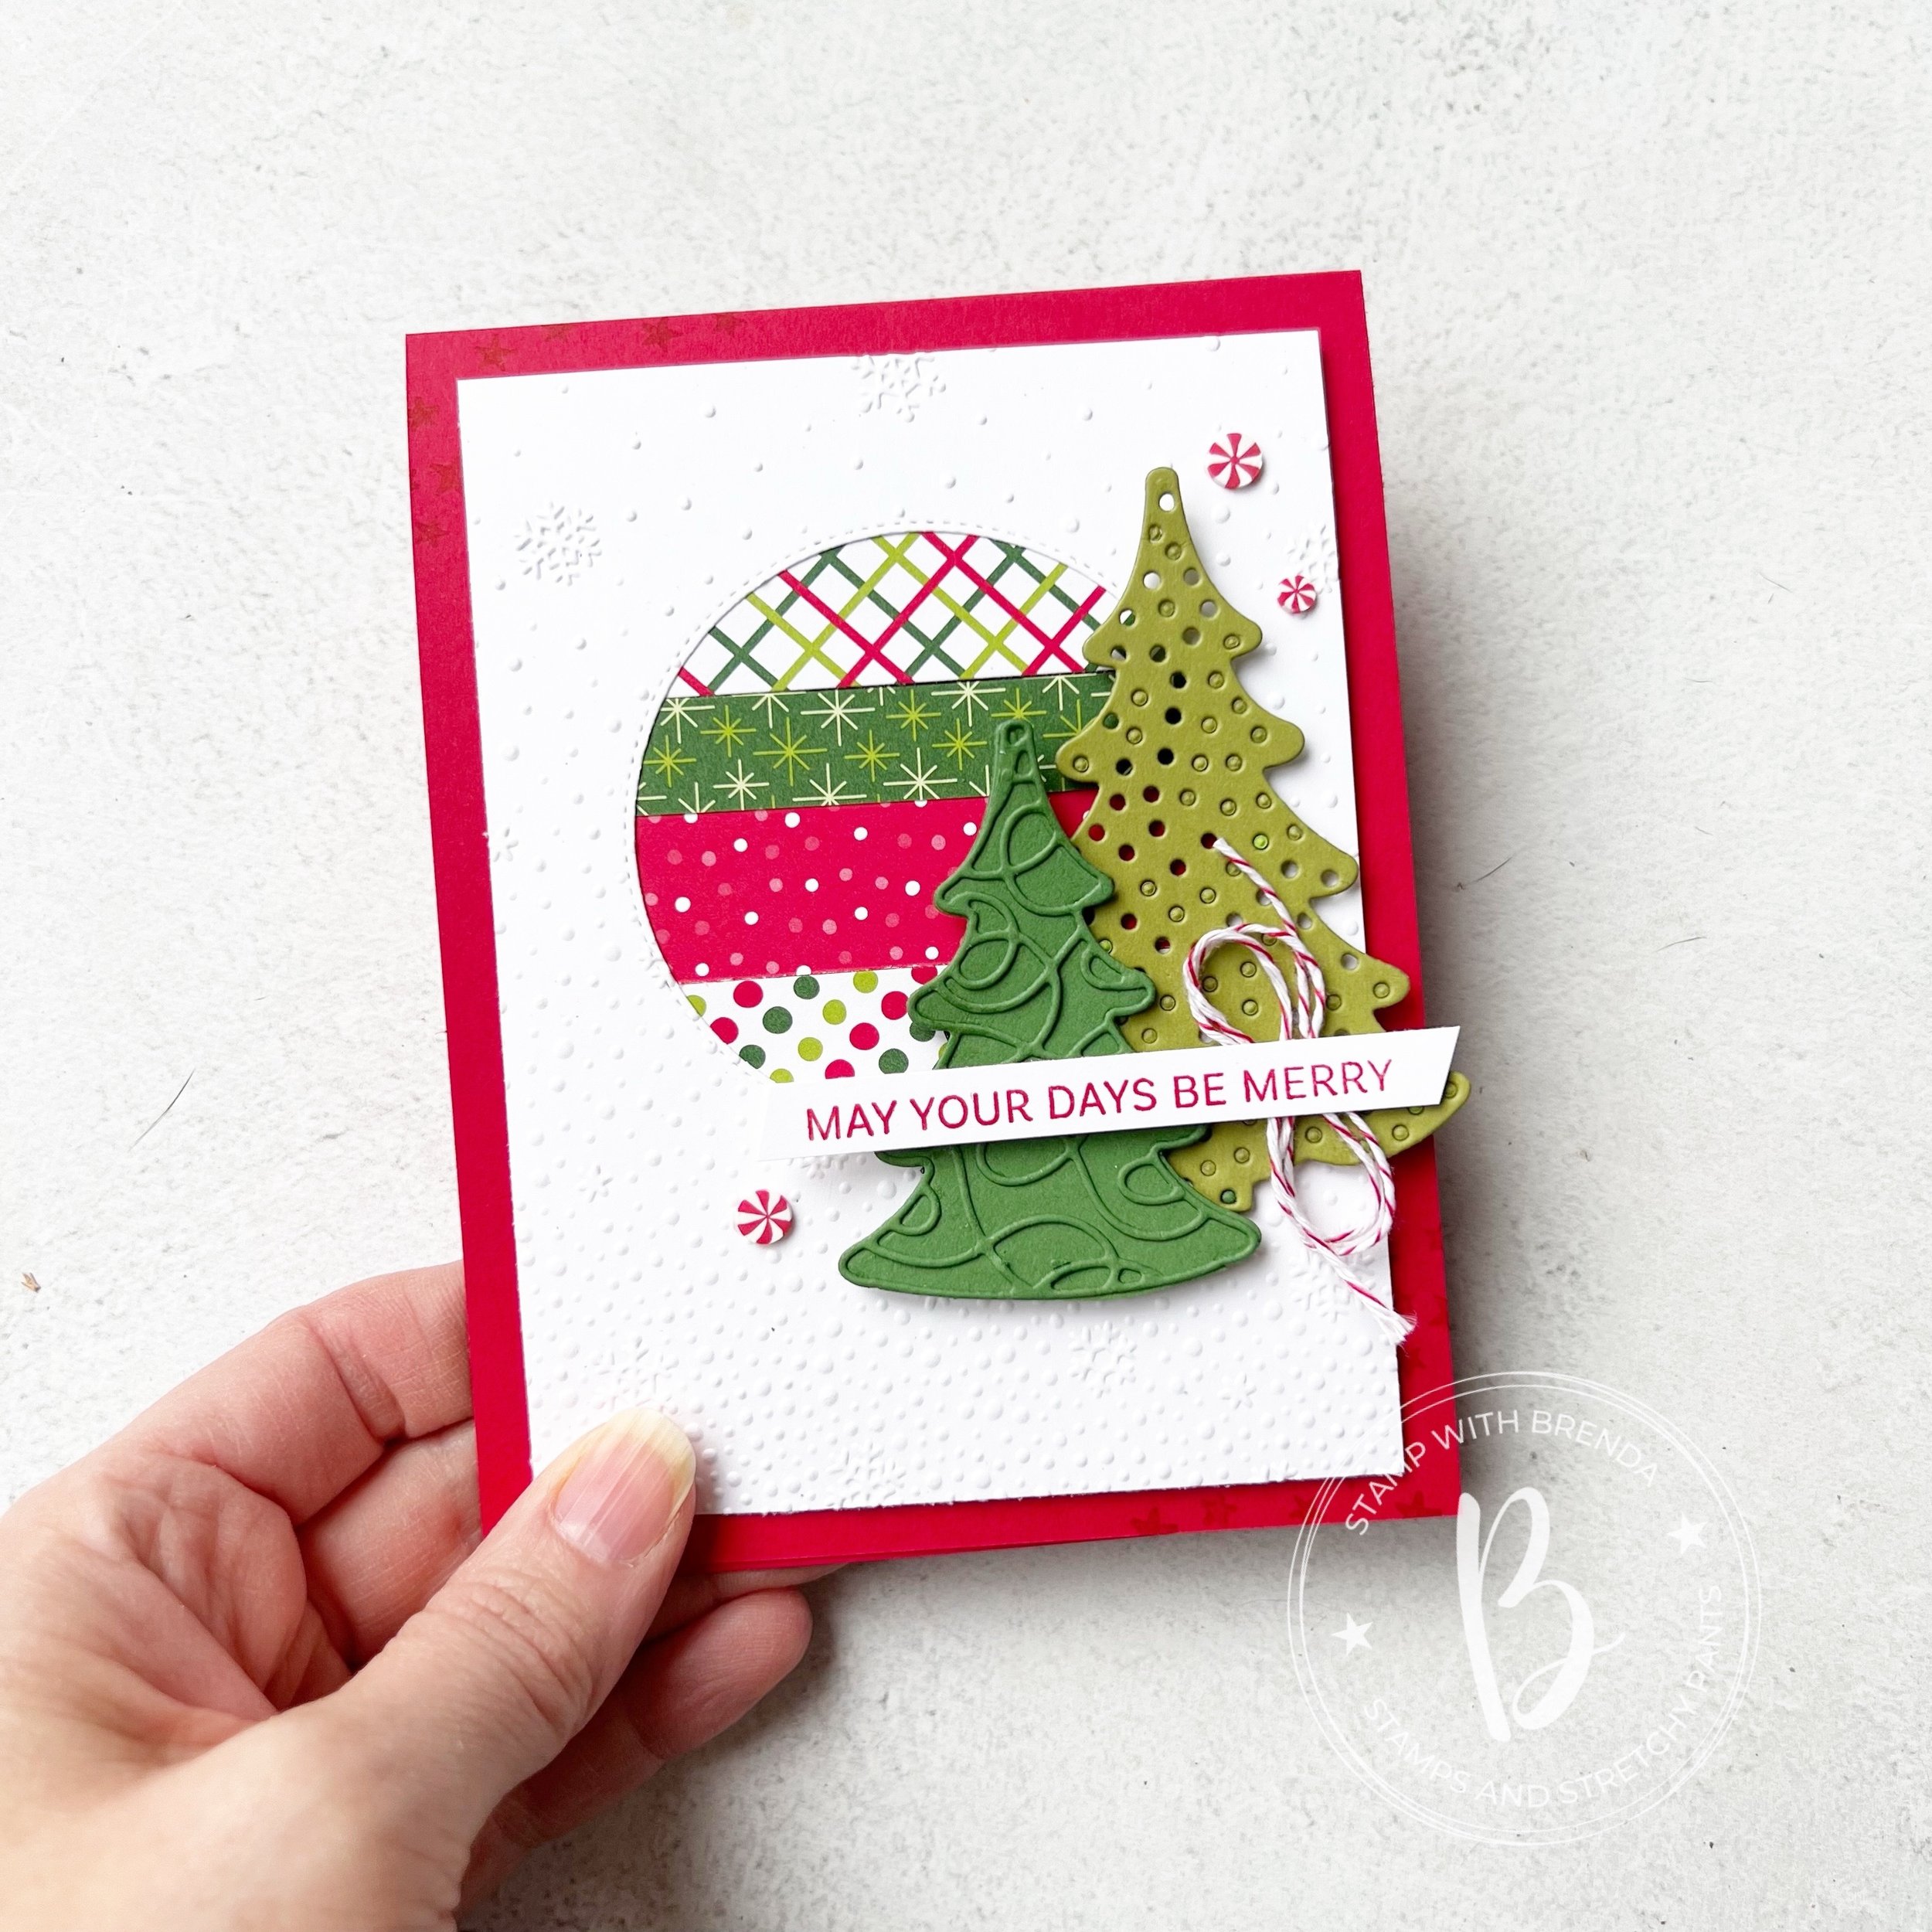
Lets start with one of my favorite card designs—I think it definitely falls into the ‘Good Card Design’ category as you can recreate this card with any dsp or die cut options!

The base is Real Red (its just screams classic Christmas) and in the top left and bottom right I stamped the little cluster of stars found in the Decorative Trees stamp set.

I created a first layer in Basic White where I die cut out a circle. Behind the circle I laid strips of DSP from the Take a Bow DSP in 1/2 and 3/4 wide strips. This is such a great way to use up DSP. I also ran this panel through the Snowfall Folder for a little extra touch.

I used the colors of the Take a Bow DSP to determine the colors of my two trees that I die cut with the Decorative Tree Dies. I just love these dies and have had so much fun creating with them this holiday season.

The dies have two sets of trees to choose from. The Garden Green treen in the front is one of the smaller tree options. The fancy layer that is on top of the tree is a separate die. You need to cut it and add it to the base tree, which is bigger. You then just use your snips to trim off the bottom section of the base tree! I was so happy to discover this as it made creating even more tree combinations a breeze!

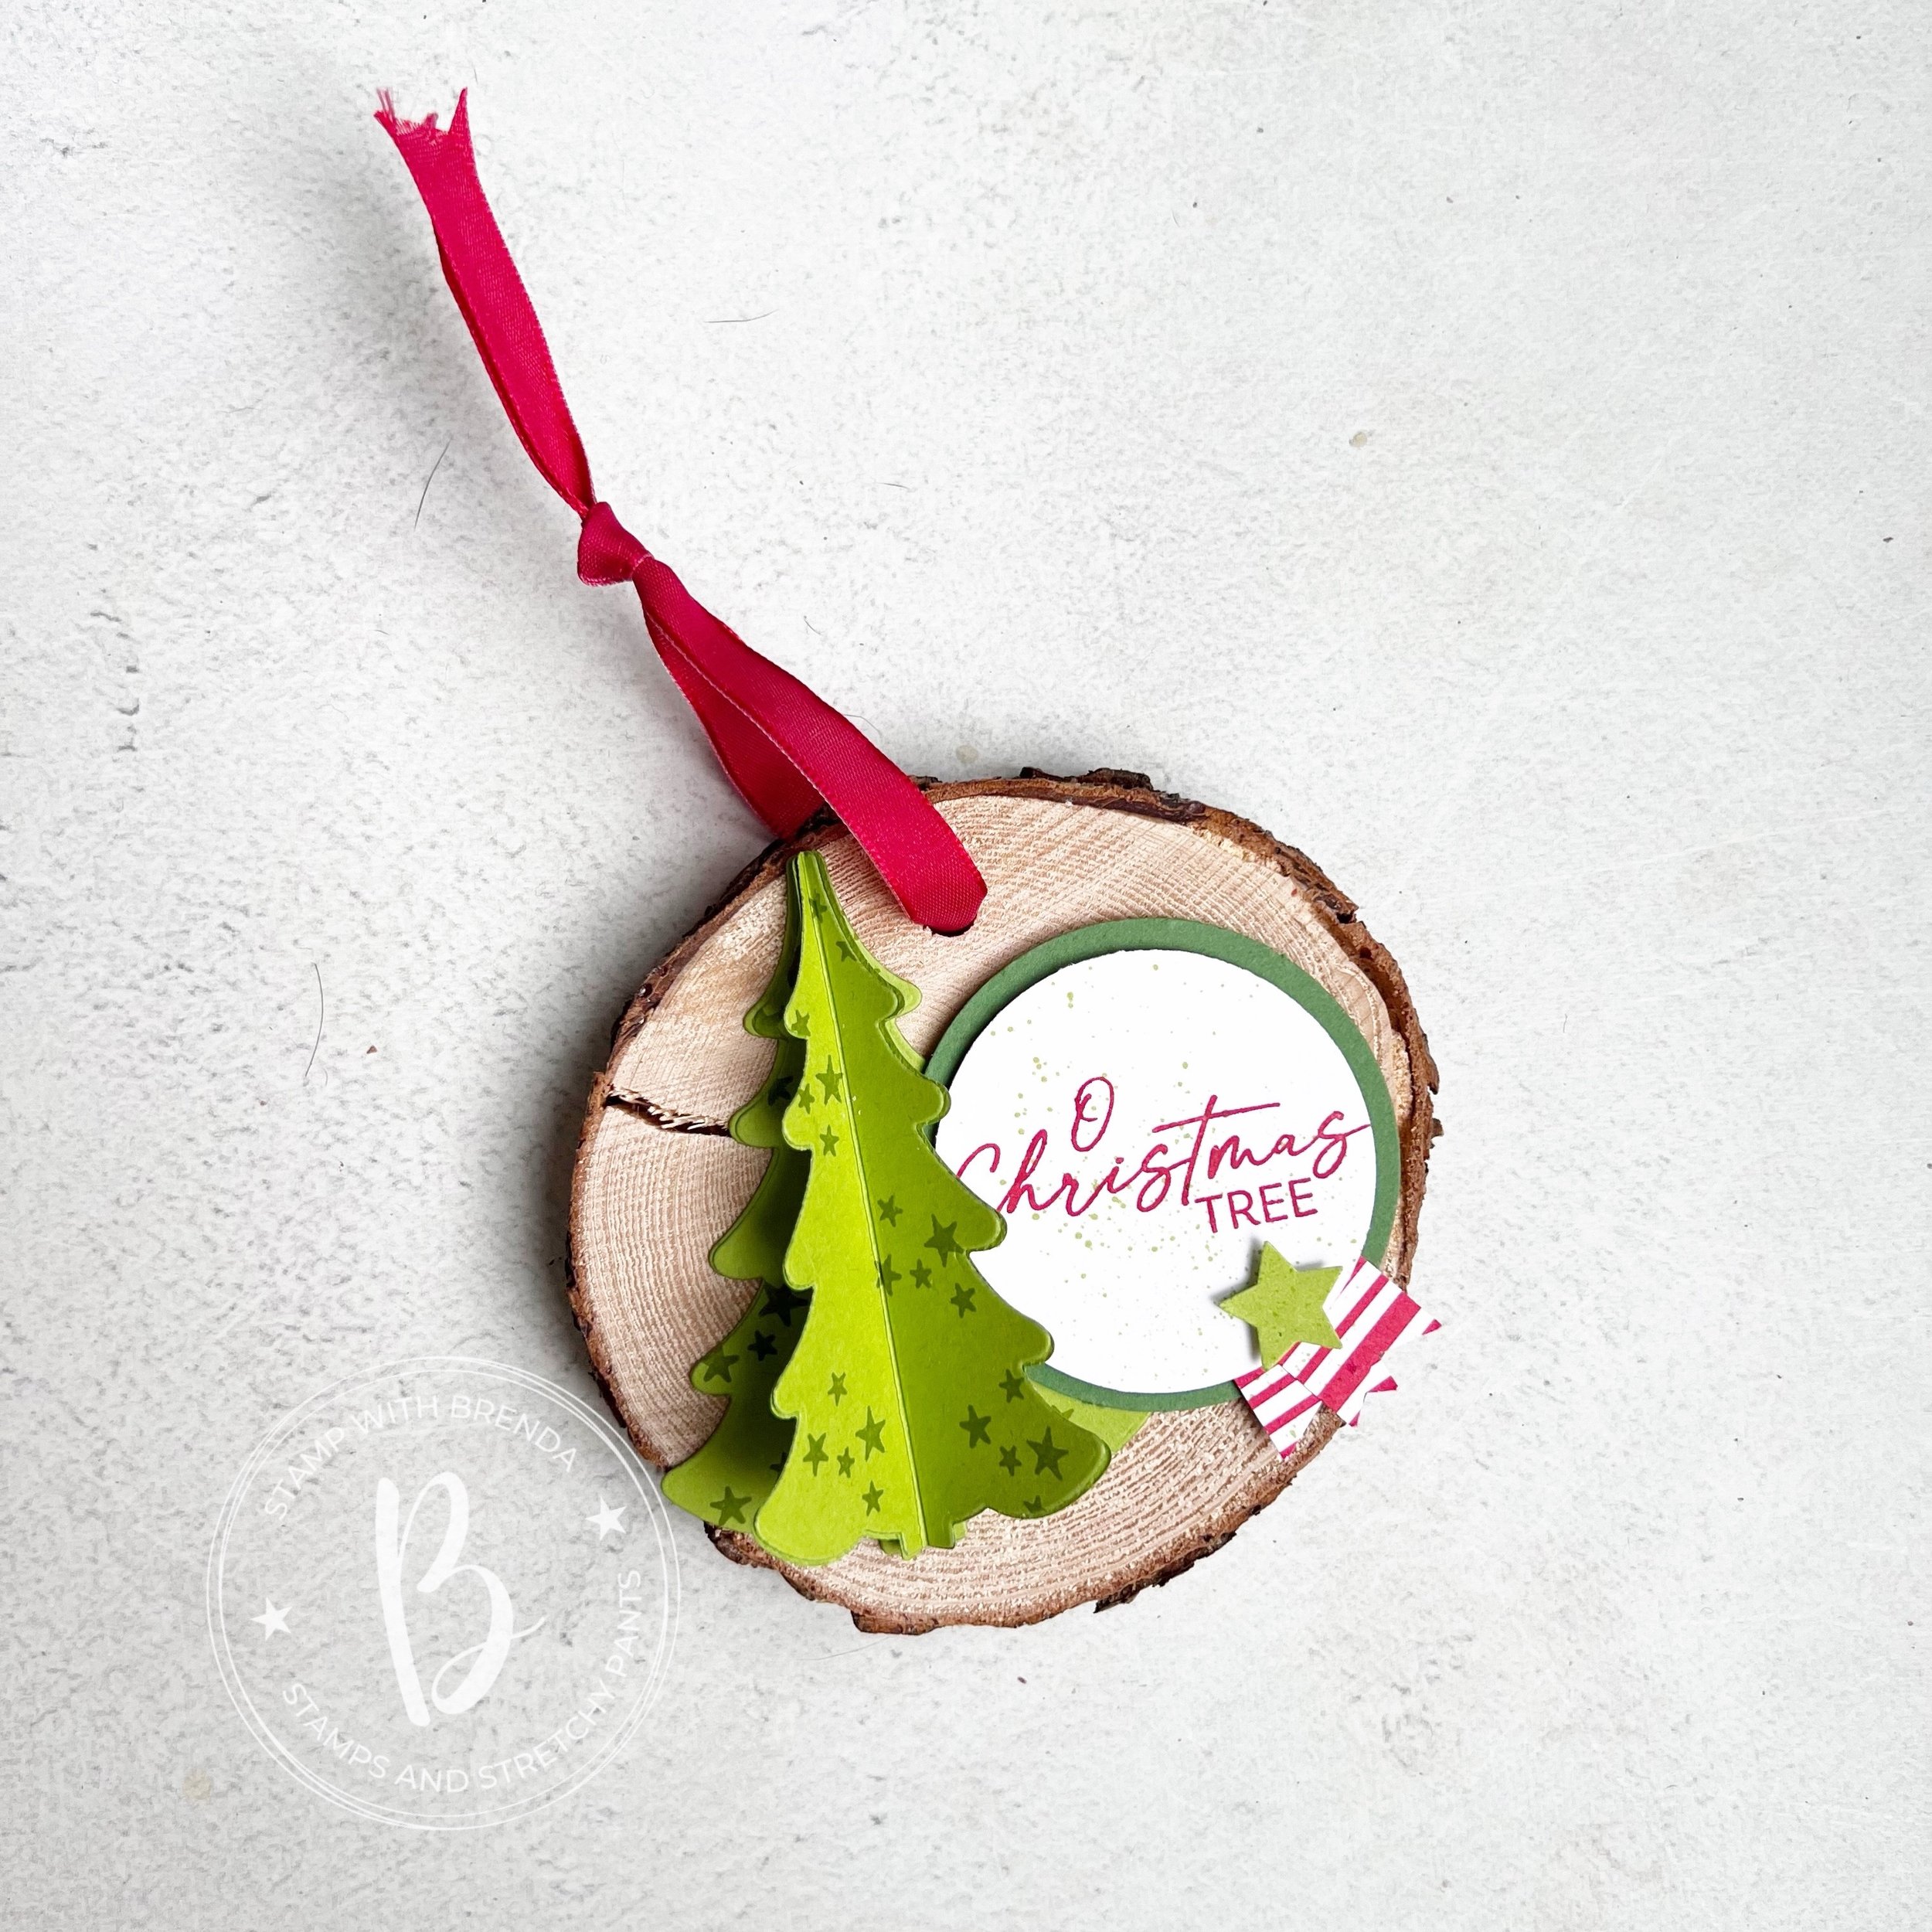
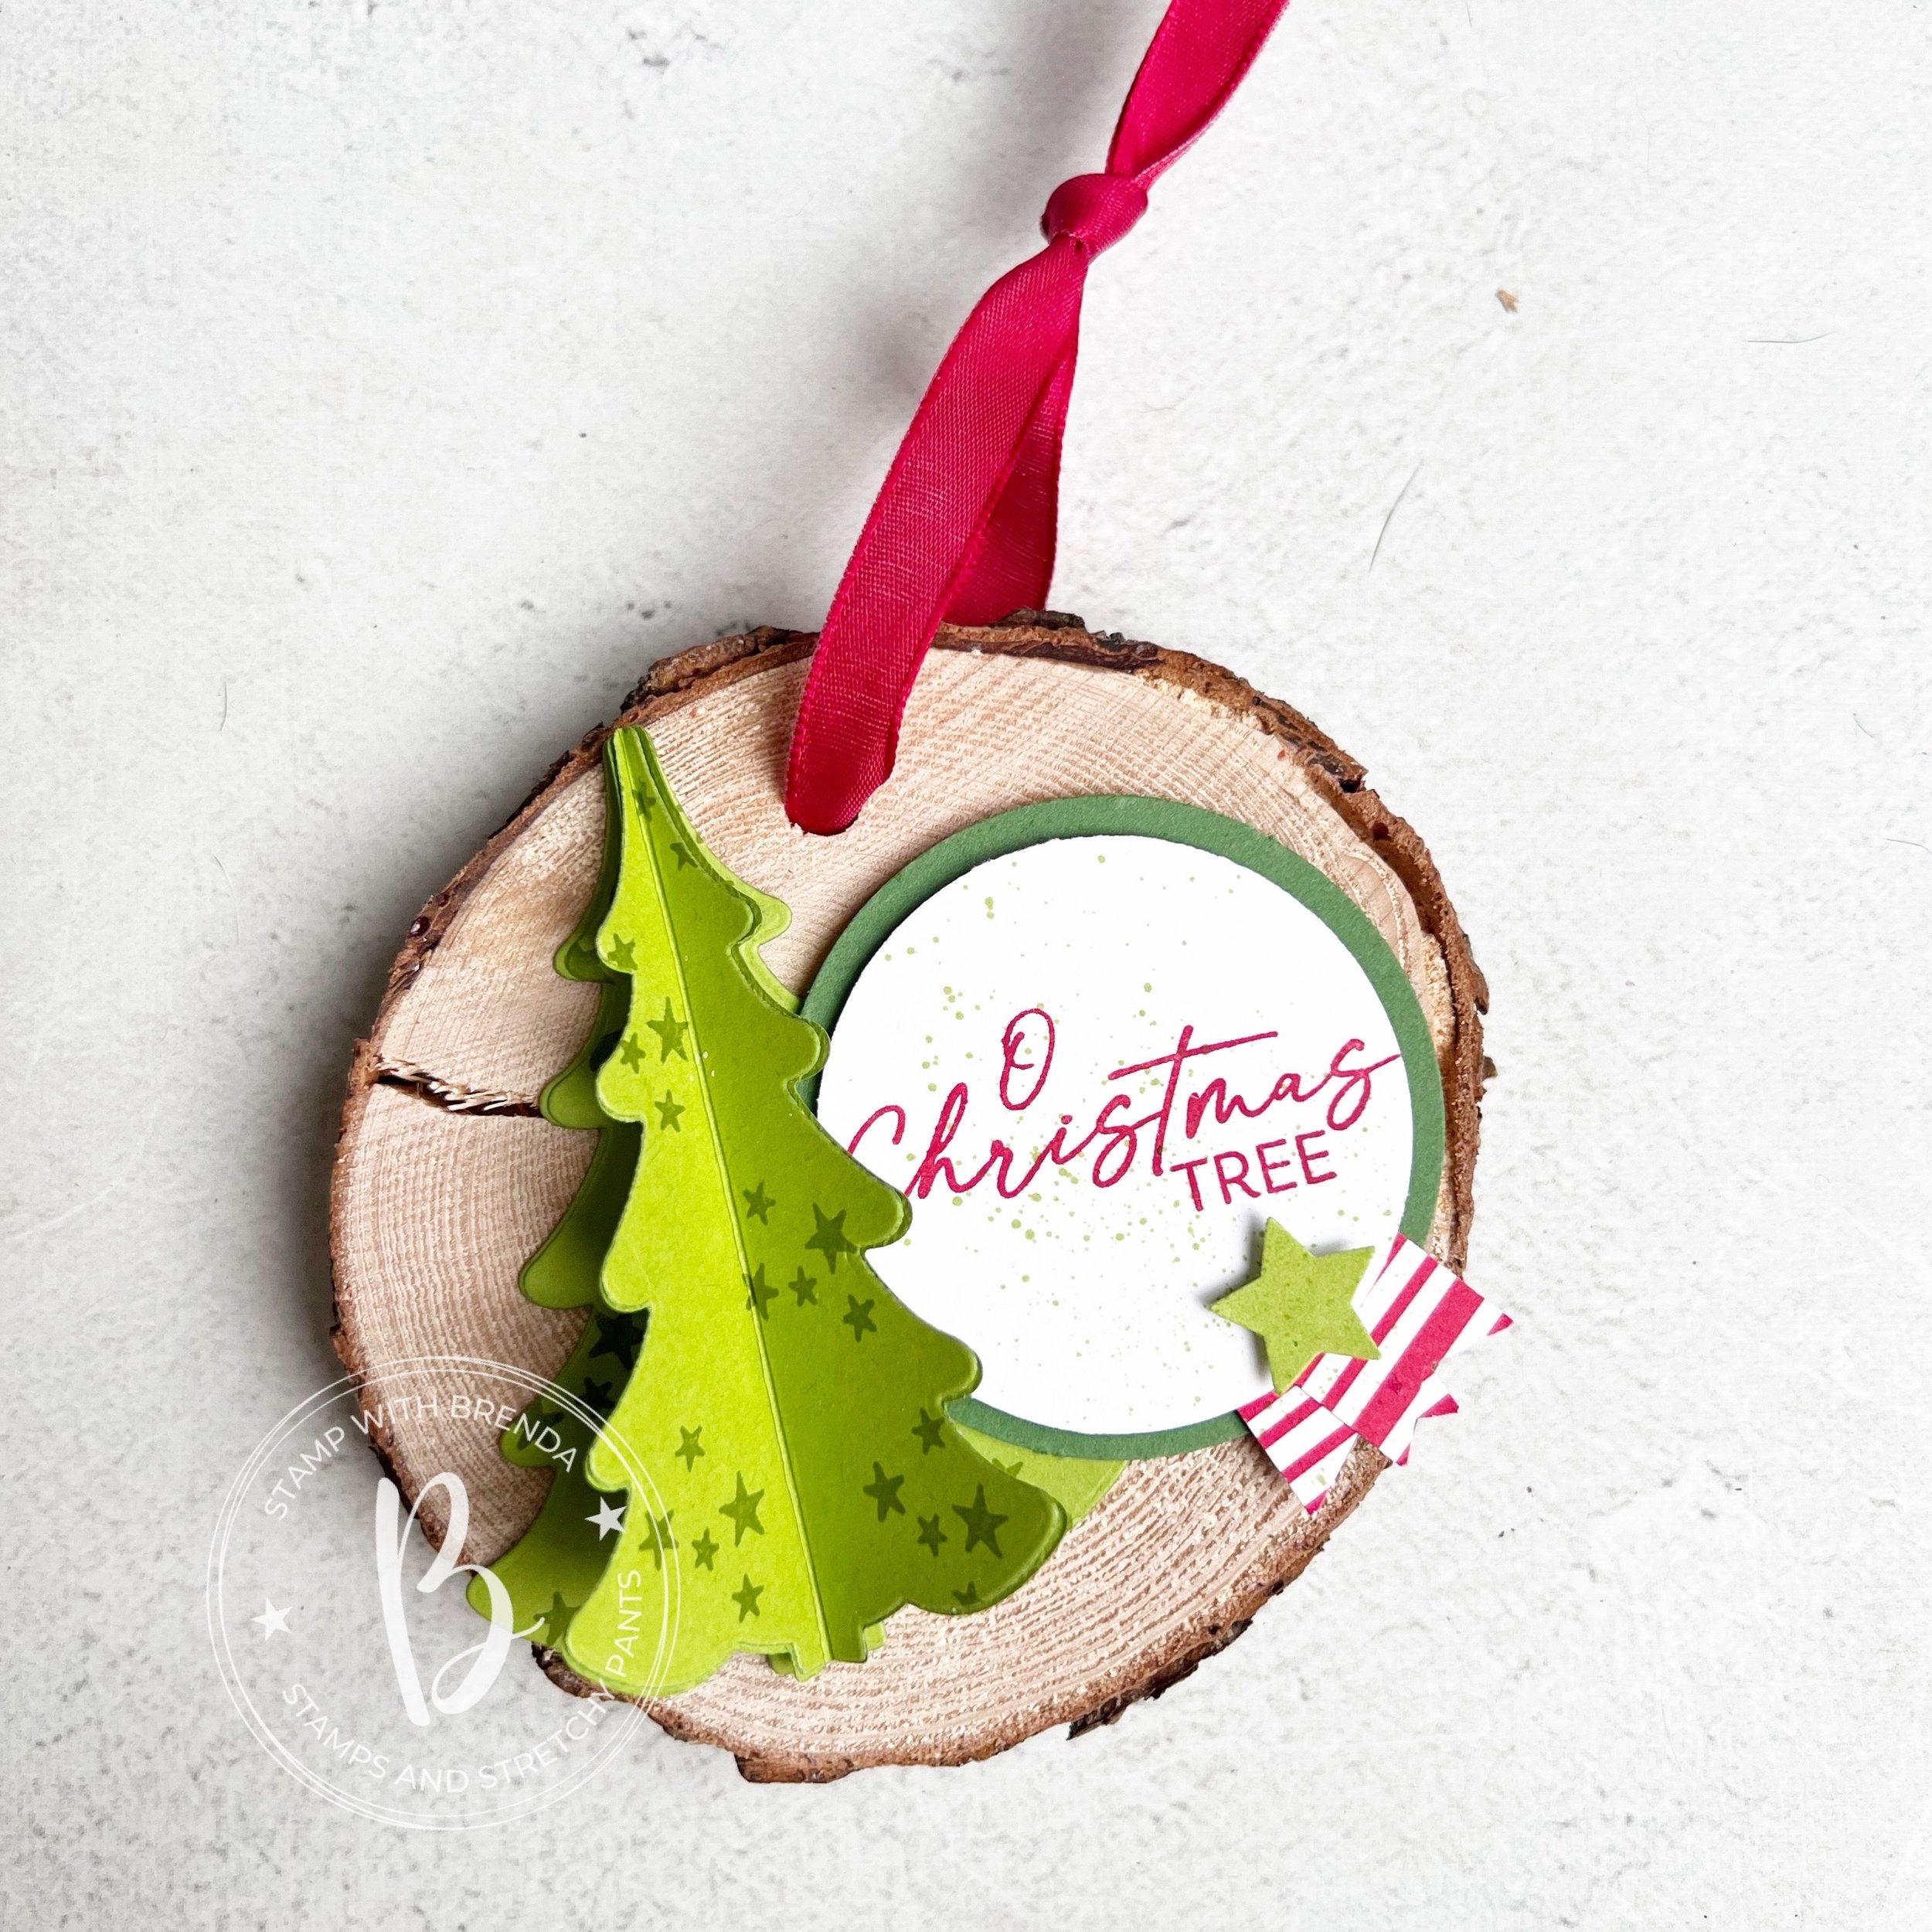
Every year I make some sort of wood slice Christmas ornament or gift topper. I do hang these on my tree or tie them on a gift bag or use them on a gift. I love using a wood slice or tree cookie as my base. These are fun inexpensive gifts that you can use in a variety of ways. The coordinating card makes it a fun little gift!

To make this fun 3D tree for my ornament, I cut out 4 trees in Granny Apple Green. One is the base and three will be scored right down the middle of the tree. You could stamp on these 3 layers, like I did here, or even run them through an embossing folder for some texture.

I used the little star shapes from the Decorative Tree dies on these ones. Fold the 3 trees in half along the score line. Add some Tombow to the base tree and add one tree (one folded side) to the left half of your base tree, then add the next tree with Tombow to the back of the first tree and so forth, attaching the third tree to the base. I love when we can take a shape and make it 3D!

Because the Decorative Trees stamp set has the sentiment ‘Oh, Christmas Tree’ I knew that I had to use it on this project. It is stamped in Real Red ink with a spray of Granny Apple Green over top. I added a couple little banners from the Take a Bow DSP and a star from the die set.

I hope you are inspired to make a fun card and coordinating ornament yourself this holiday season!

Make sure you are checking Melanie’s blog on the days opposite of me so you don’t miss any of our awesome projects!
Thanks for joining in our 12 Days of Christmas Hop!

Twelve Days of Christmas--Project #4

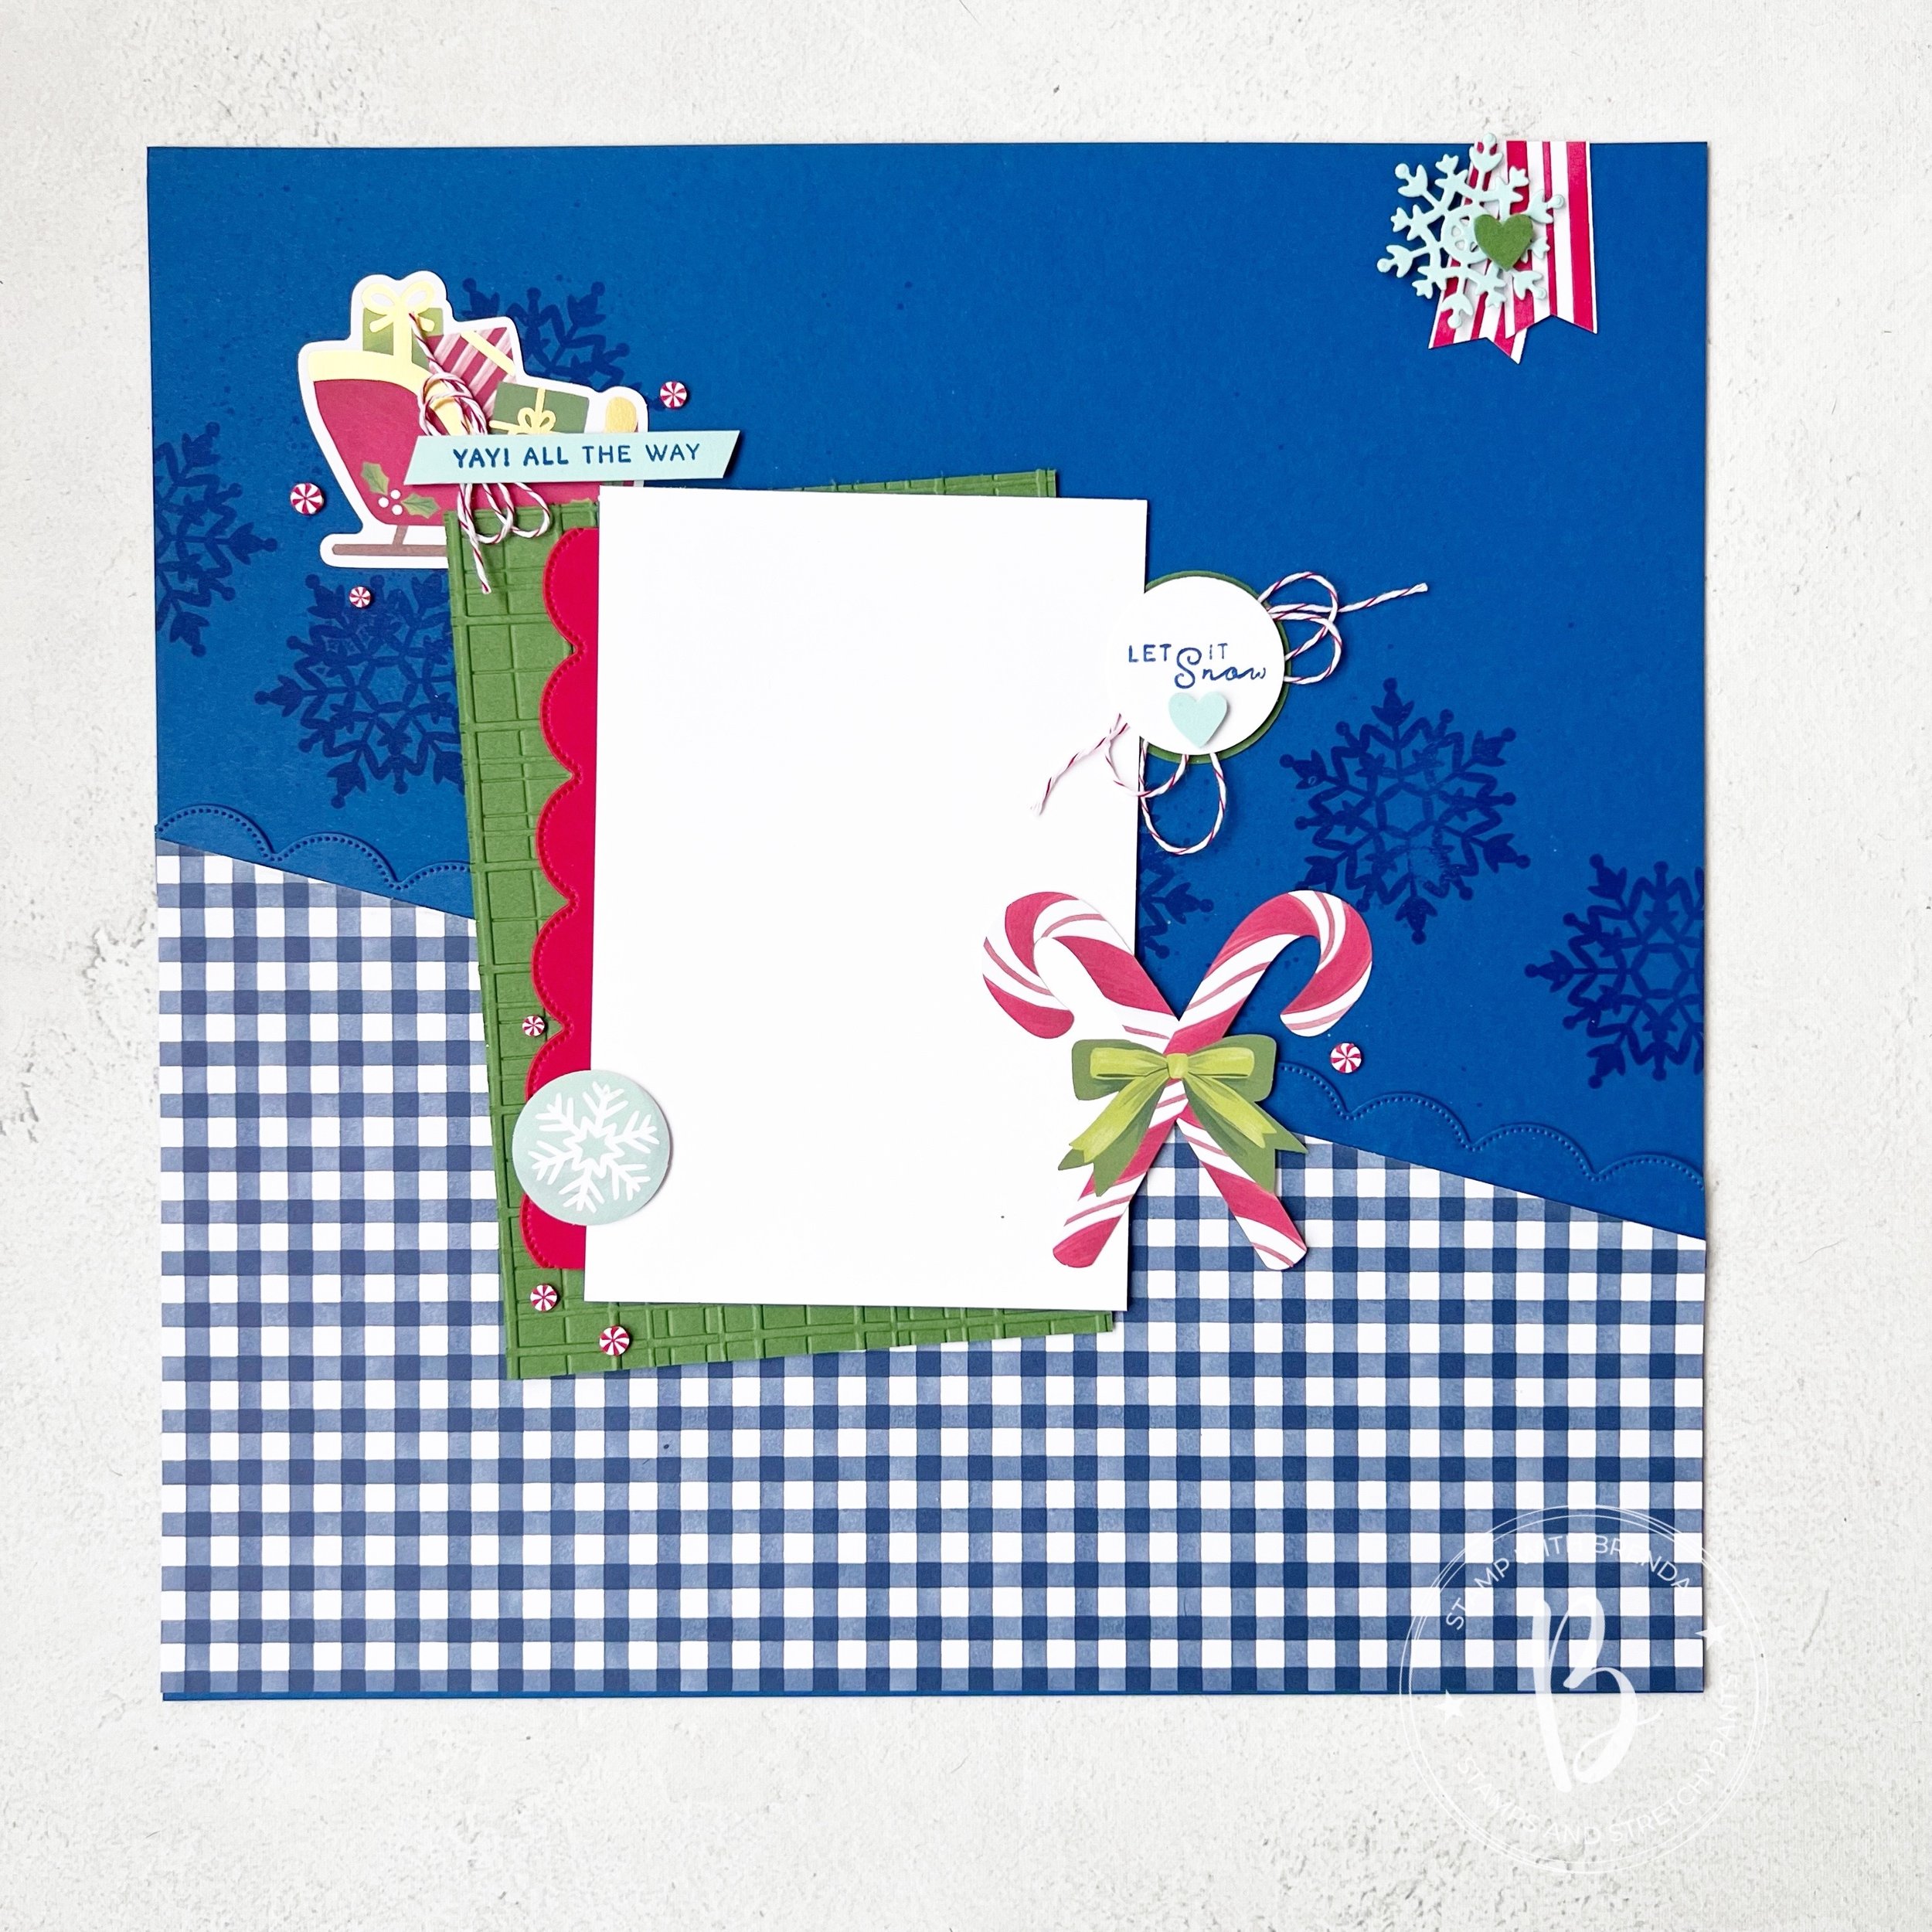
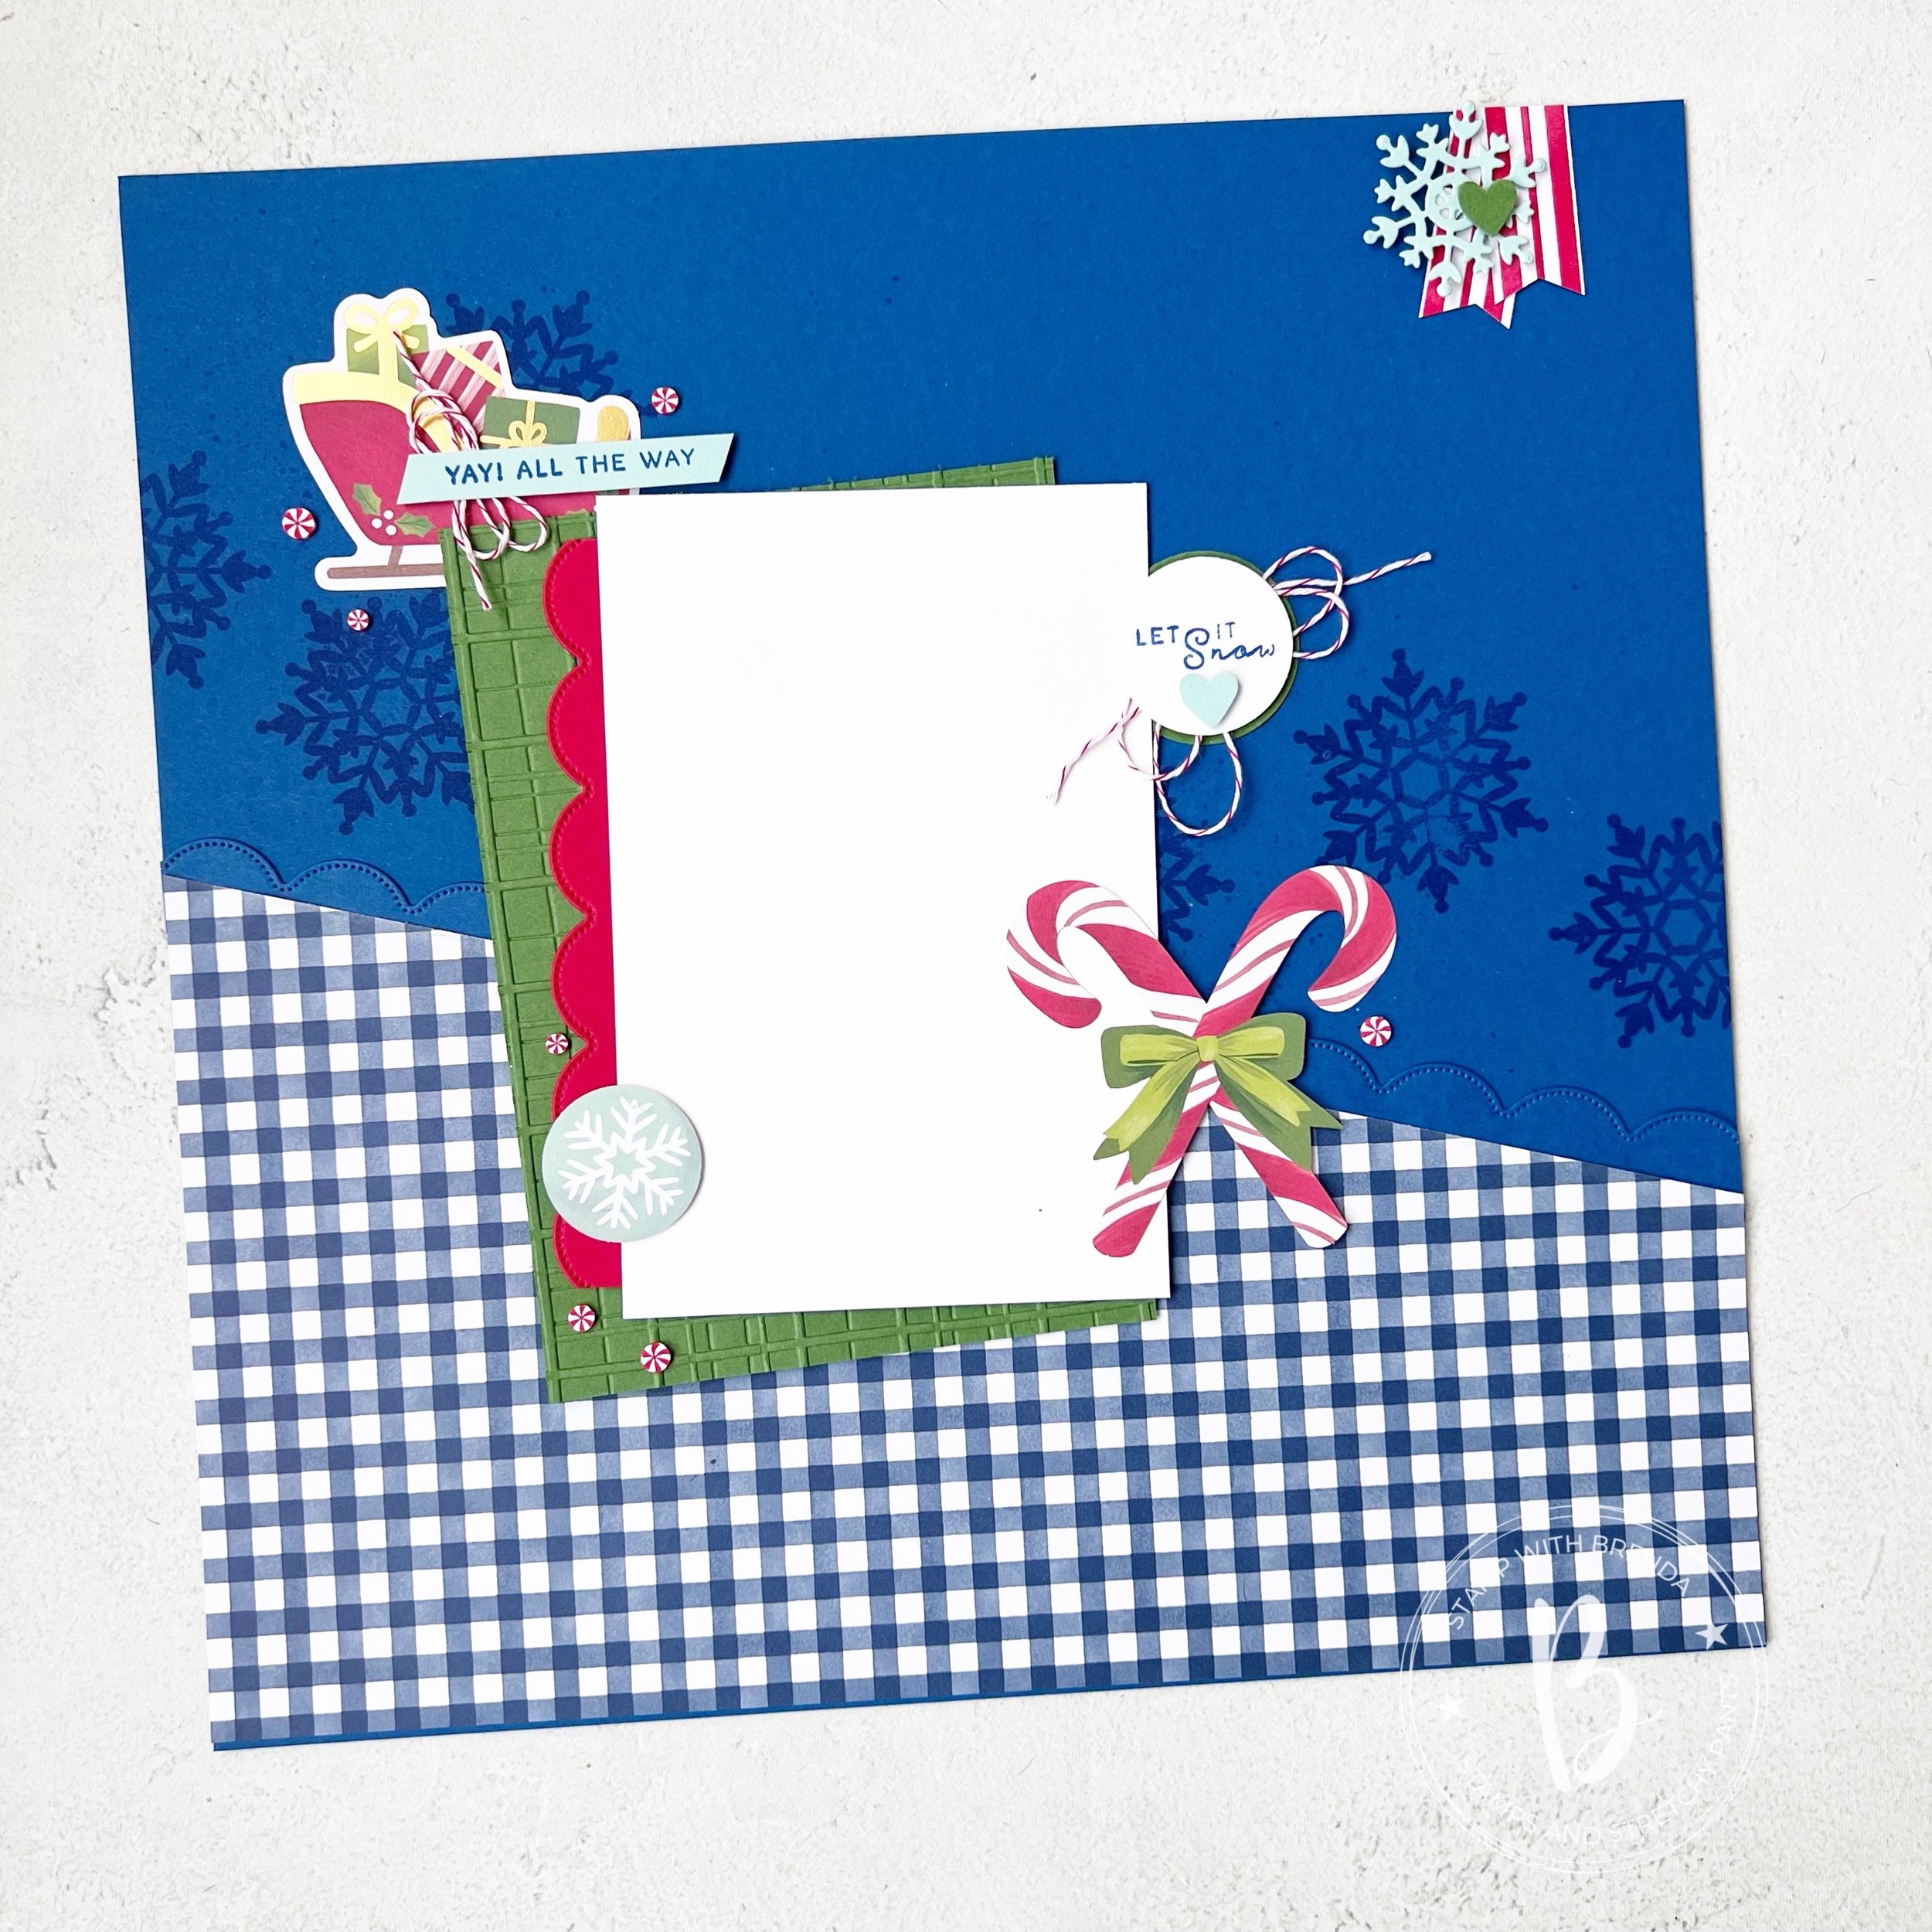
Hi friends! This is my fourth project to share with you and I am going back to my roots of scrapbooking, sharing another page made with the A Little Bit Festive Speciality Paper. I absolutely love the potential of these papers and all the pop out pieces that are included.

I think my favorite thing about this page is that it is on a base of Blueberry Bushel. I think its a really unique blend of colors, completely inspired by this Specialty DSP. You get 3 two sided sheets for a total of 6 patterns in this collection.

I love the blue gingham dsp and it was fun to use it on a bit of an angle for this scrapbook page. I used a retired die to add the large scallop detail along the DSP.

I added a large Garden Green Photo mat layer that I ran through the Forever Plaid Embossing Folder. This is such a great versatile folder in that oversized 6 x 8 size which is awesome. I know I will be able to use this folder all year long on a variety of projects. You will notice I used the same scallop die as a photo mat edge in Real Red.

I stamped some snowflakes from the One of a Kind stamp set in Blueberry Bushel along the same angle created by the DSP and the scallop die.

The variety of elements in this A Little Bit Festive collection work to really bring some fun and whimsy to this page. I love the big candy canes and the sleigh of gifts and they were perfect accompaniments to this layout.

I added the sentiment ‘Yay all the Way’ from the Sophisticated Sled stamp set with a little Red & White Bakers twine behind it. Let it Snow is from the same set and I decided to layer it on a Garden Green circle with some bakers twine and little heart from the Bee Builder Punch.

I connected the Pool Party Snowflake element with a die cut Pool Party snowflake from the One of a Kind dies. And of course the page is finished off with the popular candy candy elements!

Thanks for popping by today! I hope you are enjoying what Melanie and I have been sharing! You can visit her blog tomorrow to see what she has shared for inspiration.

Twelve Days of Christmas --with Brenda and Melanie!

Hi friends! Welcome to the third annual blog hop between myself and friend Melanie, from Mels Inky Fingers! For the next twelve days you can toggle between our blogs for some fun holiday inspiration! I will be sharing a mix of scrapbooking and card inspiration with you over the next twelve days on a rotating schedule with Melanie. I am so happy you are here and please feel free to leave me comments!

Of course I want to kick off our 12 Days with a fun scrapbooking project! I love to scrapbook and I am getting a jump on some holiday page designs. After Christmas I will be able to simply pop some photos on my pages and it will feel so rewarding!

Many of the scrapbook pages I am going to share over our 12 Days, use the A Little Bit Festive Specialty Paper found in the Holiday Catalogue. This is such a fun and economical way to scrapbook as you can create so many different layouts with the pieces found in this collection.

I started with a base of Garden Green (probably my favorite holiday green if I had to pick) and used a pieces of Real Red as a photo mat for a 5 x 7 picture.

This paper collection has a bunch of shapes that you can pop out and a sheet of six 4 x6 cards. I chose the card with the ornaments and actually fussy cut these out for the top right corner of my page. I stamped the little snowflake image around and under the ornaments using the Happiest Day stamp set. The phrase ‘Good Tidings’ is from the Sophisticated Sled stamp set.

A little Real Red & White bakers twine and some Gold Ribbon through the Good Tidings tag and some Peppermint embellishments finished off this little section of my page.

For the bottom section of my page, I stamped the same image again in the background and popped up the three ornaments from the collection. I added a bit of the Blueberry Bushel gingham pattern from the DSP underneath the top and bottom of my photo mat.

The sentiment is from the Reindeer Fun stamp set that I punched out with the Modern Oval Punch. A added a little more Red & White twine behind it and some more Peppermint Embellishments.

I hope this page inspires you to do some holiday memory keeping. Now its time to head over to Melanie’s blog to see what project she is kicking our 12 Days of Christmas off with! Click the image below to visit Mel’s Inky Fingers!

Please consider shopping my online store if this page has inspired you. Your support helps me continue to love what I do!