Flowers of Friendship Artisan Design Team Project

Hello friends! Thank you so much for stopping by today! I really wanted to create a blog post to showcase these 2 projects I created for the Artisan Design Team for the month of May. Each month the whole team releases a bunch of projects to the Stampin’ Up! Facebook page and then over the course of a couple of weeks they are shared individually on Instagram—so today is my day! It never gets old seeing your creations being featured by Stampin’ Up! Its been truly a dream come true and awesome learning experience to be a part of the team for 2021 :)

My assignment was to create two projects with the Flowers of Friendship Bundle. I LOVE a fantastic punch like this one that creates flowers that look great stamped or on their own.

IMG_7565.jpg

For my projects I wanted to share a different way to think about using your Flowers and Leaves Punch. I decided to create a stencil with one of our Window Sheets. Now I only wanted to highlight the flowers so I used a bit of tape to cover and block off the leaves.

I then placed my stencil over the card and scrapbook page Basic White layer and used the spatula and Embossing Paste to create a unique textured background.

To create a random placement of flowers you will need to allow some drying time in between applying each flower with the paste as you do not want to inadvertently cover or touch one that is already there and not dry as this will lead to smudging. So patience is your friend with this project but it is truly worth it in the end.

BrendaNelsonCloseUpMay2021.jpg

You will notice that my flowers have a soft feel to them and that is because they are stamped in Grey Granite ink. Black just felt like too harsh of an outline with the softer color pallette of this page. I colored my flowers in with the Stampin’ Blends in Pale Papaya and Fresh Freesia.

On the card I added the sentiment from the Flowers of Friendship stamp set in Grey Granite ink as well and looped some twine from the Baker’s Twine Essentials Pack behind along with an accent using the Loose Flower Flourishes (LOVE—in fact you should check out my Top Ten List for my new catty favorites).

I also incorporated the Tailored Made Tags dies into both of my projects and they have become a staple item these past few weeks! I can’t get enough of them as my have been noticing on some of my latest projects shared here on my blog or on my Instagram feed @stampwithbrenda.

I hope these projects inspire you to think outside the box when playing with this awesome bundle! If you do not have it already you can add it to your cart and shop with me by following this link!

Create with Connie and Mary--Textures and Ribbon!

Hi friends! I was really excited about this Design Team challenge and had an idea immediately. Sometimes I have to stew on things for a while but not this time! Textures and ribbon can add something really special to your projects which is why I almost always use ribbon and find a way to incorporate texture into all of my projects.

21SUDesignTeam.png

My favorite ribbon in the new catalogue at the moment is the Highland Heather Grosgrain Ribbon. It is a great width and has some built in sparkle to it which I love. I have also been playing and experimenting with the new Pastel Chalks so I wanted to find a way to incorporate those into my project as well.

final (1) 37.jpg

Let’s talk about the texture created on the background first. I used one of the new masks from the Plenty of Patterns collection. I placed it on top of my Highland Heather card stock layer and just held it in place with my finger tips. I scraped some chalk onto a large block using my Take a Pick Tool spatula edge (spare those scissors, this tool works perfect) and once I had a little pile I used my Blending Brush to pick it up and brush it all over the stencil creating this awesome textured background!

Hot Tip: you will need to scrape off the film or layer that is on the chalks to actually get at the ‘chalk’ .  I used the Take a Pick Tool for this as well.  Then you can use a finger dauber or your blending brush to pick up some chalk.

Hot Tip: you will need to scrape off the film or layer that is on the chalks to actually get at the ‘chalk’ . I used the Take a Pick Tool for this as well. Then you can use a finger dauber or your blending brush to pick up some chalk.

The real highlight of this card for me though is the ribbon. I cut a rectangle from the Stitched Rectangle dies and covered it with a few strips of Stampin’ Seal+ (love it by the way). I then layered my ribbon over top to create this awesome ribbon panel. I did end up trimming away some of the die as I wanted the ribbon to be perfect. I then added some more Stampin’ Seal+ to the backside and stuck the edges down. I popped this panel up on Dimensionals.


I used the stamp set Biggest Wish as my feature set on this card. The ‘Birthday’ is stamped in Coastal Cabana and the ‘Happy’ is stamped in Polished Pink.

I hand trimmed out the word happy and added it with a couple mini dimensionals.

You may wonder where the little ribbon on the side is from and it’s a sneak peek of something coming in our holiday catty!

This little sentiment area was completed by adding a Polished PInk Loose Flower Flourish…love this new embellishment so much!

final 67.jpg

I am really happy with how this card turned out and am excited to try it with a variety of different ribbons! I can’t wait to see what the other Design Team members created this week! You can go BACK to see Melissa’s creation or NEXT to see what Connie has made. If you are inspired and need any of the products to make this at home please feel free to use my June Hostess Code (found along the right hand side of my blog!). And as always, comments are appreciated!

final 66.jpg

Dad--You're the Best Scrapbook Page

I am really on a roll with my Father’s Day projects this year! I have created a couple different pages and I am so happy to share them with you in advance! Hopefully you will be inspired and can get the supplies together you need to make them!

final 70.jpg

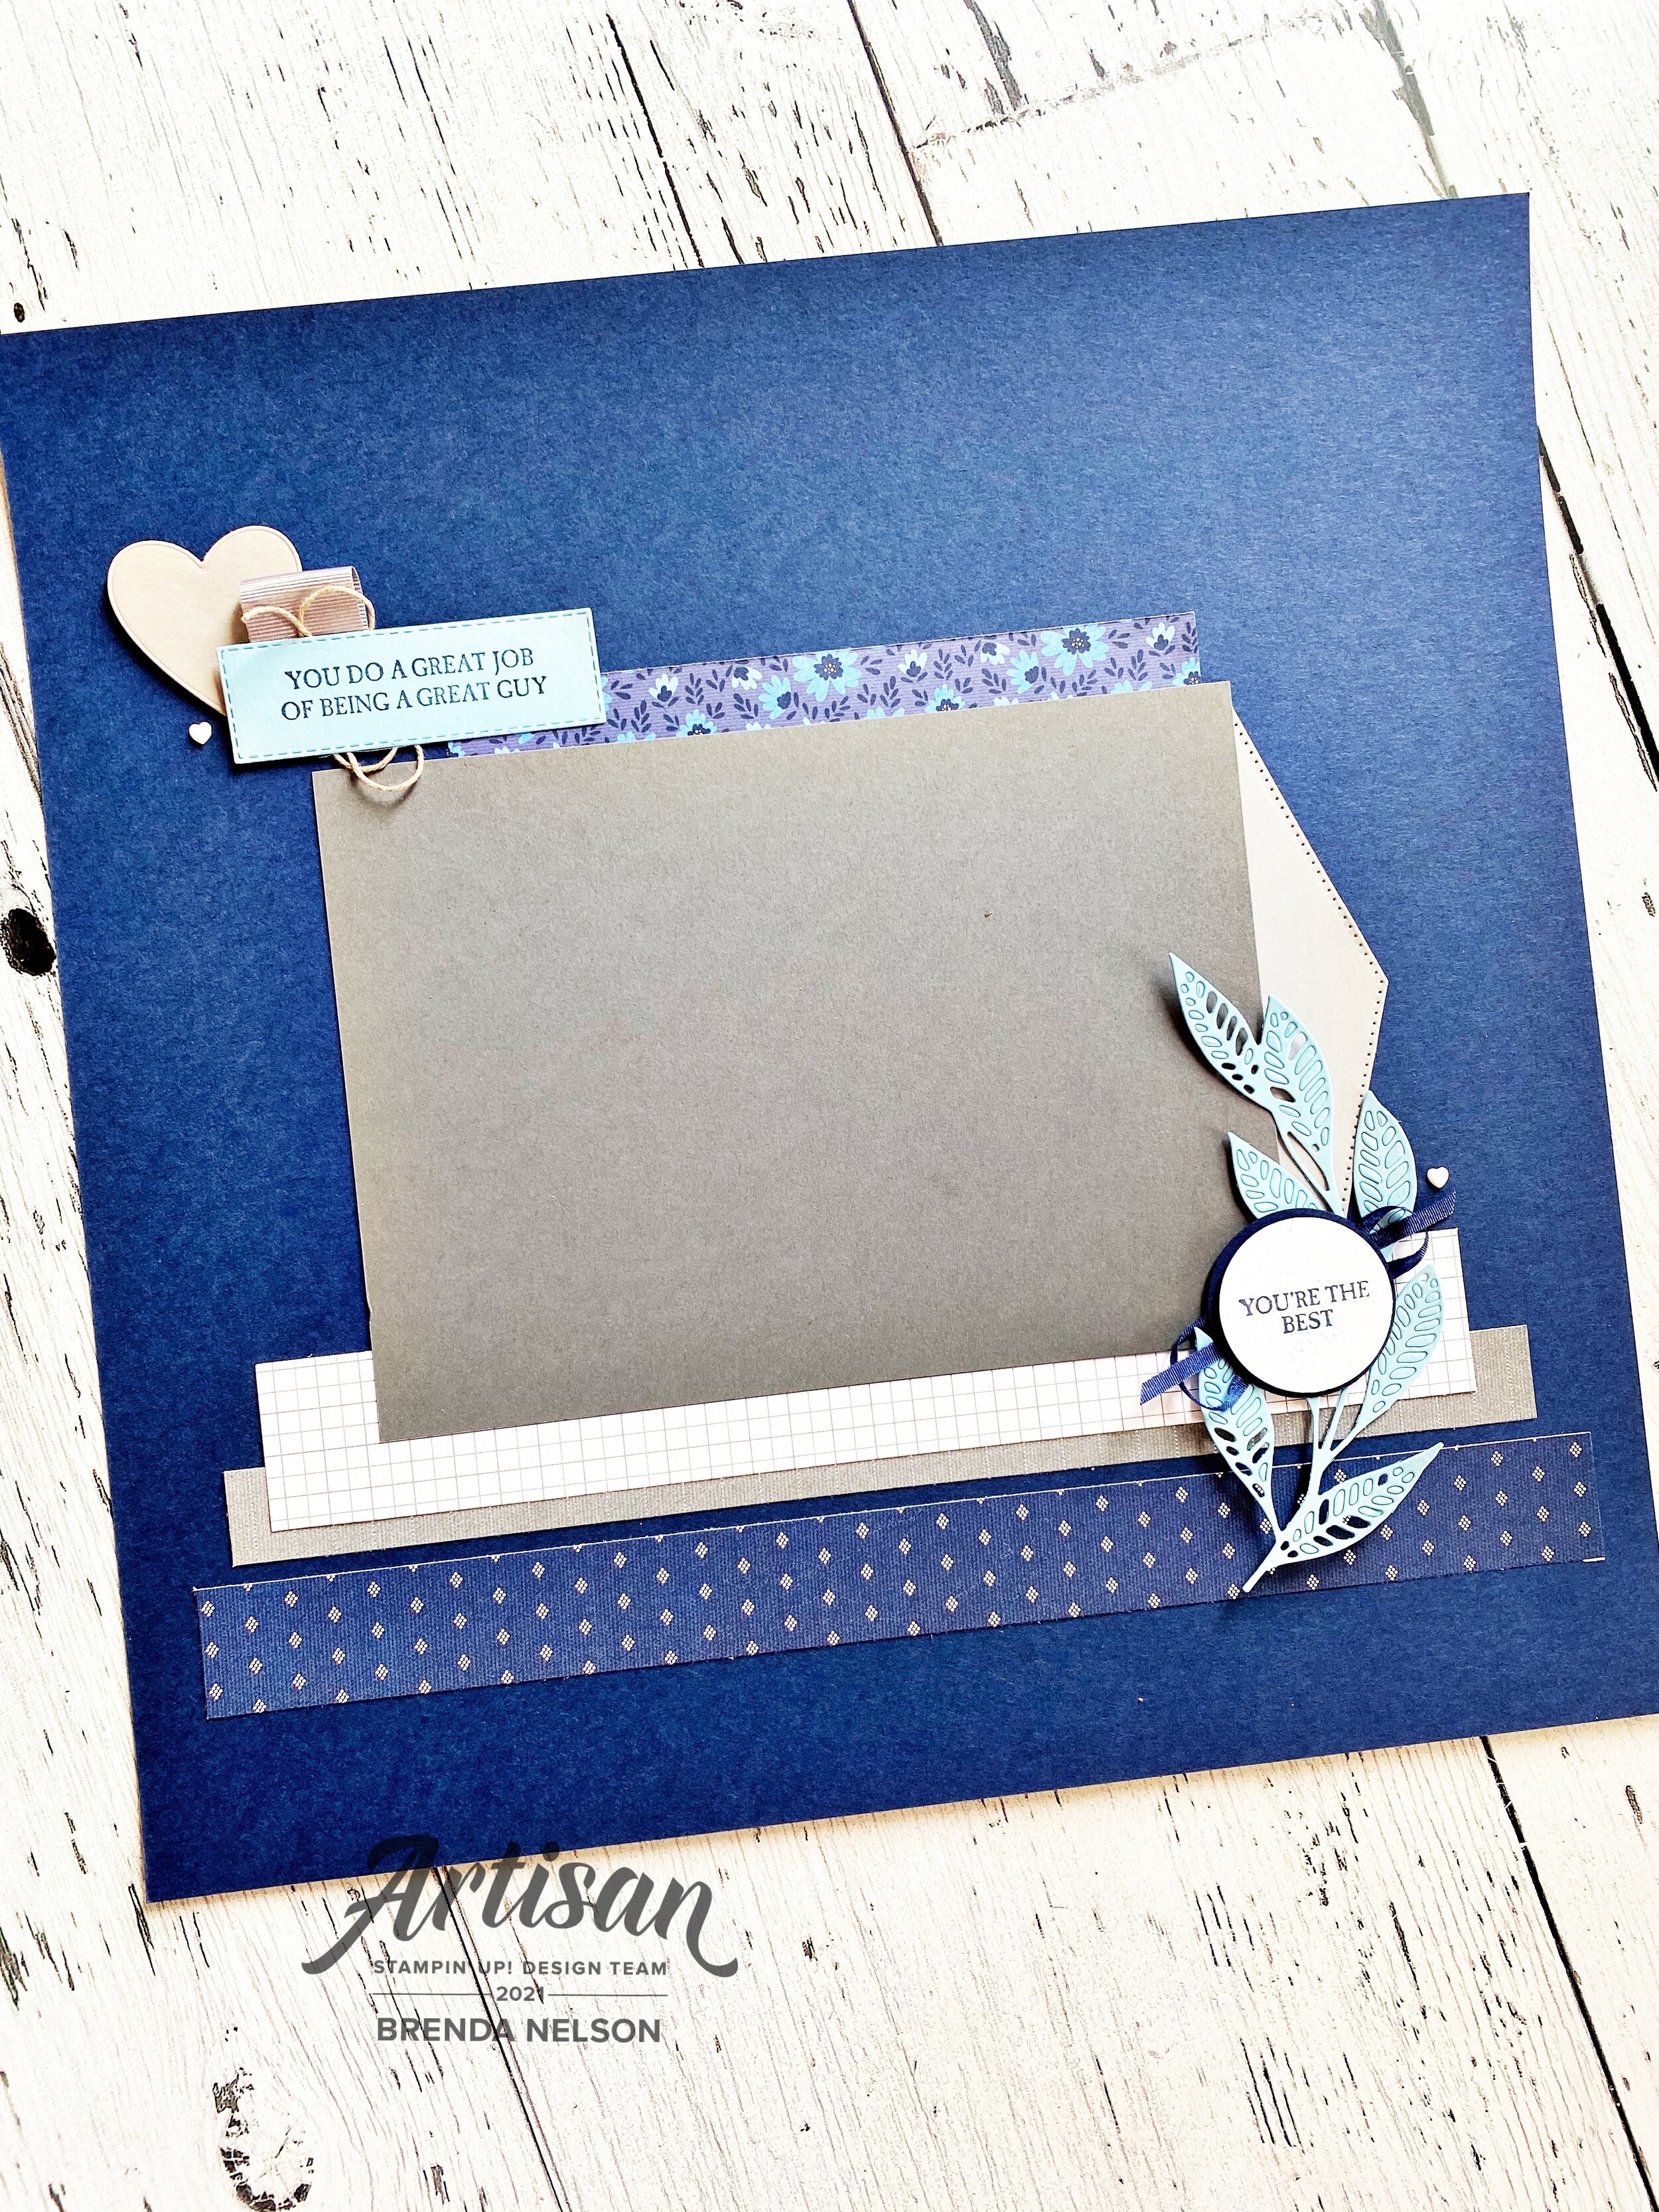
I always find masculine pages more challenging, you can’t just add in flowers on a masculine page! hahah! The base of these pages is Night of Navy (classic man color) and I was excited to add in some Designer Series Paper from the Well Suited collection and the returning favorite In Good Taste. In lieu of flowers I did decide to incorporate the leafy sprig image from the Artistic Dies. I also added in the pointy die from the Basic Borders dies on each of the photo mats as a unique and new accent.

final (1) 38.jpg

The hearts on both pages are from the Give it While Die and I ran them through an embossing folder for some texture.

I always like to add a variety of sentiments onto my scrapbook pages. On the top left “It’s Your Day” is stamped in Night of Navy ink from the A Good Man stamp set. The main sentiment on this page is from the Handsomely Suited stamp set. While I don’t gravitate towards the ties in this set, I do really enjoy the variety of phrases it has. To draw attention to the ‘Father’s Day’ aspect of the phrase, I stamped it on Smoky Slate and hand cut it to add over top with a Mini Dimensionals. The main sentiment is cut with the Switched So Sweetly Dies. A fan favorite!

I added in some Linen Thread and a bit of retired crumb cake ribbon for a lighter natural feel. Plus a few Resin Hearts because I couldn’t resist and I will be sad when they are retired.

final 69.jpg

You will notice this partner page has some carry over elements. This is important to me to create balance and connection across my two layouts. However, it is important to add some unique features too. Here I have added in a the new Smoky Slate Textured Ribbon behind the top sentiment. This sentiment is from A Good Man and is die cut with the Stitched Rectangles.

You’re the Best is from the same stamp set with a different ribbon behind but layered on the shape from the Artistic Dies. I also like having photo mats that go in both directions for a bit of variety!

I have one more ‘Dad’ themed page that I created that I am planning to share next week! I hope you will pop back for a visit!

Dad--You're the Best Card

I don’t know about you but making masculine cards always feels a bit more tricky. I really do love how this one turned out especially as the Tailored Made Tags Dies did all the work to make it awesome!

final (1) 35.jpg

I started with a base of Soft Suede and layered a large piece of the True Love DSP on top as my first layer. I always love a good black & white DSP and I will be sad when this one retires at the end of June. I then die cut 3 different sizes of tags from the Tailor Made Tags Dies in Misty Moonlight, Soft Suede and Smokey Slate.

The Playful Alphabet dies are a craft room must have in my opinion as they are the perfect size for card making and memory keeping. I added them to this project with the Foam Adhesive Sheets behind to give them a little pop off the base.

I added in You’re the Best on a piece of Basic Grey card stock for all the man colors on one project!

final 64.jpg

I decided to also do the inside of this card as well so I added another piece of DSP from the True Love paper this time in a stripe. I cut another tag in Misty Moonlight and stamped the sentiment from the Handsomely Suited stamp set. This is also where the “You’re the Best” on the card front came from.

Behind the sentiment I added a little bit of Misty Moonlight ribbon. Voila! A pretty eye catching yet simple Father’s Day card!

Dad--You're the Best!

This week I am going to be showcasing THREE awesome projects for the dads in your life! I wanted to share them early so you can use them for inspiration! So check back on Wednesday and Friday to catch all 3!

Up first is this awesome flip album that features pictures with Dad! You can use past photos or take some on Father’s Day to add to the album afterwards!

final 61.jpg

This is a fun Flip style album that I put together as a class. I always love to create a project that is kid friendly with a little help from mom.

Each page in the album is HALF of an 8 1/2 x 11 piece of Crumb Cake card stock. I used a total of 3 half sheets to make this which will give you 6 design surfaces or sides. You will need to stack them together and punch a hole to add the binder rings (available at any office supply store).

I used the Well Suited DSP as my color palette. I actually quite like this masculine themed designer paper! I cut ‘Dad’ using some retired alphabet dies as I never get rid of our alphabet offerings. I actually wish we would bring back a larger set again! Because I am an avid scrapbooker I do pull these out quick often. The Balmy Blue heart is from the Kiss Punch. Let’s Celebrate You can be found in the stamp set Itty Bitty Birthdays.

final (1) 33.jpg

Each page is designed to add a vertical 4 x 6 photo (the ‘selfie’ direction of most of our pictures). I added a photo mat on each page as well and then a few fun details. This page uses sentiments from the Thanks for the Laughs and Handsomely Suited stamp sets. The main sentiment is die cut using the Stitched So Sweetly dies.

final (1) 34.jpg

I also added in the Playful Alphabets dies with the Foam Adhesive Sheets (best combo ever!) and the sentiment on this page is from A Good Man and is a repeating sentiment throughout the album.

final 62.jpg

I am a big fan of our twine as it adds such a nice accent behind sentiments and I love that there is coordinating twine with this suite. I wanted to bring in a lighter touch to this page so I added hints of Balmy Blue with the top sentiment and by tucking a half circle under the bottom one.

The “You’re the Best” is from the A Good Man stamp set and the bottom one is from Handsomely Suited.

final 63.jpg

I thought adding in a the sentiment “We must be Related” was perfect for a page with a dad and his kid! I love the Grand Kid stamp set and am so happy it carried over into our new catalogue. It should not be overlooked, it has some awesome sentiments in it. Some retired twine also worked well along with our Matte Black dots. So happy they are sticking around too!

final 60.jpg

And of course we need to finish off this album with “You are Amazing” as Dad really is right? I love this sentiment and you can find it in the You are Amazing stamp set that coordinates with the project kit. I added a strip of DSP and some black twine from our twine combo package and some recently retired ribbon.

I love this little Flip album as it stands up fairly easy and makes a fun addition to Dad’s desk! Make sure to come back and visit on Wednesday so you can see the next project I created!