Create with Connie and Mary--Playing With Patterns ALL DAY LONG
/When Connie and Mary shared that our design theme for this week was to feature the Playing with Patterns Suite, I won’t lie, I was pretty excited as it is my favourite suite in the new catalogue! I love the fun colors and its one of the best 6x6 Designer Papers we have ever had (in my humble opinion!). Creating this projected also worked out well because my Avid Stamping group that meets monthly, also made these projects earlier this summer. I love when projects can do double duty!


I decided to make three fun and colourful cards with the Playing with Patterns Suite keeping the color palette true to the suite.
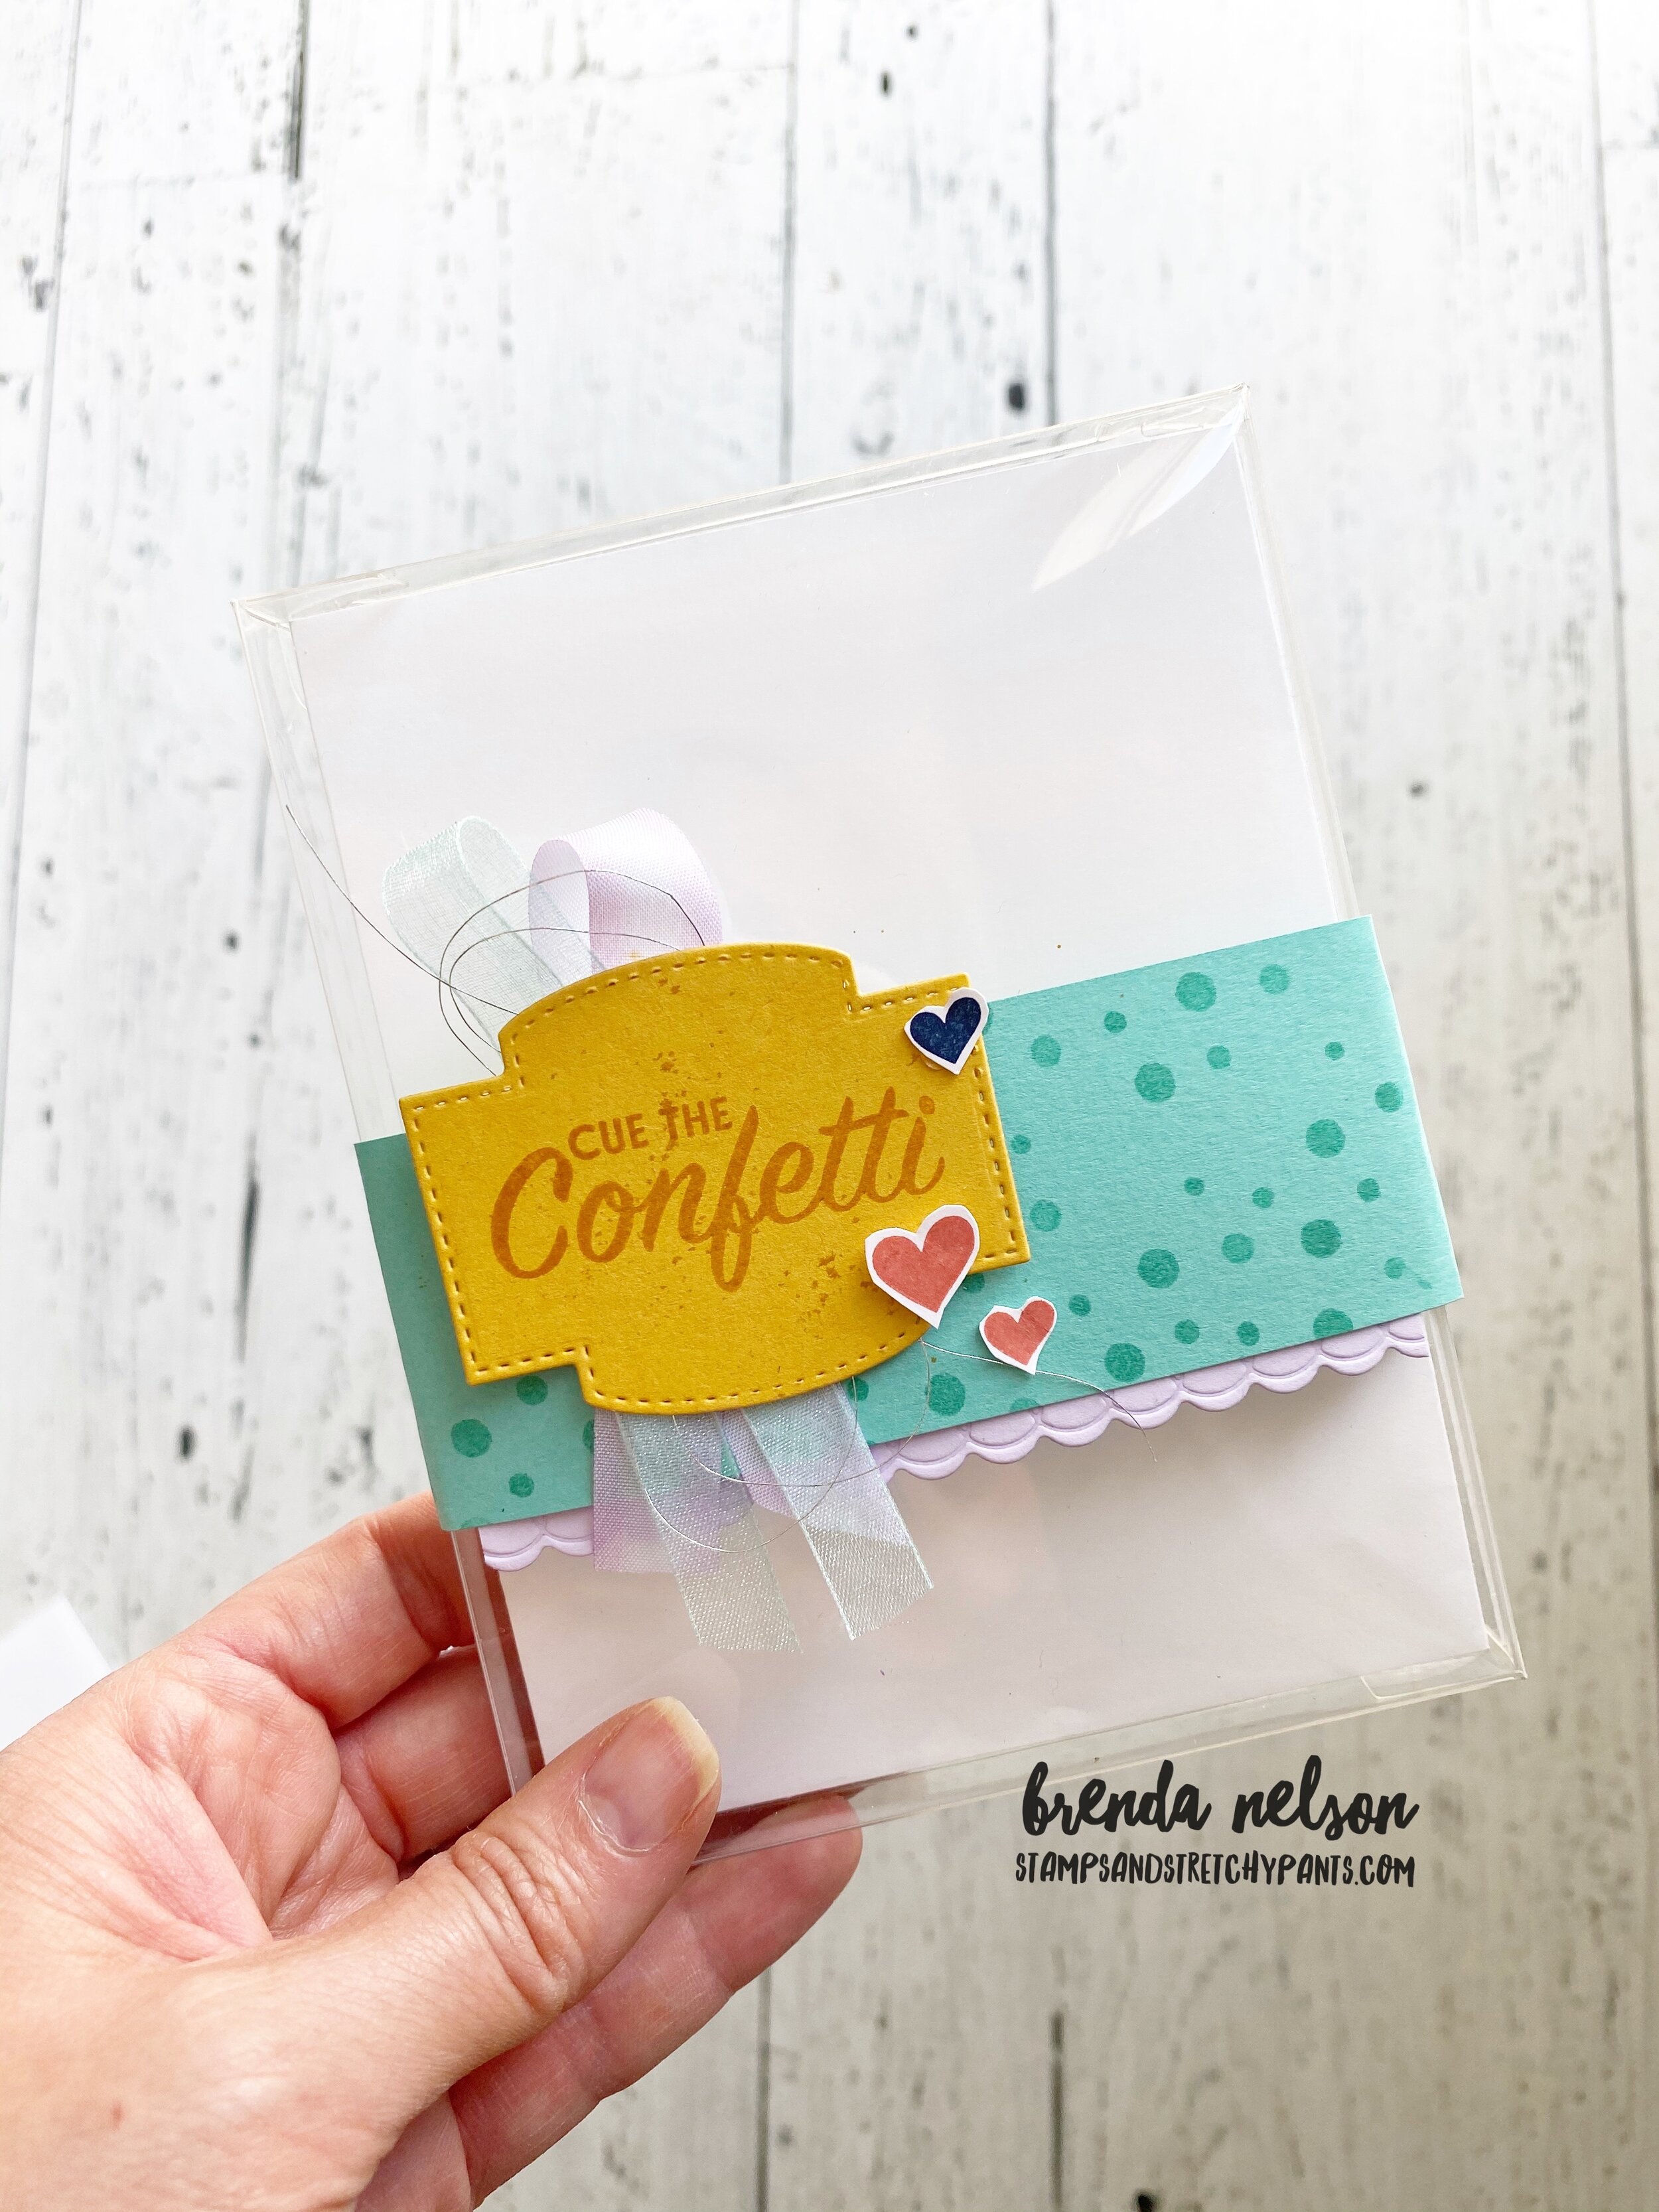
When I make cards that all coordinate, whether its the same bundle, suite or stamp set, I do like to present them with coordinating packaging. I think its a great touch and makes giving the collection as a gift super easy as even envelopes are included. I still LOVE our Acetate boxes that are in the catalogue, don’t forget about them because they are not ‘new’.

The stamped envelopes that coordinate with each card are seriously just the cutest. I love getting mail (especially when its not bills) and having these show up in my mailbox would really brighten my day.

The first card I created was this fun shaker option as I had not made one in quite a while. I started with a Night of Navy card base and stamped the stripes in the same color ink on the background (p.s I love that this stamp from the Pattern Play stamp set fits the width of the card!). I used a circle die to cut out the window/shaker component and then stamped some hearts in opposing corners in Calypso Coral with an added marker flick (to take away a bit of the white). The Adhesive Strips were perfect for bending around the circle on the back of the card. I then used the Confetti Flowers Border punch to punch out a selection of flowers in the coordinating colors. I added in some sequins from the Woven Threads as some extra filler.
I cut the Coastal Cabana DSP from the Playing with Patterns 6x6 stack to 3 1/4 x 3 1/4 and secured it to the Adhesive strips to enclose everything and create the shaker.
HI was cut using the awesome Playful Alphabet Dies (a serious MUST HAVE) and added to the Adhesive Sheets so they would be raised up. I love how this card turned out!

For this card, I wanted to use the Playful Alphabet dies in a bit of different way by featuring the negative image of the letters. I started with a Blushing Bride base and cut the word SMILE out. I layered. a strip of DSP behind and raised it up on Dimensionals on the card base. I stamped the chevron image in Coastal Cabana on the card base along with some marker flicking. The Crushed Curry scallop detail under SMILE is cut from one of the dies in the Peony set. I borrowed the word ‘friend’ from the Field of Flowers stamp set.

This card might be my favourite of the three—-I think I love the Coastal Cabana base and using the two different dot stamp sets in the collection. Cue the Confetti is stamped in Calypso Coral ink on Blushing Bride cards stock. I cut four strips of DSP that are 2 1/4 by 3/4 and added them overlapping and at different angles. A couple pieces of ribbon and some embellishments and voila!

I absolutely LOVE this card project and its just the kind of project my Avid stamping group loves! I hope you do too!
I hope you are enjoying the blog hop so far…if you are starting here you can go Back to check out Melissa’s creation or Next to see what Connie has stamped for us!