Capture the Good--Create With Connie and Mary!

Hello my friends! I am so so excited to be a part of the Create with Connie and Mary Blog Hop! These two ladies have been pioneers in blogging and I can’t even express how honoured I am to be joining their weekly Saturday blog hop! It will keep me on my toes for sure! This is also my second card for “A Card a Day in May”.

You should have just been at Melissa Davies blog, I cannot say enough amazing things about her talent!

For my first venture into this challenge, we are using our favourite retiring stamp set. I finally settled on Capture the Good which is a million dollar achiever set designed by Tami White. I am so sad to see it retiring but I also know it will remain in my stamp collection as I absolutely love the camera image. I decided to make the camera image the focus of my card while stamping and embossing it with Whisper White on vellum. Smile is also embossed but in gold and I used my favourite color combo: Petal Pink, Daffodil Delight, and Call Me Clover with gold accents.

Image 2020-04-27 at 6.31 PM (1).jpg
This card also features my favourite retiring DSP, Bird Ballad, and my favourite retiring In Colour, Call Me Clover. I figured I might as well get as many retiring things onto one card as I possibly could!

This card also features my favourite retiring DSP, Bird Ballad, and my favourite retiring In Colour, Call Me Clover. I figured I might as well get as many retiring things onto one card as I possibly could!

I also love the Perennial Essence Flower Centres too! I used them on so many projects!

I also love the Perennial Essence Flower Centres too! I used them on so many projects!

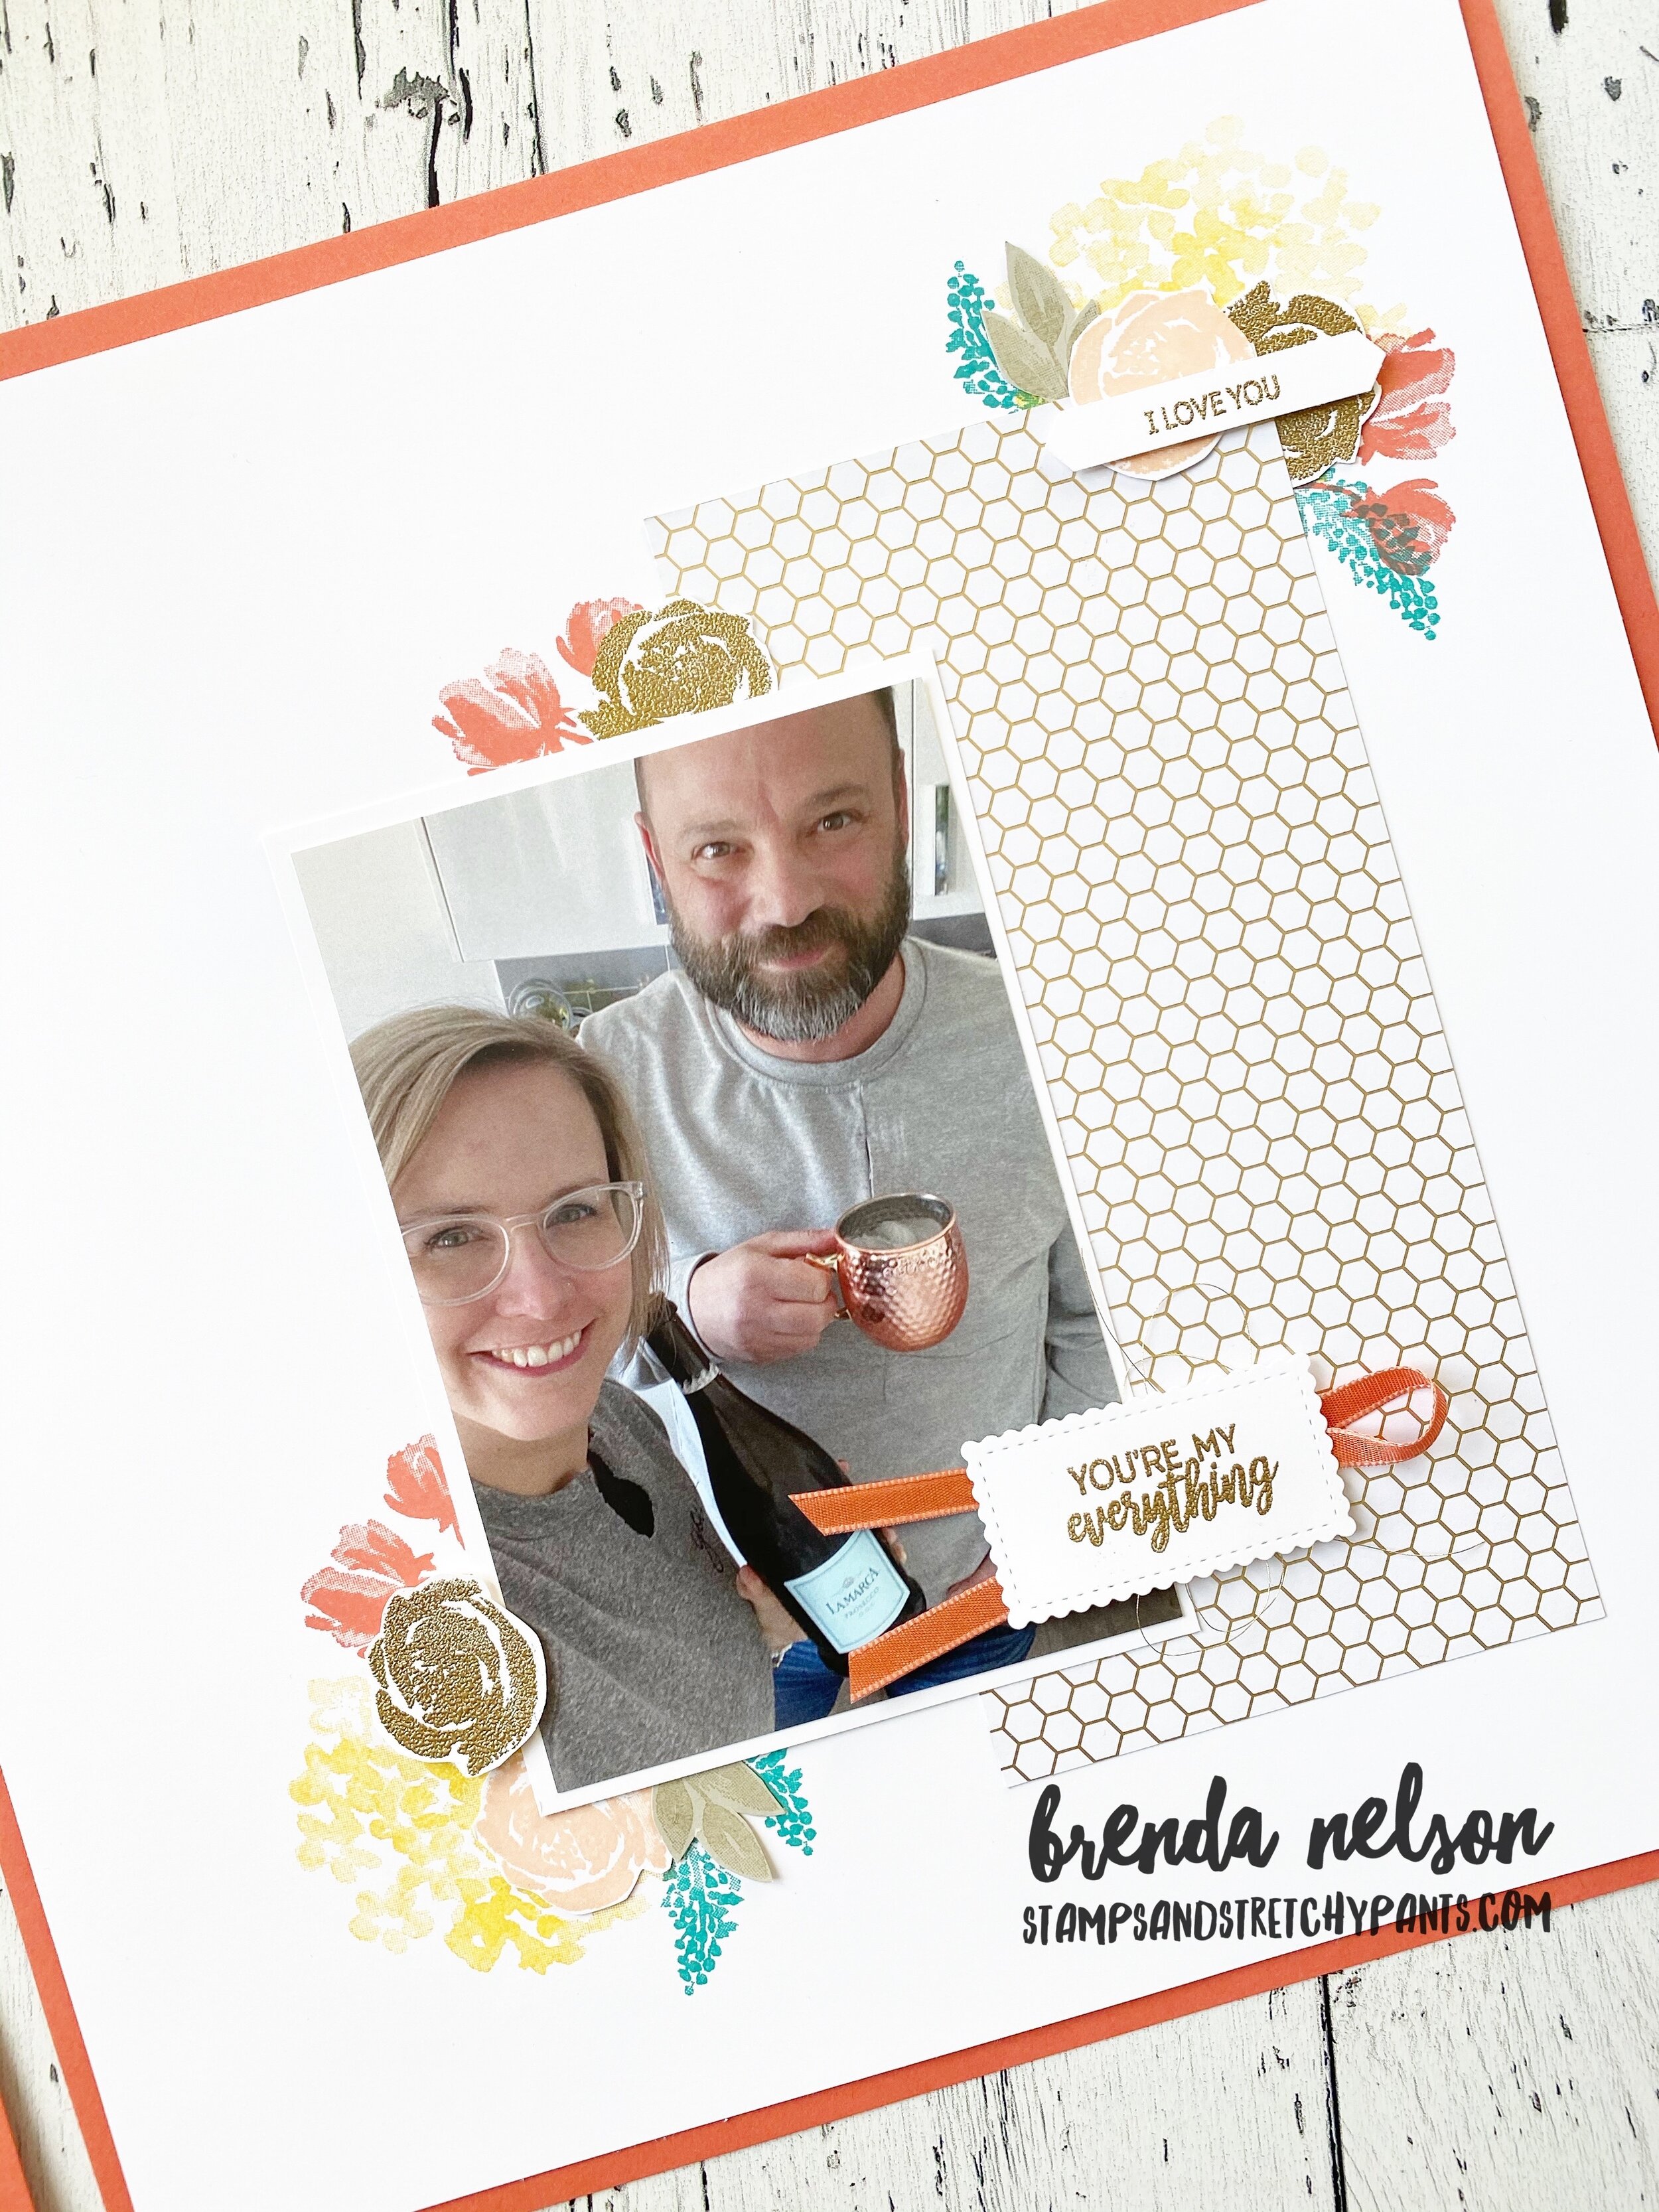
When I create a card I really love I find it also inspires me to make a scrapbook page, as really a scrapbook page is just a larger canvas! So I repeated some of the imagery from this card onto a 12x12 page.

The larger canvass did allow me to add in a few more flowers, ribbon and a heart all while keeping the same elements as the card. I am pretty happy with how it turned out!

The larger canvass did allow me to add in a few more flowers, ribbon and a heart all while keeping the same elements as the card. I am pretty happy with how it turned out!

Next on this Saturday morning blog hop you will be visiting Connie Babert, the creative mastermind along with Mary of this hop! I can’t wait to see how she inspires us this week!

 
Click here to return to Melissa Davies

Click here to return to Melissa Davies

Click here to visit the amazing Connie Babbert

Click here to visit the amazing Connie Babbert

Color Coach Combo

Do you ever reach for the Color Coach cards that Stampin’ Up! created? I do find myself looking at them for inspiration when I feel stuck, or want to add a pop of color but not sure what! You can see how I used one of the Calypso Coral cards to influence the color pallet for this scrapbook page. I wanted to create a page that was bright and floral but could be used with a picture from any moment of your life. The pictures I actually used on these pages are from quarantine. I think it is important to document this experience in our lives too, and it is important to me that these paper memories are positive and bright.

final.jpg
Fun fact: I drank the whole bottle that day!

Fun fact: I drank the whole bottle that day!

The colors used on this page are Calypso Coral, Daffodil Delight, Petal Pink, Sahara Sand and Bermuda Bay with a hint of gold accents. I used the Golden Honey Specialty DSP which was the NUMBER ONE item redeemed during Sale-a-bration! The stamp sets used are Beautiful Friendship, Beautiful Promenade, Capture the Good and Well Said.

The ribbon on my selfie is the Whisper White Crinkled Seam Binding Ribbon that I coloured with the dark Petal Pink Blend marker.  If you take the ribbon and lay it on an acrylic block, you can pull it underneath the marker— It is so fast and easy to…

The ribbon on my selfie is the Whisper White Crinkled Seam Binding Ribbon that I coloured with the dark Petal Pink Blend marker. If you take the ribbon and lay it on an acrylic block, you can pull it underneath the marker— It is so fast and easy to do and drives immediately.

Ornate Garden Mini Album

When cleaning and reorganizing my craft room lately, I came across a mini album I had made a few years back and was inspired to recreate it with some new supplies. I used the Copper Dotted Treat Bags as the base. I love using a bag or envelope as a mini album base because it comes with built in storage for pull outs so to speak. I decided to use the Ornate Gardens Specialty DSP and colour palette to embellish my album. Of course you can use any DSP and coordinating colors.

To make this album you will need 5 Copper Dotted Treat Bags. This will allow you to have 8 pictures in your album as the cover bag does not hold any photos.

The spine to wrap around your album is a 4 3/4 x 4 piece of card stock scored @ 2 on the short side. I then ran each edge through the Ornate Layers die to give it a bit of detail. You can use a punch or any die to add a decorative edge. I stacked all of the bags together and used Tombow adhesive to glue the spine to the front and back bags. I then secured each inside bag with Tombow. The ribbon died around the spine is purely decorative, it does not hold anything together. It is the new Ornate Garden ribbon from the Ornate Garden Suite. It comes in a two pack with Old Olive and Terracotta Tile.

The outside photo mats are 4 1/4 x 4 1/4 so you can add a 4 x 4 photo to them. I always try and keep my measurements simple for my stampers. I then embellished each page with pieces of DSP and some floral images and sentiments that spoke to the pictures. The Gilded Gems are awesome and I couldn’t resist adding a few into the album. Overall, the album is very flat, I did not want a lot of bulk.

The pullout pages are 4 1/4 x 5 1/2 and I trimmed the photos to fit. I added tabs using the Circle Tab punch in Whisper White so they blended into the album. And I kept all of the embellishments flat (no dimensional, a real challenge for me!) so they could slide in and out of the album easily.

I chose a sentiment for the front that was neutral for whatever photos I wanted to add to the inside. It is from the Capture the Good stamp set in the Idea Book & Catalogue. I layered it with some circle punches and the Label Me Lovely Punch (from the Occasions Catty).

final.jpg
final.jpg
This album features photos from our Nelson Family camping trip each summer to Greenwater Lake, Saskatchewan

This album features photos from our Nelson Family camping trip each summer to Greenwater Lake, Saskatchewan

final.jpg
This image shows the pullout pages that are tucked inside the Copper Dotted treat bags

This image shows the pullout pages that are tucked inside the Copper Dotted treat bags

I used a mini stapler to secure the tab punches to the base so there was no risk of them tearing free

I used a mini stapler to secure the tab punches to the base so there was no risk of them tearing free