A Card a Day in December--Day #26

I hope everyone had an amazing holiday and is enjoying all of their new gifts that Santa brought! Today I want to share a winter scrapbook page with you. I know NOT A CARD, but I figured we will all have winter photos that we want to save so hopefully this page provides you with some inspiration!

final (8).jpg

This double page layout is on a base of Pool Party 12x12 and is accentuated with colors found in the Snowflake Splendour Suite. I LOVE this designer series paper and how many different tones of blue and purple there are to work with.

I added two different 3 x 12 strips of the DSP to each page to bring in some of these colors so that I could in embellishments in a variety of colors.

I used the So Many Snowflake, Peony and Beautiful Bows dies on these two pages.

Winter and Wishes are cut using the Playful Alphabet dies with the Foam Adhesive sheets and the Well Written dies.

Winter and Wishes are cut using the Playful Alphabet dies with the Foam Adhesive sheets and the Well Written dies.

“In the Coldest Moments…” is stamped in Pacific Point ink on Whisper White and is punched with a 2 1/2 circle punch. The Stitched Circles were perfect to cut a layering piece out of another selection of DSP. In between I added some In Color ribbon and Playing with Patterns ribbon.

Adding some Highland Heather snowflakes along with boughs cut in Whisper White were perfect.

You will notice there are a bunch of snowflakes stamped in the backround.

Here is fun tip: Place all of your desired stamps onto one of our larger blocks. I used the E block for this. Then you can stamp a bunch of images at one time and slightly rotate the block each time so they look different.

final.jpg
 

The second page of my layout has many of the same elements but in a vertical presentation instead. Not only does this allow for a photo going in a different direction (consider that most selfies are this orientation) it allows for a different look while feeling unified.

The sentiment on this page is from the Snowman Season stamp set. A returning favorite from last holiday! It is cut with a Stitched Circle and the DSP behind it is cut with a punch. A reversal from what you found on the other page.

Once again I added in Highland Heather snowflakes and a border with the Peony die in Misty Moonlight.

final (7).jpg
final (2).jpg

Both pages have some Blue Backed Gems and Rhinestones. The sentiment on this page also has some Pool Party Sheer ribbon behind it to mimic the other page.

I really love how these two pages turned out. I hope you will try your hand at some memory keeping if it is not something you already do! If you live in Canada please feel free to SHOP by online store direct to Stampin’ Up! Thank you in advance!


A Card a Day in December--Day #18

While this card doesn’t say Merry Christmas I still feel like it is a holiday card that I would give to a close friend. I love the Snowflake Splendor suite as it has some really unique sentiments in it. I created two versions of this card with different colors. Which one do you like better? I can’t even pick!

final (11) 8.jpg

Both of the cards are on bases of Pool Party with snowflakes stamped in the same ink color along the bottom.

I added a small strip of DSP from the Snowflake Splendor collection and then changed up the snowflake colors on each card. So one card leans more purple and the other more blue tones.

The ribbon is the Pool Party Sheer Ribbon from the Annual Catalogue. I love this ribbon and have gone through a couple of rolls already. I added some bling to the middle of a few snowflakes with the Elegant Faceted Gems.

final (7) 11.jpg

If you live in Canada please feel free to shop with me! I would love to support you in your crafting needs and make a new friend across the county!

A Card a Day in December--Day #9

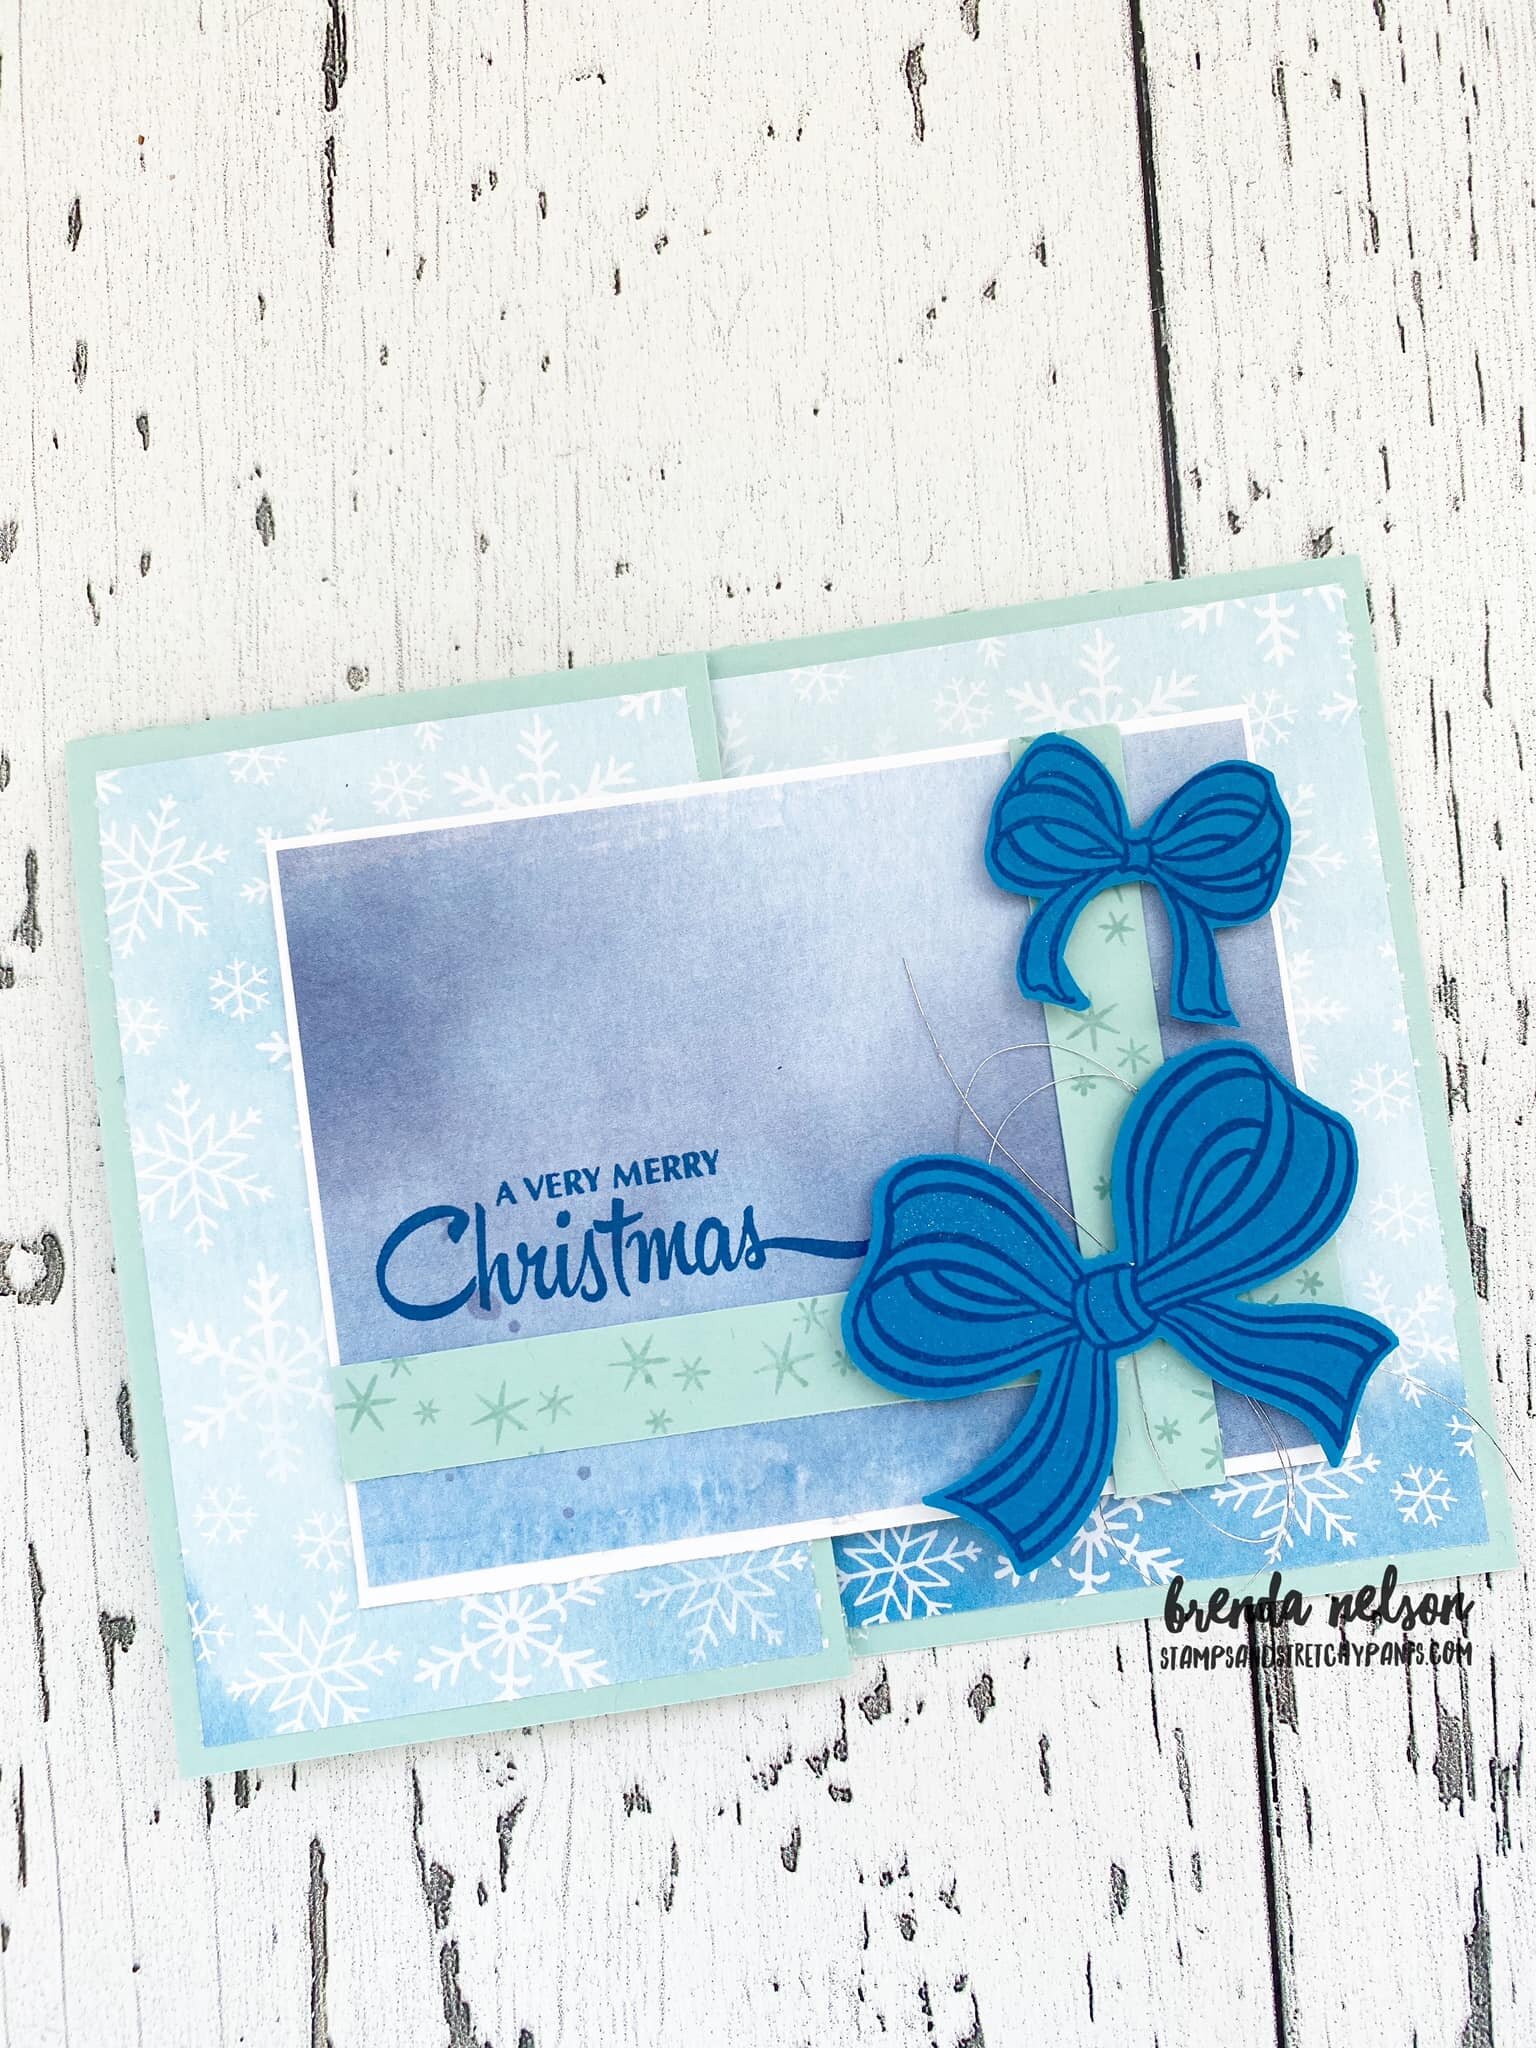
Hello friends! Here is another fun gift card holder idea. It is actually known as a ‘barn door’ gift card holder and I thought it would be a fun project to share as my 9th Holiday card! If you have been following along then you know I do 12 days of Gift Cards for my husband. I actually had him in mind when I created these as they do have more of a masculine feel to them with all of the blue tones.

120087652_3950988378251823_7393277335415621232_o.jpg

What makes this gift card holder unique is it starts with a typical card base size— 5 1/2 x 4 1/4 so you can get 4 bases from one sheet of card stock. Love that!

I wanted to use the Snowflake Splendor Designer Series Paper as the color palette has so many options that you can choose from for card bases! This particular one features Pacific Point.

The Gift Wrapped Bundle was an easy choice to use to create this gift card holder!


To create the ‘barn door’ or flip up section you will cut a piece of card stock to 4 1/4 x 2 1/4 and attach it to the left side of the base. The base designer series is cut so that it covers this ‘seem’ and then beside I added a panel of Whisper White where I did a little stamping and you have a place to write a special message.

I used the Classic Label punch to make a slit on the top flap that your gift card tucks into.

It is then hidden by a front panel that doubles as the card front.

I found this DSP so easy to work with to mix and match the patterns to create a few different gift card variations.

122219011_4031555820195078_4810462249955125759_o.jpg
120135078_3950988631585131_2305485365263012929_o.jpg

This one is on a Pool Party base. I wanted the front of the gift cards to look like wrapped presents and it was pretty easy with the Gift Wrapped stamp set. There are 5 different bow designs in this set and the font as a nostalgic feel to it.


I hope you have been enjoying all of my projects so far!

IMG_0080.png
120164497_3950988304918497_202985258323315200_o.jpg

A Card a Day in December--So Many Snowflakes! Day #6

I hope you have been enjoying following along my A Card a Day in December series so far! Yesterday’s project was a gift card holder as part of the Create with Connie and Mary Blog Hop so I hope you didn’t miss it! If you did, make sure you go back and check it out!

I love this card so much as it truly highlights all the amazing features of the Snowflake Splendor suite.

final 4.jpg

I started with a base of Pacific Point. I am so happy for this color to be getting some attention! I added a base layer in Pacific Point that I stamped with snowflakes in the coordinating ink. I LOVE how many different snowflake images there are to choose from in the Snowflake Wishes stamp set. I used the little cluster of snowflakes on my card.

I cut a piece of the Snowflake Splendor Designer Series Paper to 3 1/4 x 4 1/2 and off set it. I also wanted to showcase the Winter Snow Embossing folder so I ran a piece of Whisper White card stock though it. It is cut to 2 3/4 x 4 and is then flicked with my Wink of Stella marker for a little bit of glitz.


As you can see, this card is all about the LAYERS!

I added a strip of the mini snowflakes pattern from the DSP and a solid strip of Pacific Point card stock where I stamped my sentiment.

Behind my sentiment I added a bit of the Coastal Cabana ribbon from the Playing With Patterns Ribbon combo pack.

final 12.jpg

I wanted a mix of stamped and die cut snowflakes on my card and I created those with three different tones, Purple Posy, Highland Heather and Pool Party.

And every card needs some bling and I absolutely love the Blue Adhesive Backed Gems. They work perfectly on this project as it has so many different tones of blue to it!

Joy of Sets-Thankful for You

Hello and welcome to another Joy of Sets Blog Hop! This month we have an awesome line up and I can’t wait to see how everyone interpreted our theme of “Thankful for You”. I do know you will leave feeling inspired!

81038398_10215727554888761_5339493322228498432_o.jpg

Once I knew what our theme was I knew right away that I wanted to use the Snowflake Wishes stamp set and coordinating die set, So Many Snowflakes, from our Handmade for You catalogue. I was really intrigued that Stampin’ Up! had decided to add the sentiment “Thank You Snow Much” into this set and I wanted to find a clever way to use it.

 
final.jpg
 

I started my design by stamping the sentiment on a piece of vellum using Momento ink. I then stamped the snowflake cluster in Highland Heather ink around the phrase as a border. Be careful when stamping on vellum as it does need a little bit more drying time.

I layered this piece on a slightly larger piece of Whisper White card stock that I ran through the Winter Snow embossing folder and then finally added that piece to a square of the Snowflake Splendor Designer Series Paper.

 
This photo shows off all three layers nicely I think! I also stamped the same image on the top left and bottom right corners of the card.  The base is Purple Posy and the ink is Highland Heather.

This photo shows off all three layers nicely I think! I also stamped the same image on the top left and bottom right corners of the card. The base is Purple Posy and the ink is Highland Heather.


I decided to add another strip of the designer paper along the left side and add a few ribbon details. I love our Denim Ribbon! Did you know its still current and available in the Annual Catalogue? A bit of the Purple Posy ribbon from the Playing with Patterns combo is also a great addition.

And finally, got to have some bling so I added in the Snowflake Sequins. Adding sequins to your project could not be easier if you have the Take a Pick Tool! It is one of my favorite craft room must haves!

final.jpg
final.jpg
 

I absolutely love the Snowflake Spendor suite or set in the Handmade for You Catalogue! If you are in Canada and would love to get your hands on any of these items, please use the Hostess Code on my sidebar or shop with me directly using my online store!

I hope you are able to visit everyone on the Joy of Sets Blog Hop today! Thank you for visiting! Please feel free to leave a comment and visit Susan Webster next on the hop!