Create with Connie and Mary--Fall Flowers

fullsizeoutput_12d57.jpeg

Hello my friends! So happy to see you again this Saturday, welcome back! And if this is your first time joining in on this weekly hop, please feel free to go back through my blog and see all of my weekly creations!

This week our theme is Fall Flowers and I knew right away I wanted to use the Autumn Greetings Bundle from the Handmade for You catalogue. What really sold me on this bundle was the Autumn Essentials Dies. I love the pumpkins and the wheat sheaves dies.

I decided to use my Stampin’ Blends to color the large image from the Autumn Greetings stamp set as we have so many beautiful fall colours that we can use.

I decided to use my Stampin’ Blends to color the large image from the Autumn Greetings stamp set as we have so many beautiful fall colours that we can use.

I used the following Stampin’ Blends colors—Old Olive, Pumpkin Pie, Mango Melody, Rich Razzleberry, Cherry Cobbler and Cinnamon Cider.

I used the following Stampin’ Blends colors—Old Olive, Pumpkin Pie, Mango Melody, Rich Razzleberry, Cherry Cobbler and Cinnamon Cider.

I also added in a bit of Designer Series Paper from the Plaid Tidings collection which has definitely been a fan favourite! The pumpkins are created using two dies from the set in Pumpkin Pie and Terracotta Tile and the wheat sheaves are cut in Bumblebee, Crushed Curry and Mango Melody to get a range of golden tones.

I started my page on an Early Espresso base and added in a photo mat of Cinnamon Cider. Adding in the Bumblebee tone brought out the fall leaves in my photo and added a brightness to the page. And I found the Champagne Rhinestones were the perfect tone of bling to add to the page. I love that I created this whole scrapbooking page using ONE bundle!

Remember how popular these were? Don’t forget about them, they are the perfect fall embellishment and will take you back to the Annual Catalogue!I can’t wait to see what the other gals have created this week! You can go NEXT to visit Connie and BACK…

Remember how popular these were? Don’t forget about them, they are the perfect fall embellishment and will take you back to the Annual Catalogue!

I can’t wait to see what the other gals have created this week! You can go NEXT to visit Connie and BACK to visit Melissa! Enjoy your day and please feel free to leave a comment!

If I have inspired you with my page and you want to order any of these amazing products, please click on the Shop Now button to head directly to my store in Canada!
final.jpg

Around the World on Wednesday--Tag Team!

91442295_10216484369808661_2887014979863576576_n.jpg

Hello Friends! Welcome to another Around the World On Wednesday, we are so happy to have you hopping along with us as we explore TAG TEAM projects! I immediately knew that I could take a card design and great some other projects with similar elements.

I have been doing some Mystery Card designs with my team lately as a way for us to create together even though we can’t be together! So this was a design I came up with for our last team meeting.

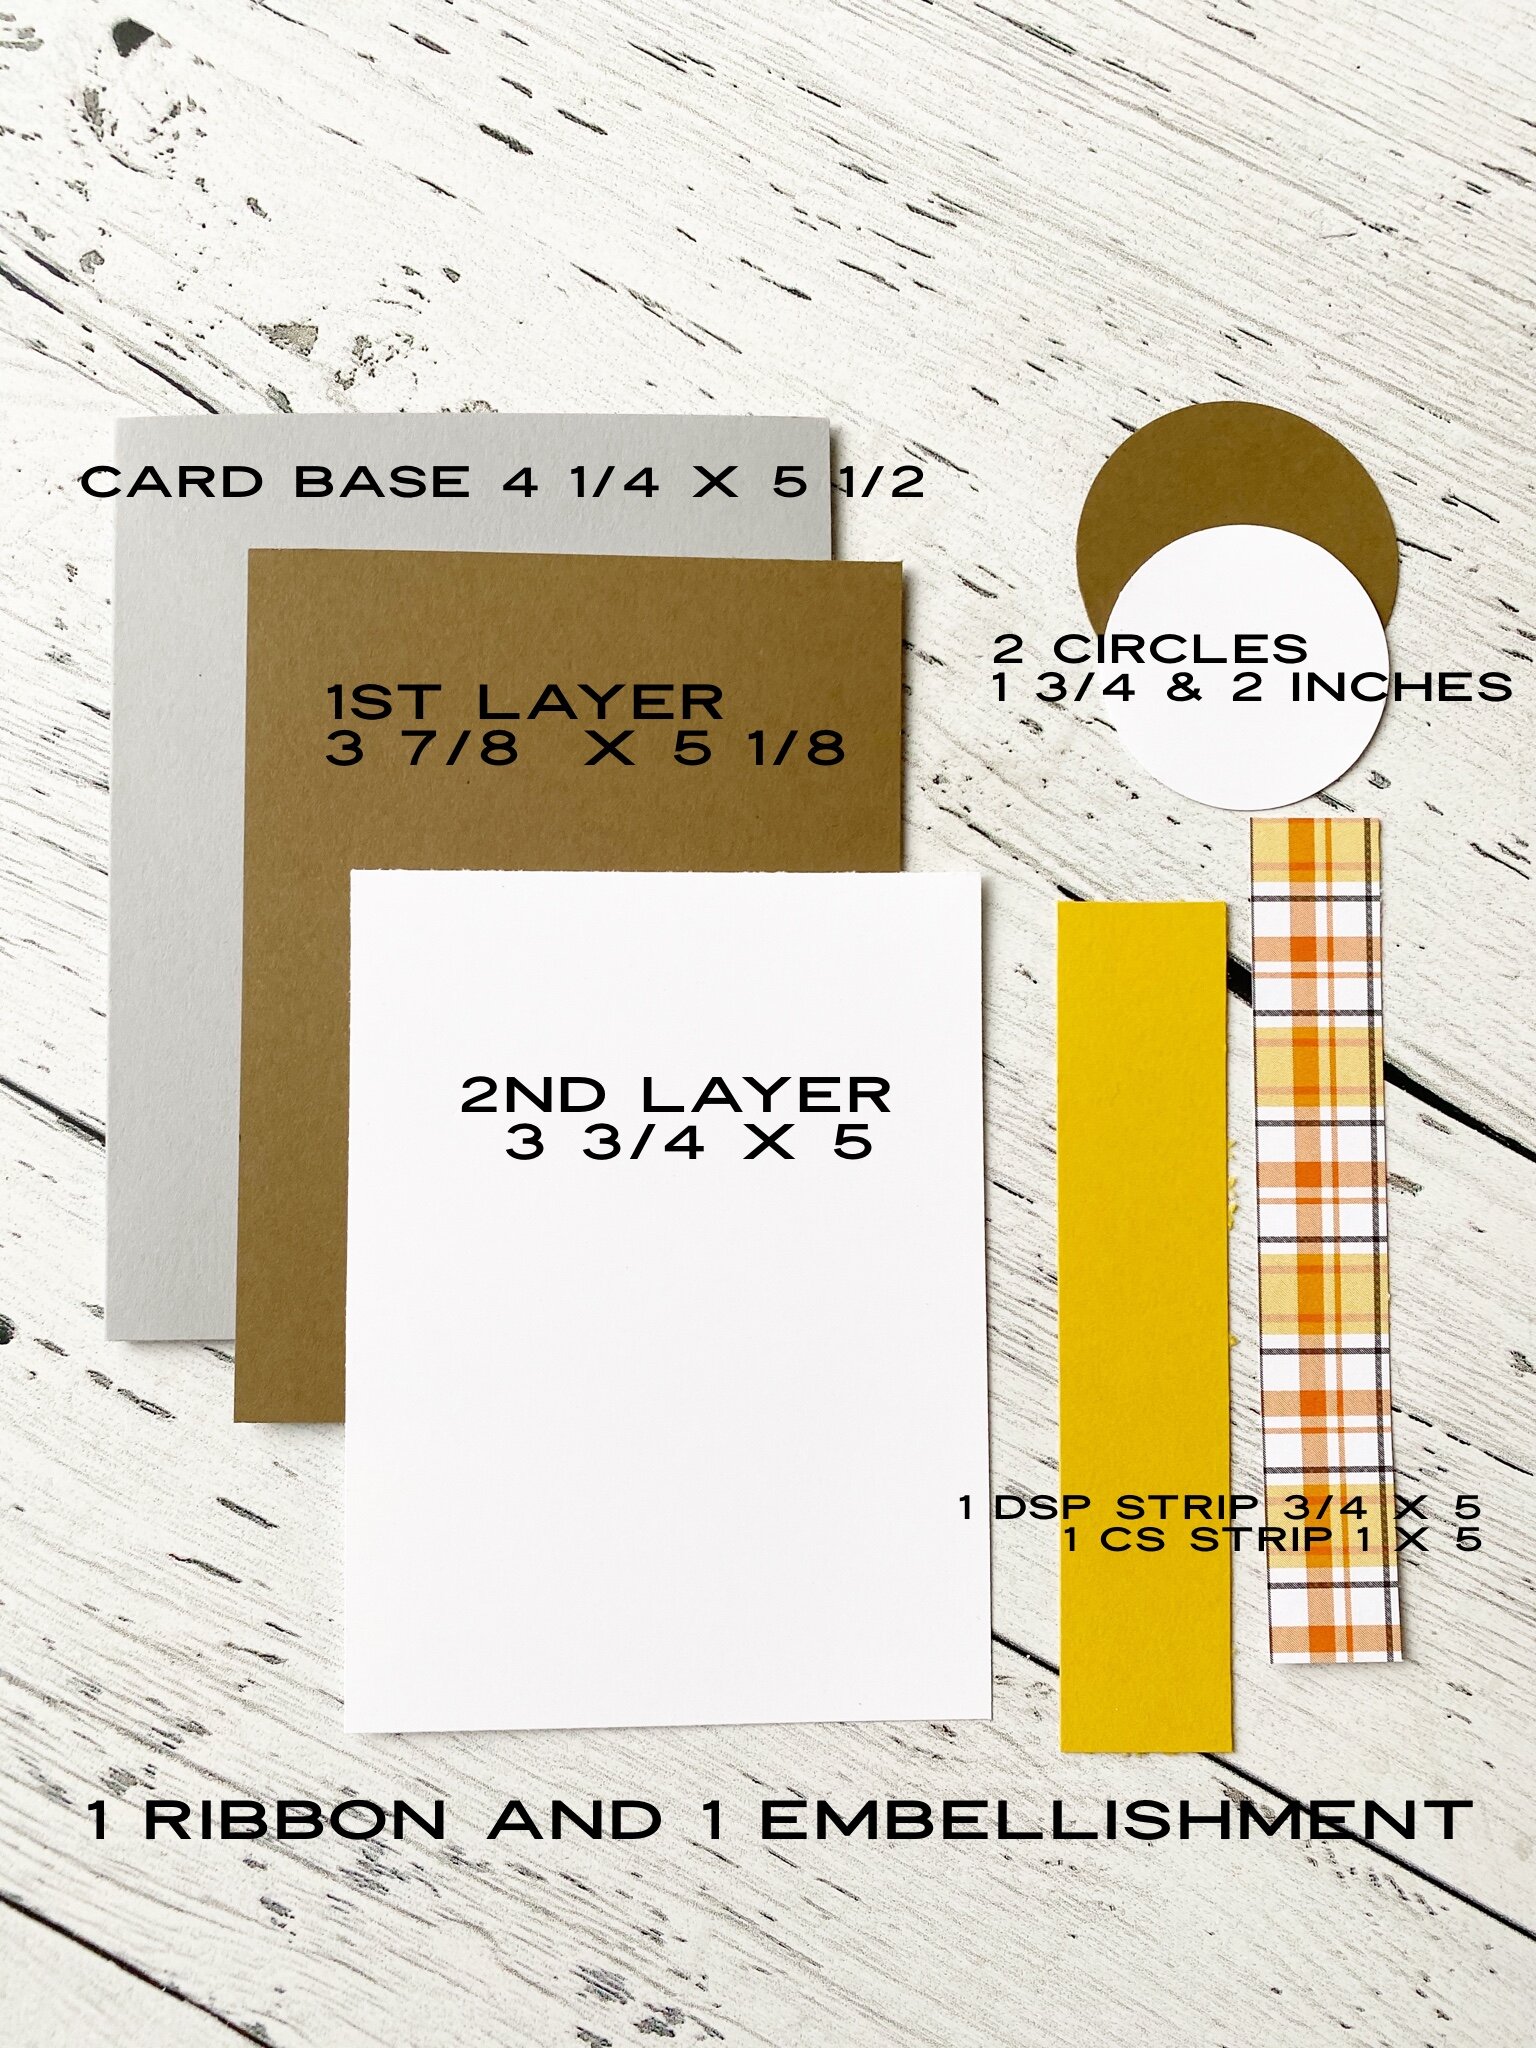
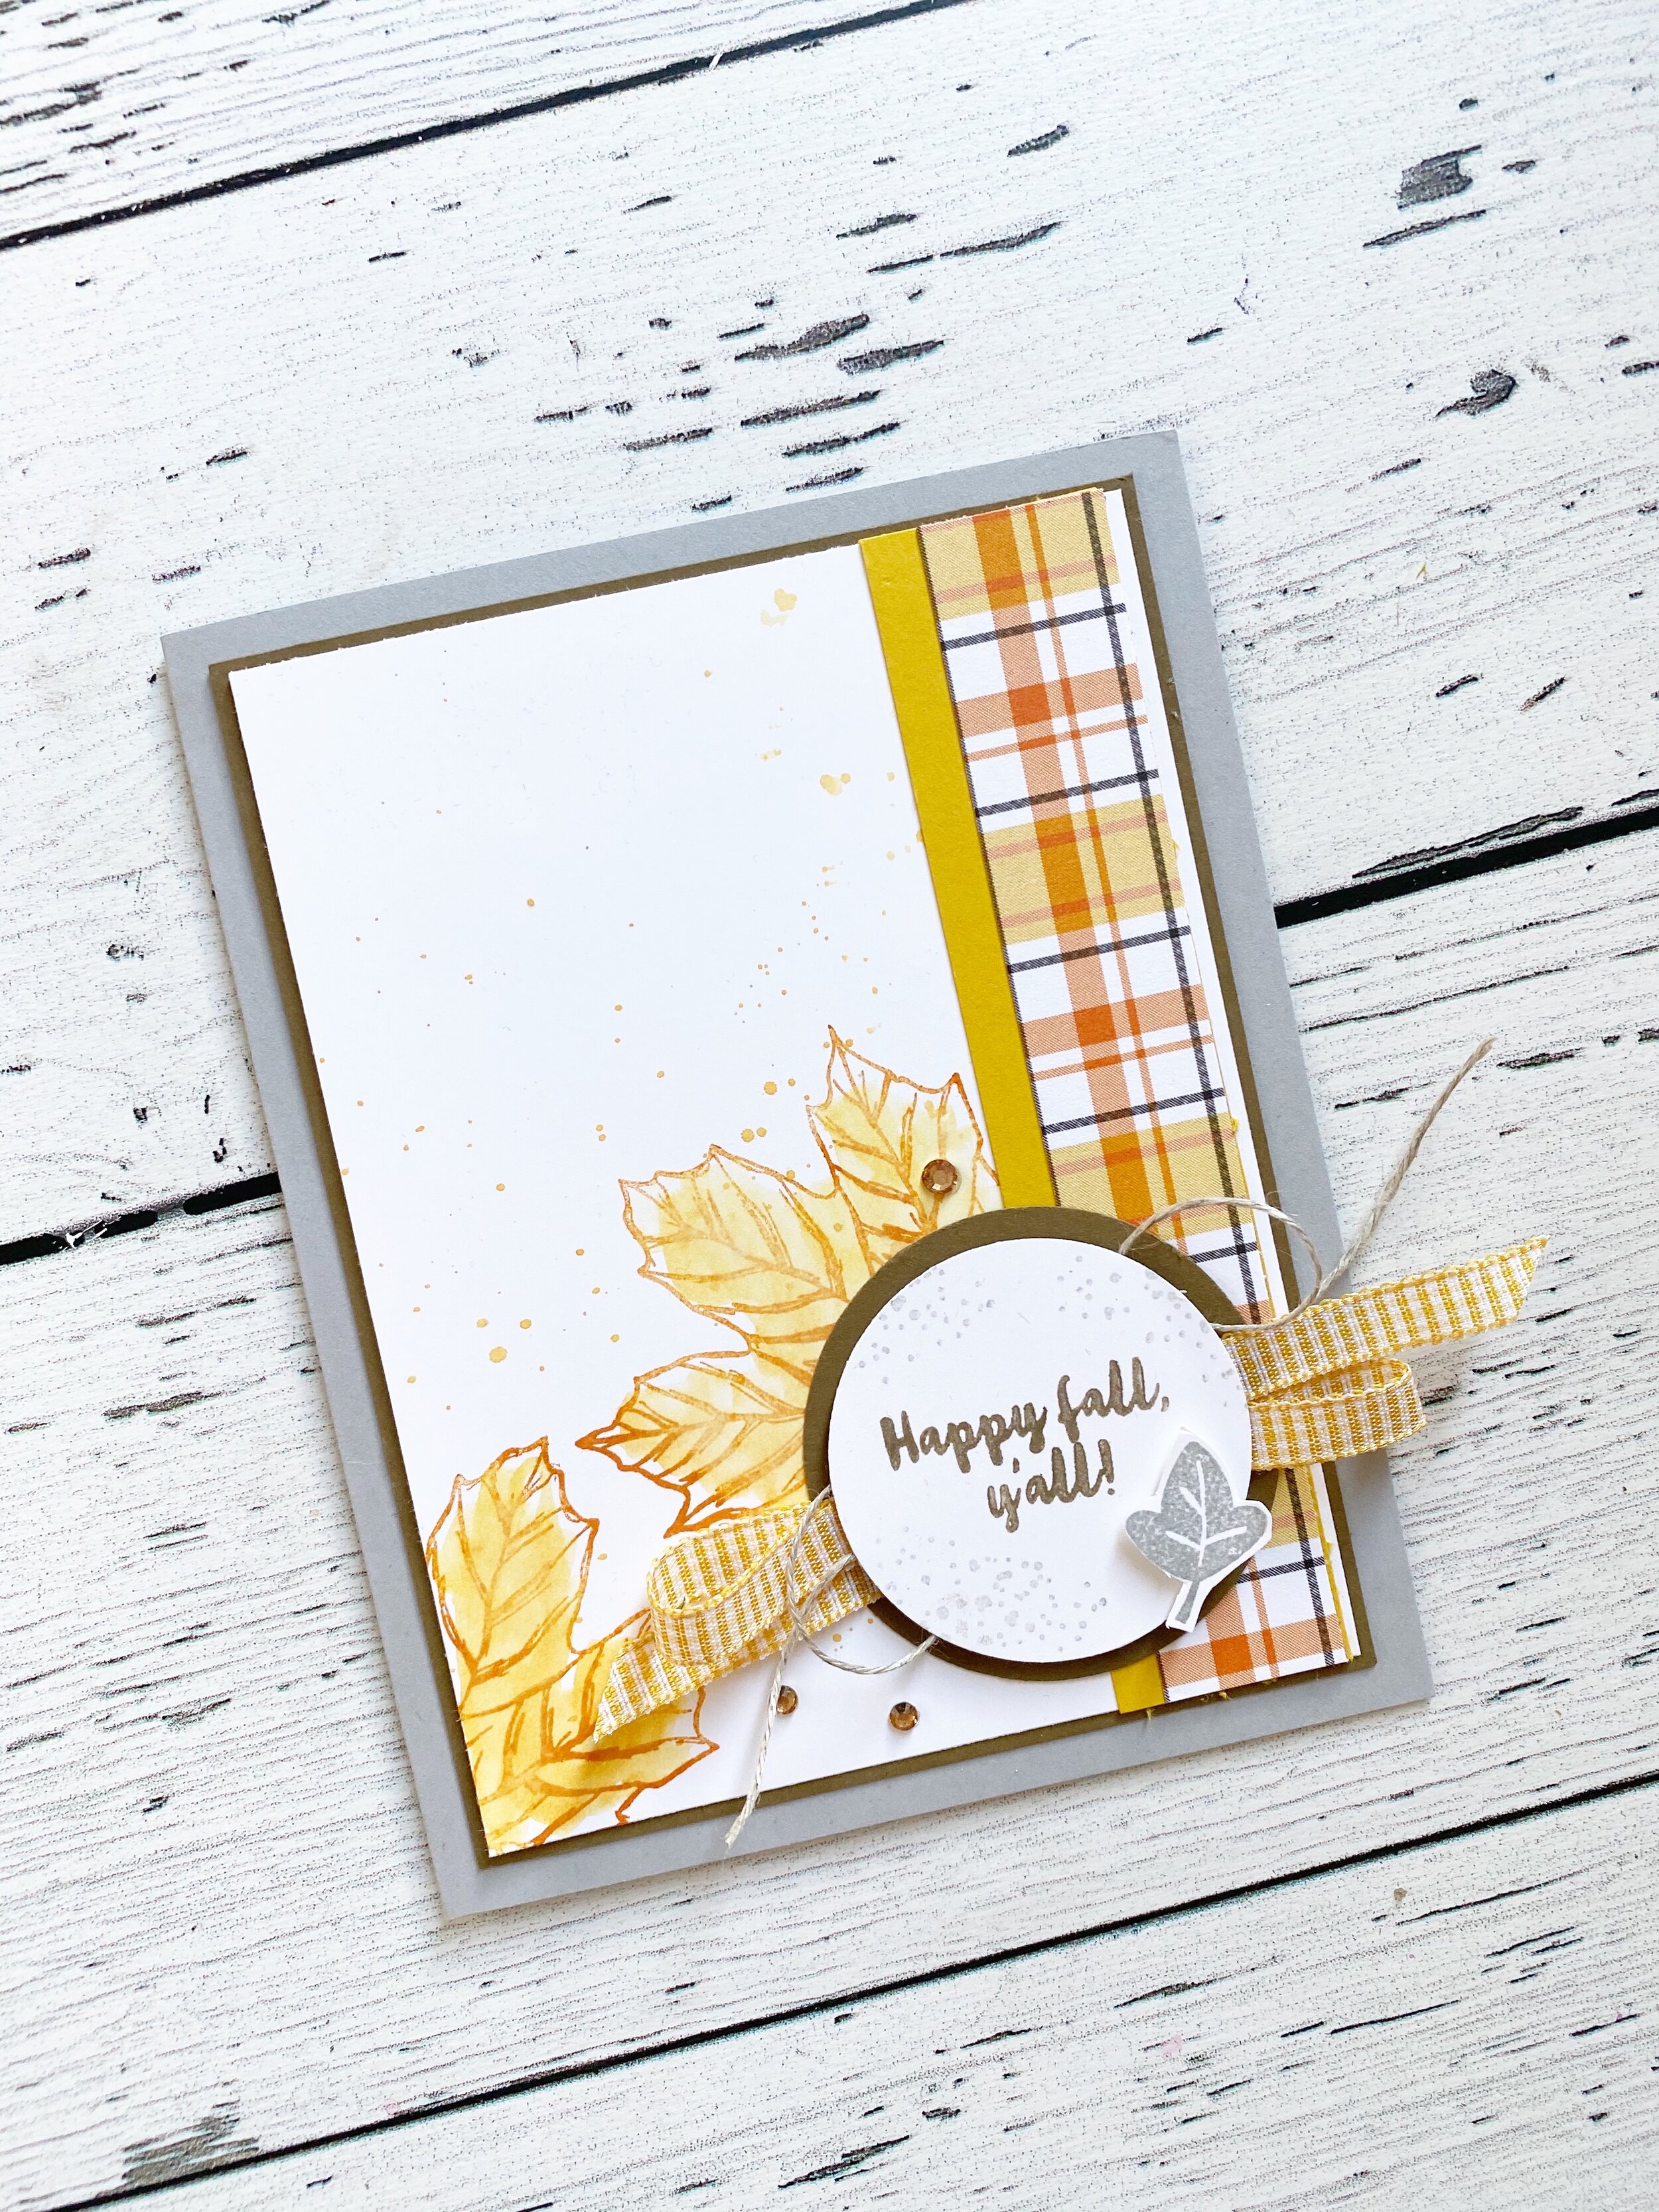
The strip of DSP is from the Plaid Tidings collection and my card stock colors are Smokey Slate, Soft Suede, Whisper White and Crushed Curry.

The large maple leaf is stamped in Pumpkin Pie and then I took my Water Painter and brought the ink from the edges inside for some easy breezy colouring. You can find this image in the Gather Together which is a returning favorite in the Handmade for You catty. You will need to do this step immediately after stamping. Since I had ink on the brush I flicked it across the back ground for a little spray of color.

Happy Fall Y’all is from the stamp set Banner Year along with the little tiny leaf. I added in some Linen Thread, Bubble Bee Gingham ribbon and the Champagne Rhinestones.

So this card was the first element of my ‘Tag Team’ idea…sometime cards are the best jumping off point!

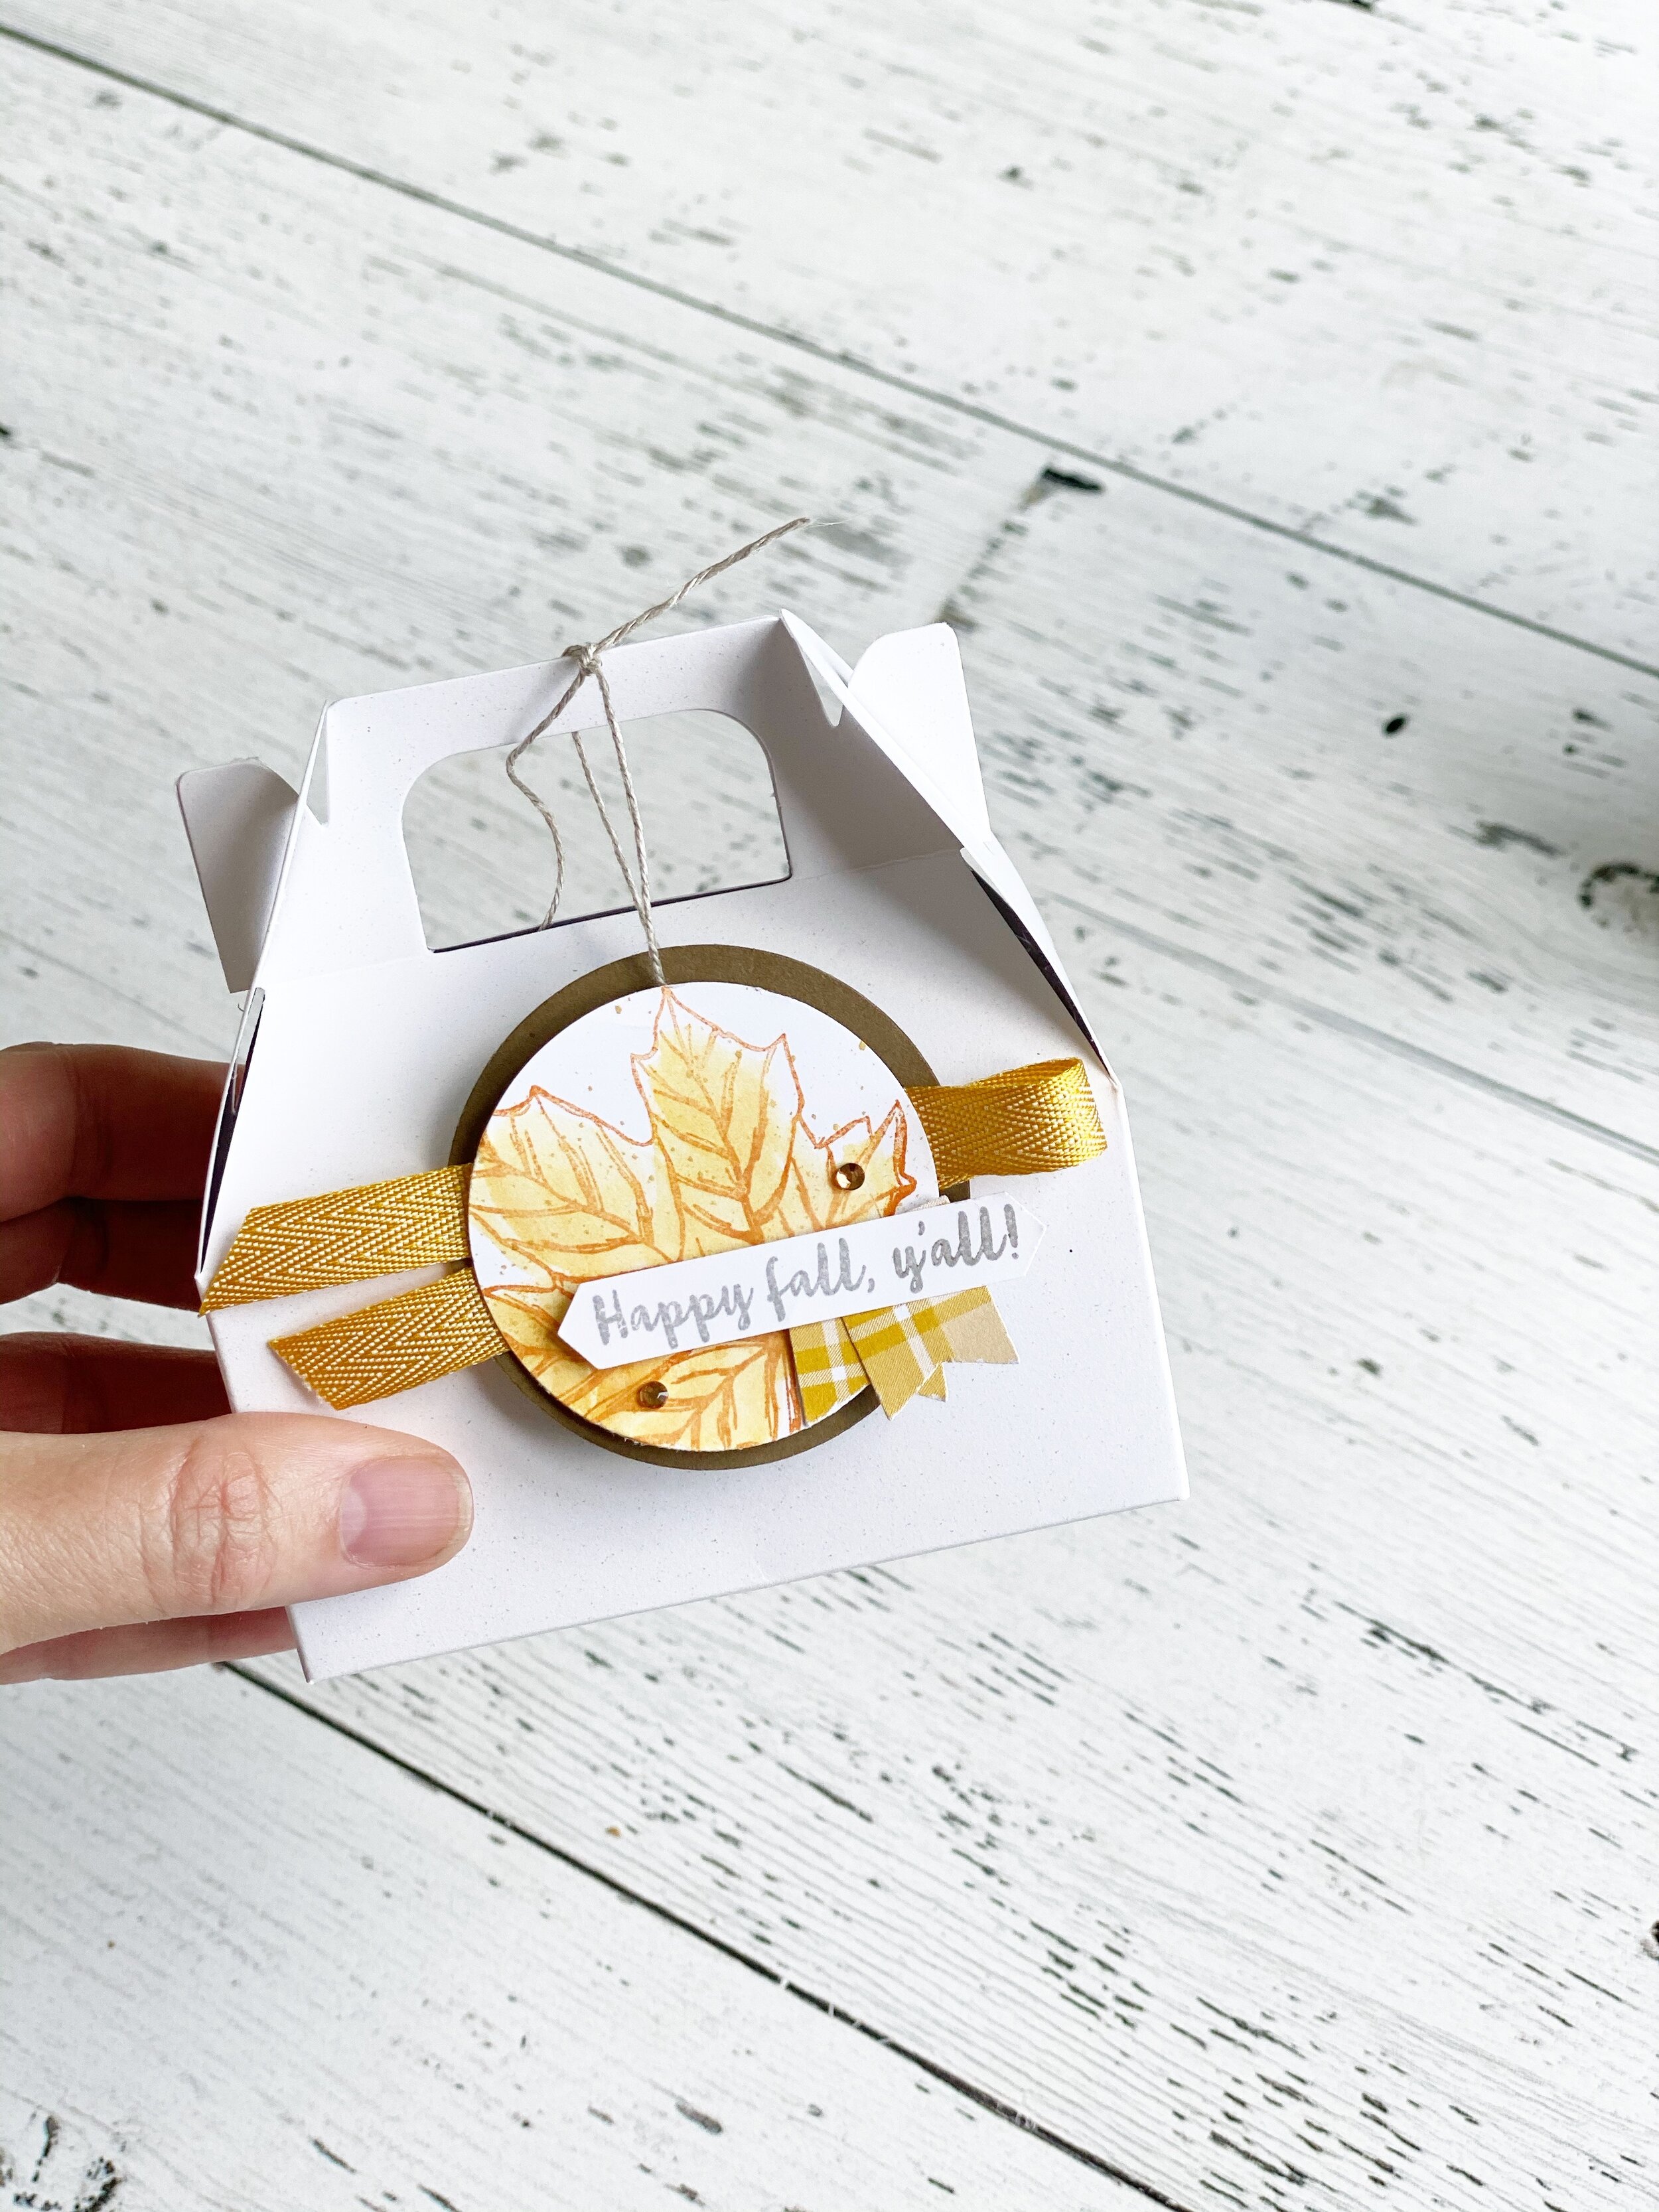
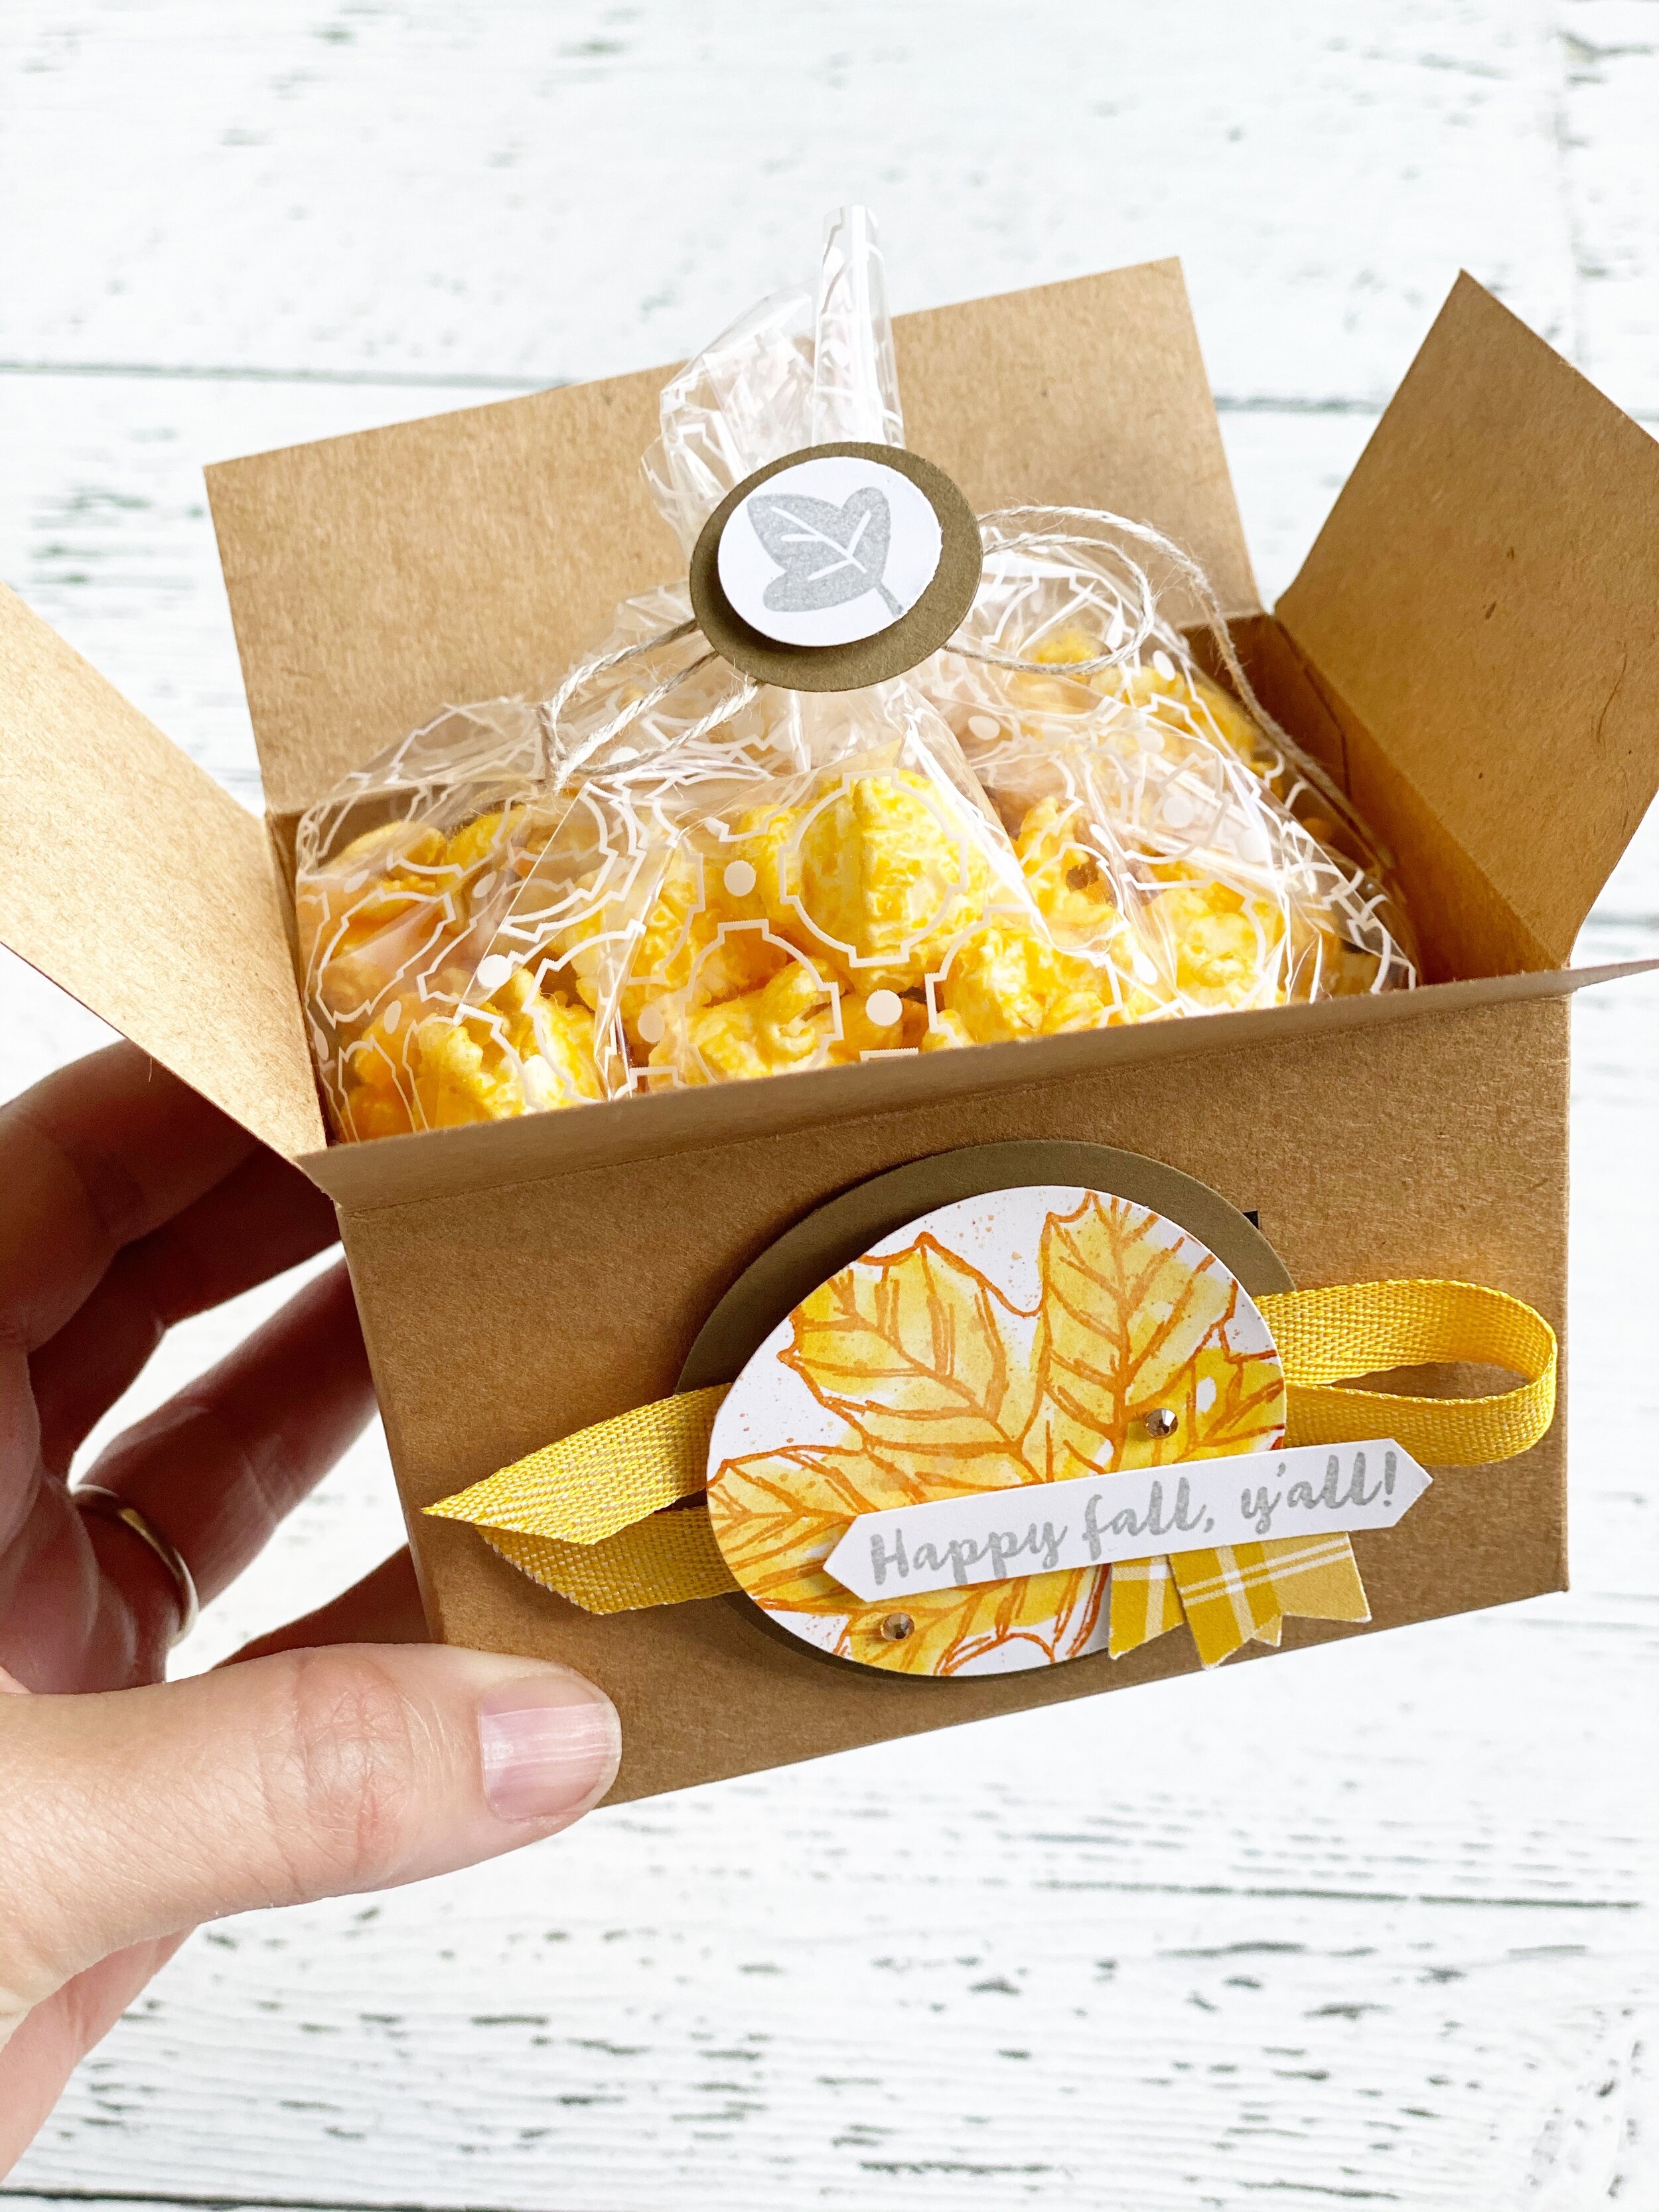
I knew that I could take the card elements and create some tags to use on some treats that I wanted to give away! I stamped the leaf in same way, colouring in the image so it felt a little more solid. I kept the sentiment in its original form, on my card I broke it into two lines using the Soft Suede marker, and I punched it out with the Classic Label punch.

I used a different ribbon as I am really embracing the USE IT UP mantra! I kept the Champagne Rhinestones and a couple banners from the Plaid Tidings DSP.

I really hope you enjoyed my take on TAG TEAM, I can’t to see what the rest of the team has came up with. You can hop forward to see what Tricia Butt’s has created for us!


Create with Connie & Mary--Thinking of Fall!

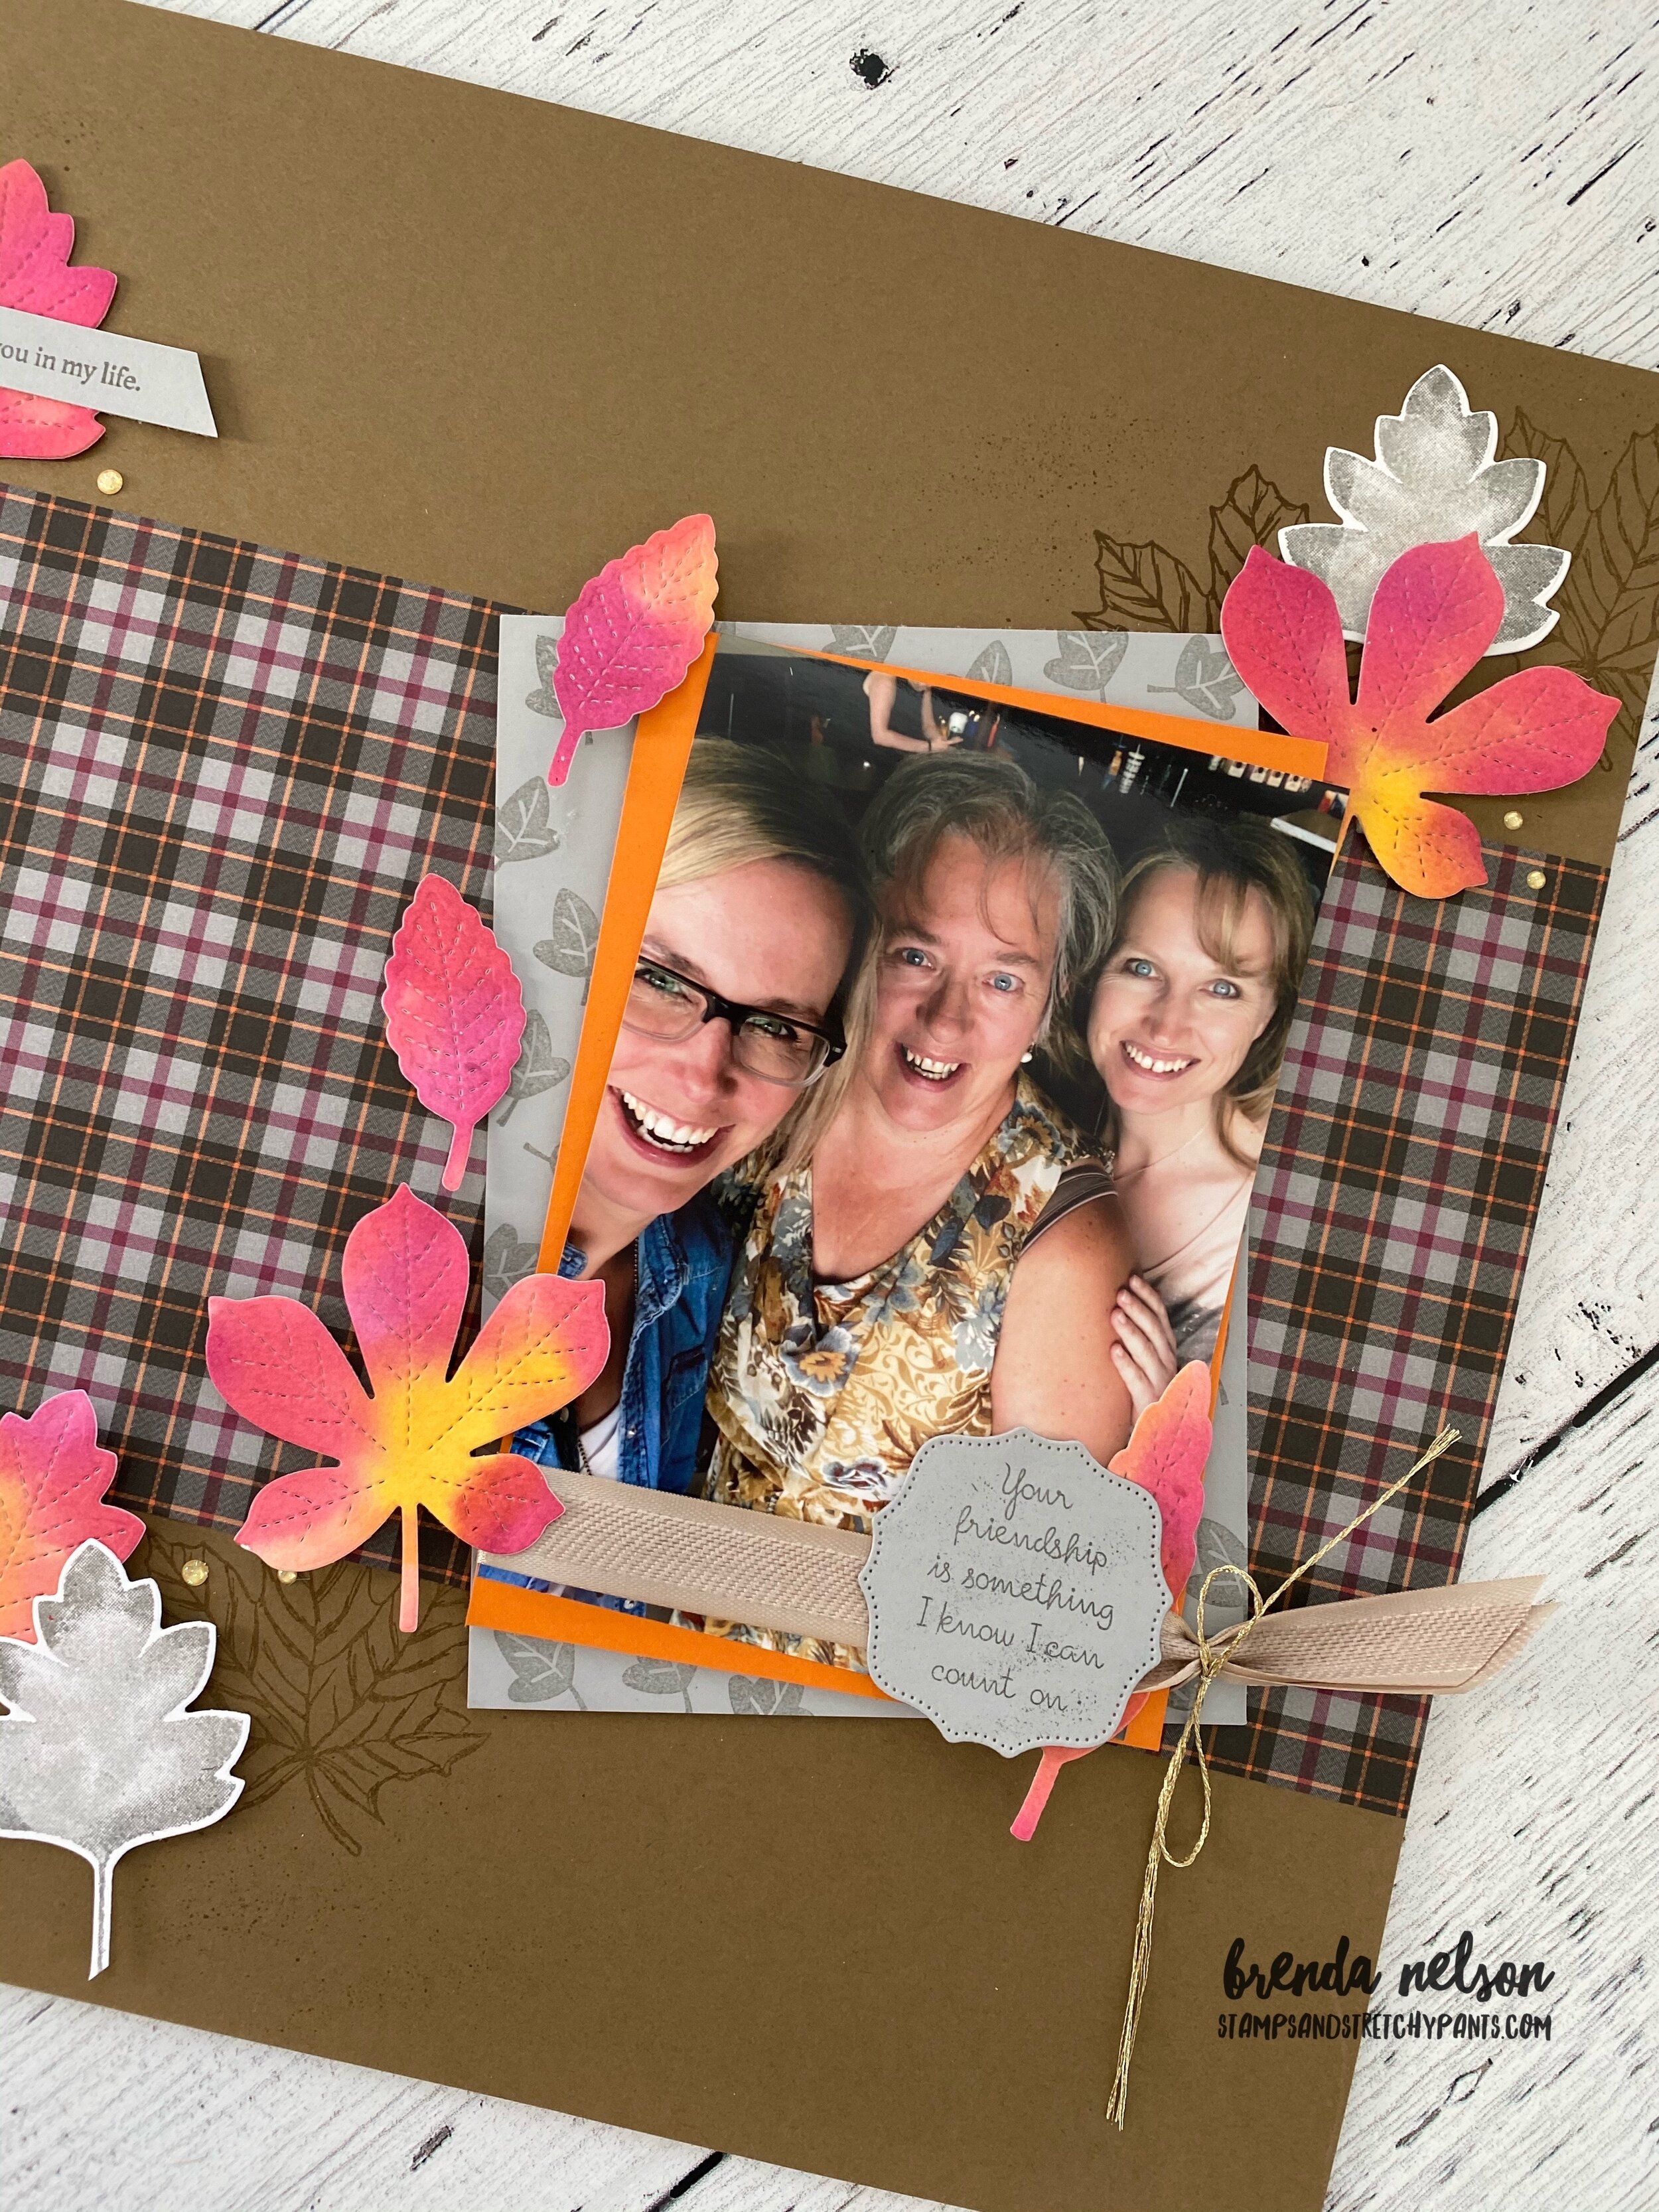
I will admit, as much as I don’t want it to be so, there is a little fall chill in the evening air! I am so blessed to live in a part of the world where we experience 4 distinct seasons. I love summer so much, but the beauty of fall is just spectacular here in Alberta. I love when all the leaves start to change and that is what influenced the design of my scrapbook page for this weeks theme—Thinking of Fall!

fullsizeoutput_12d57.jpeg
I love this photo of my two friends Donna and Karina.  For the past several years we have worked together to offer 3 large group events each year called Creative Day Getaway, to local demonstrators and stampers.  We are hosting our 20th event this S…

I love this photo of my two friends Donna and Karina. For the past several years we have worked together to offer 3 large group events each year called Creative Day Getaway, to local demonstrators and stampers. We are hosting our 20th event this September so I thought featuring them on this page was perfect!

fullsizeoutput_12dbb.jpeg

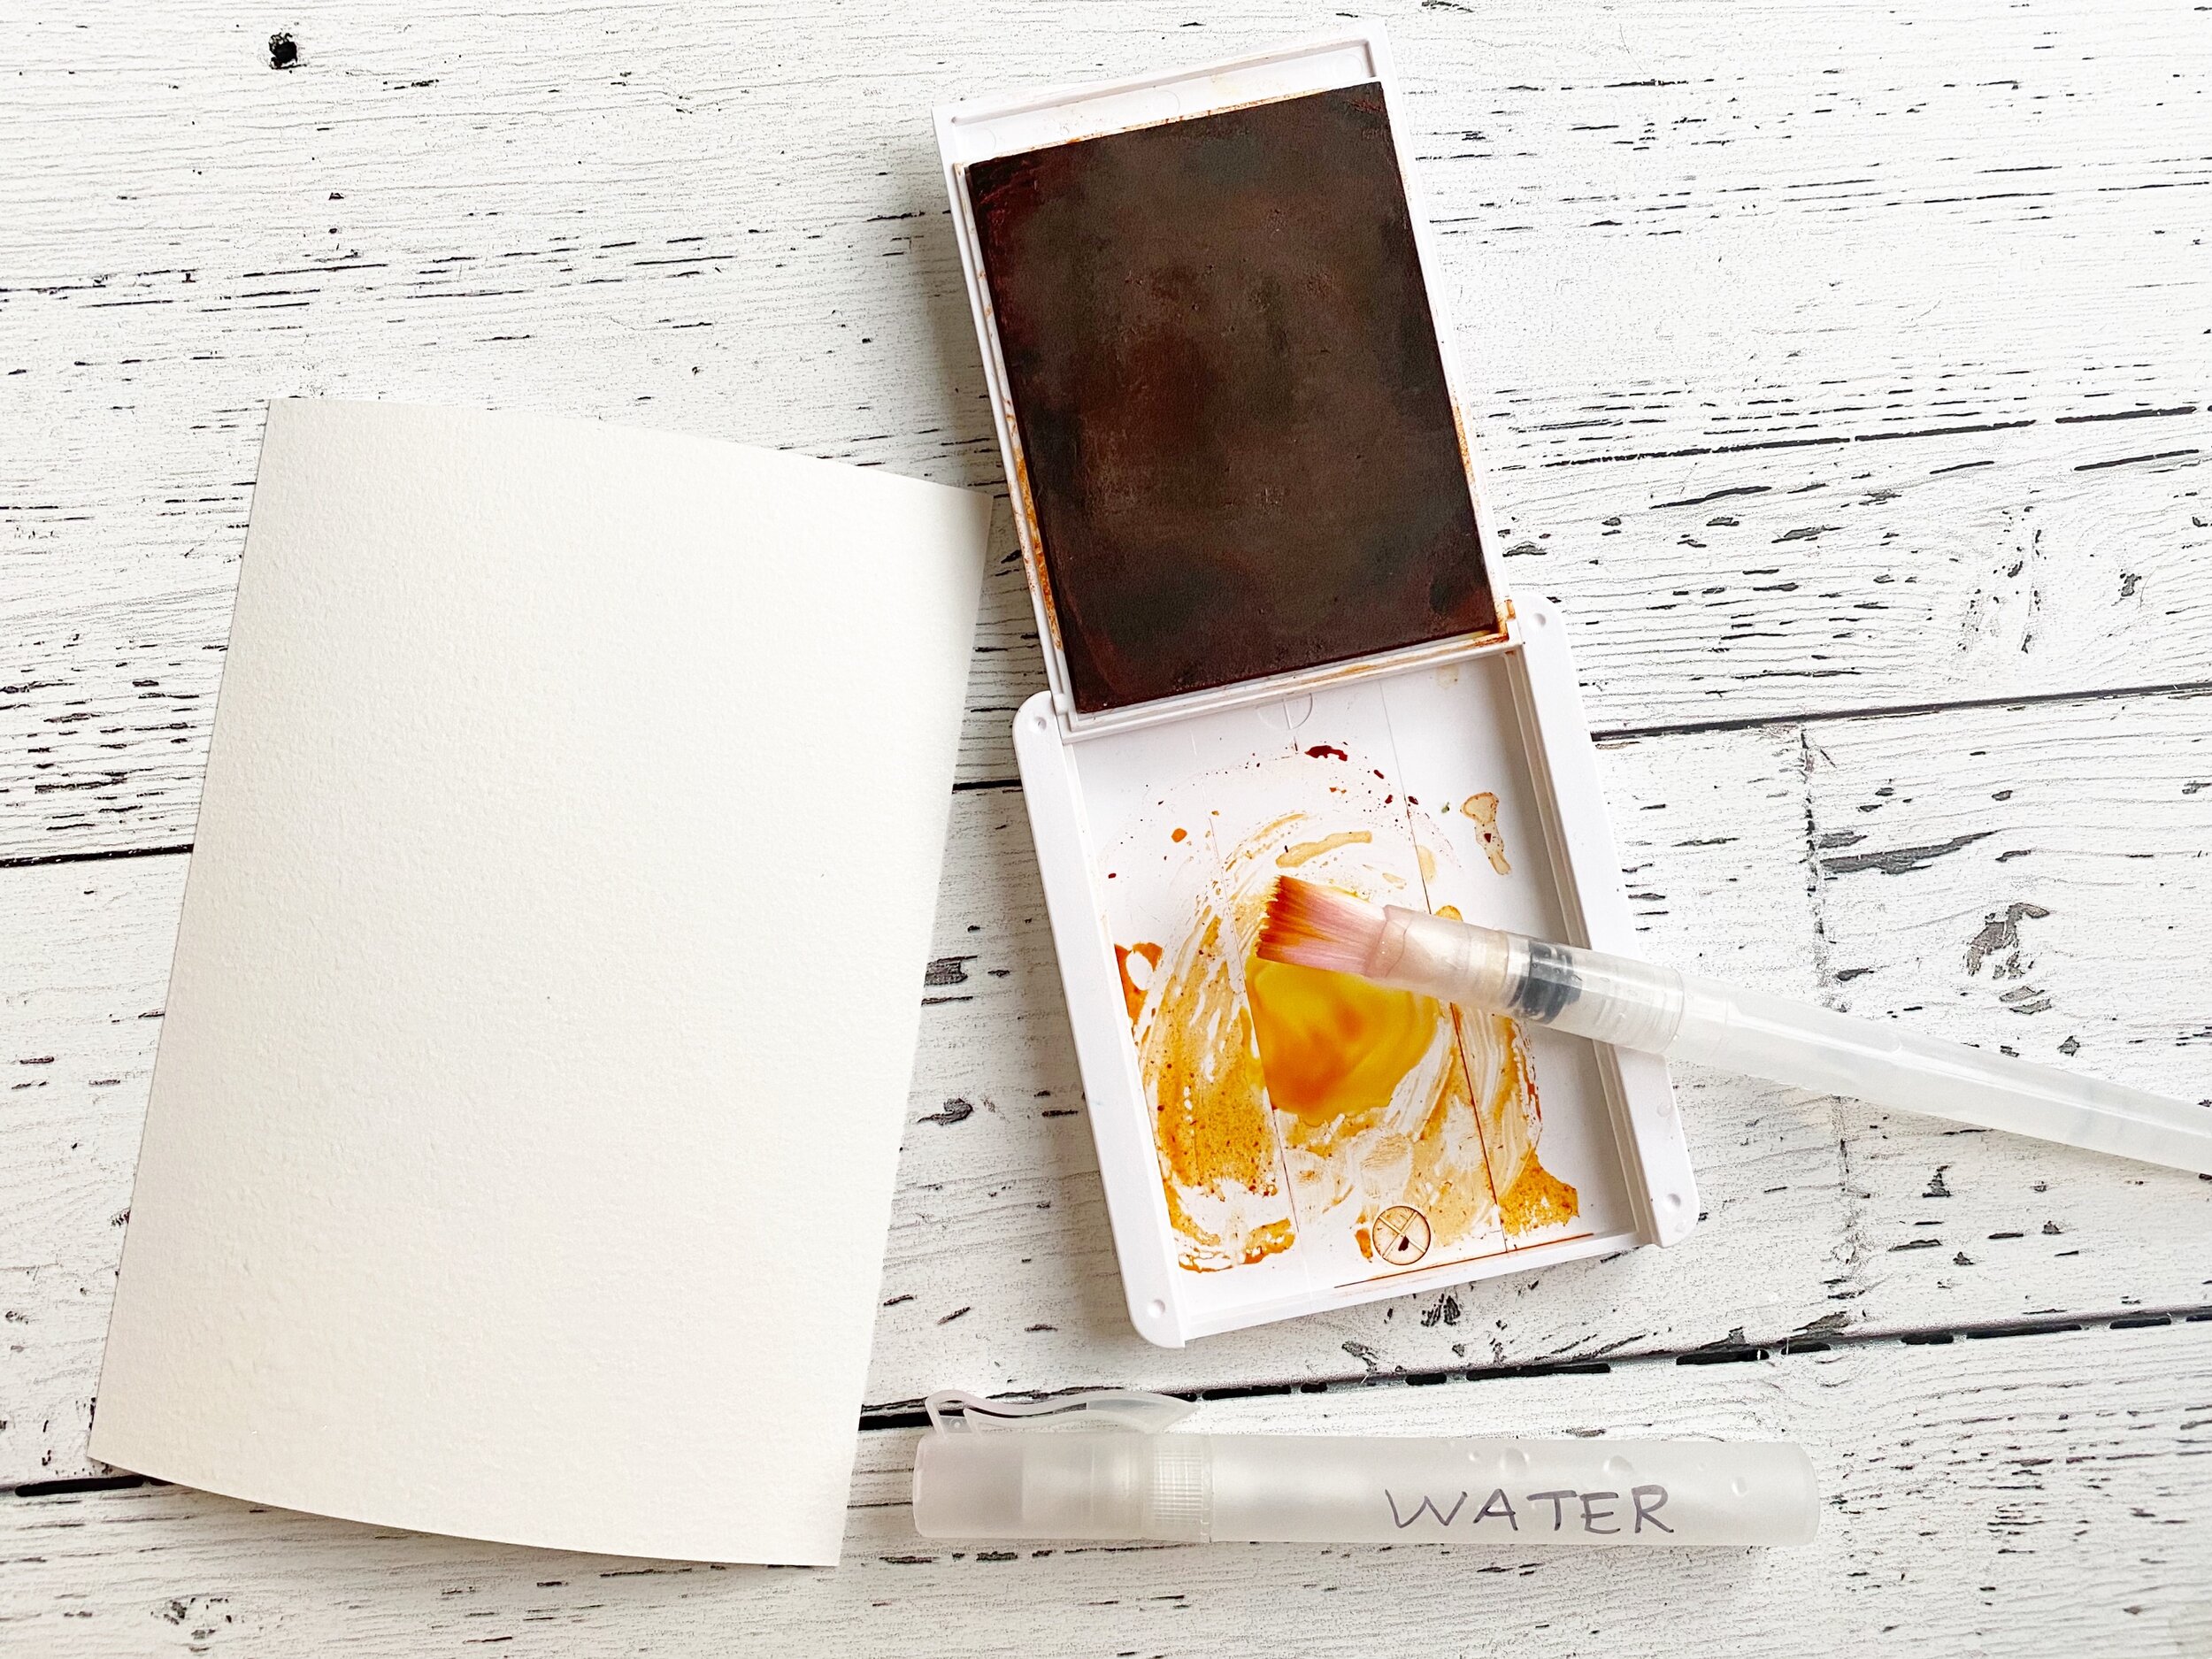
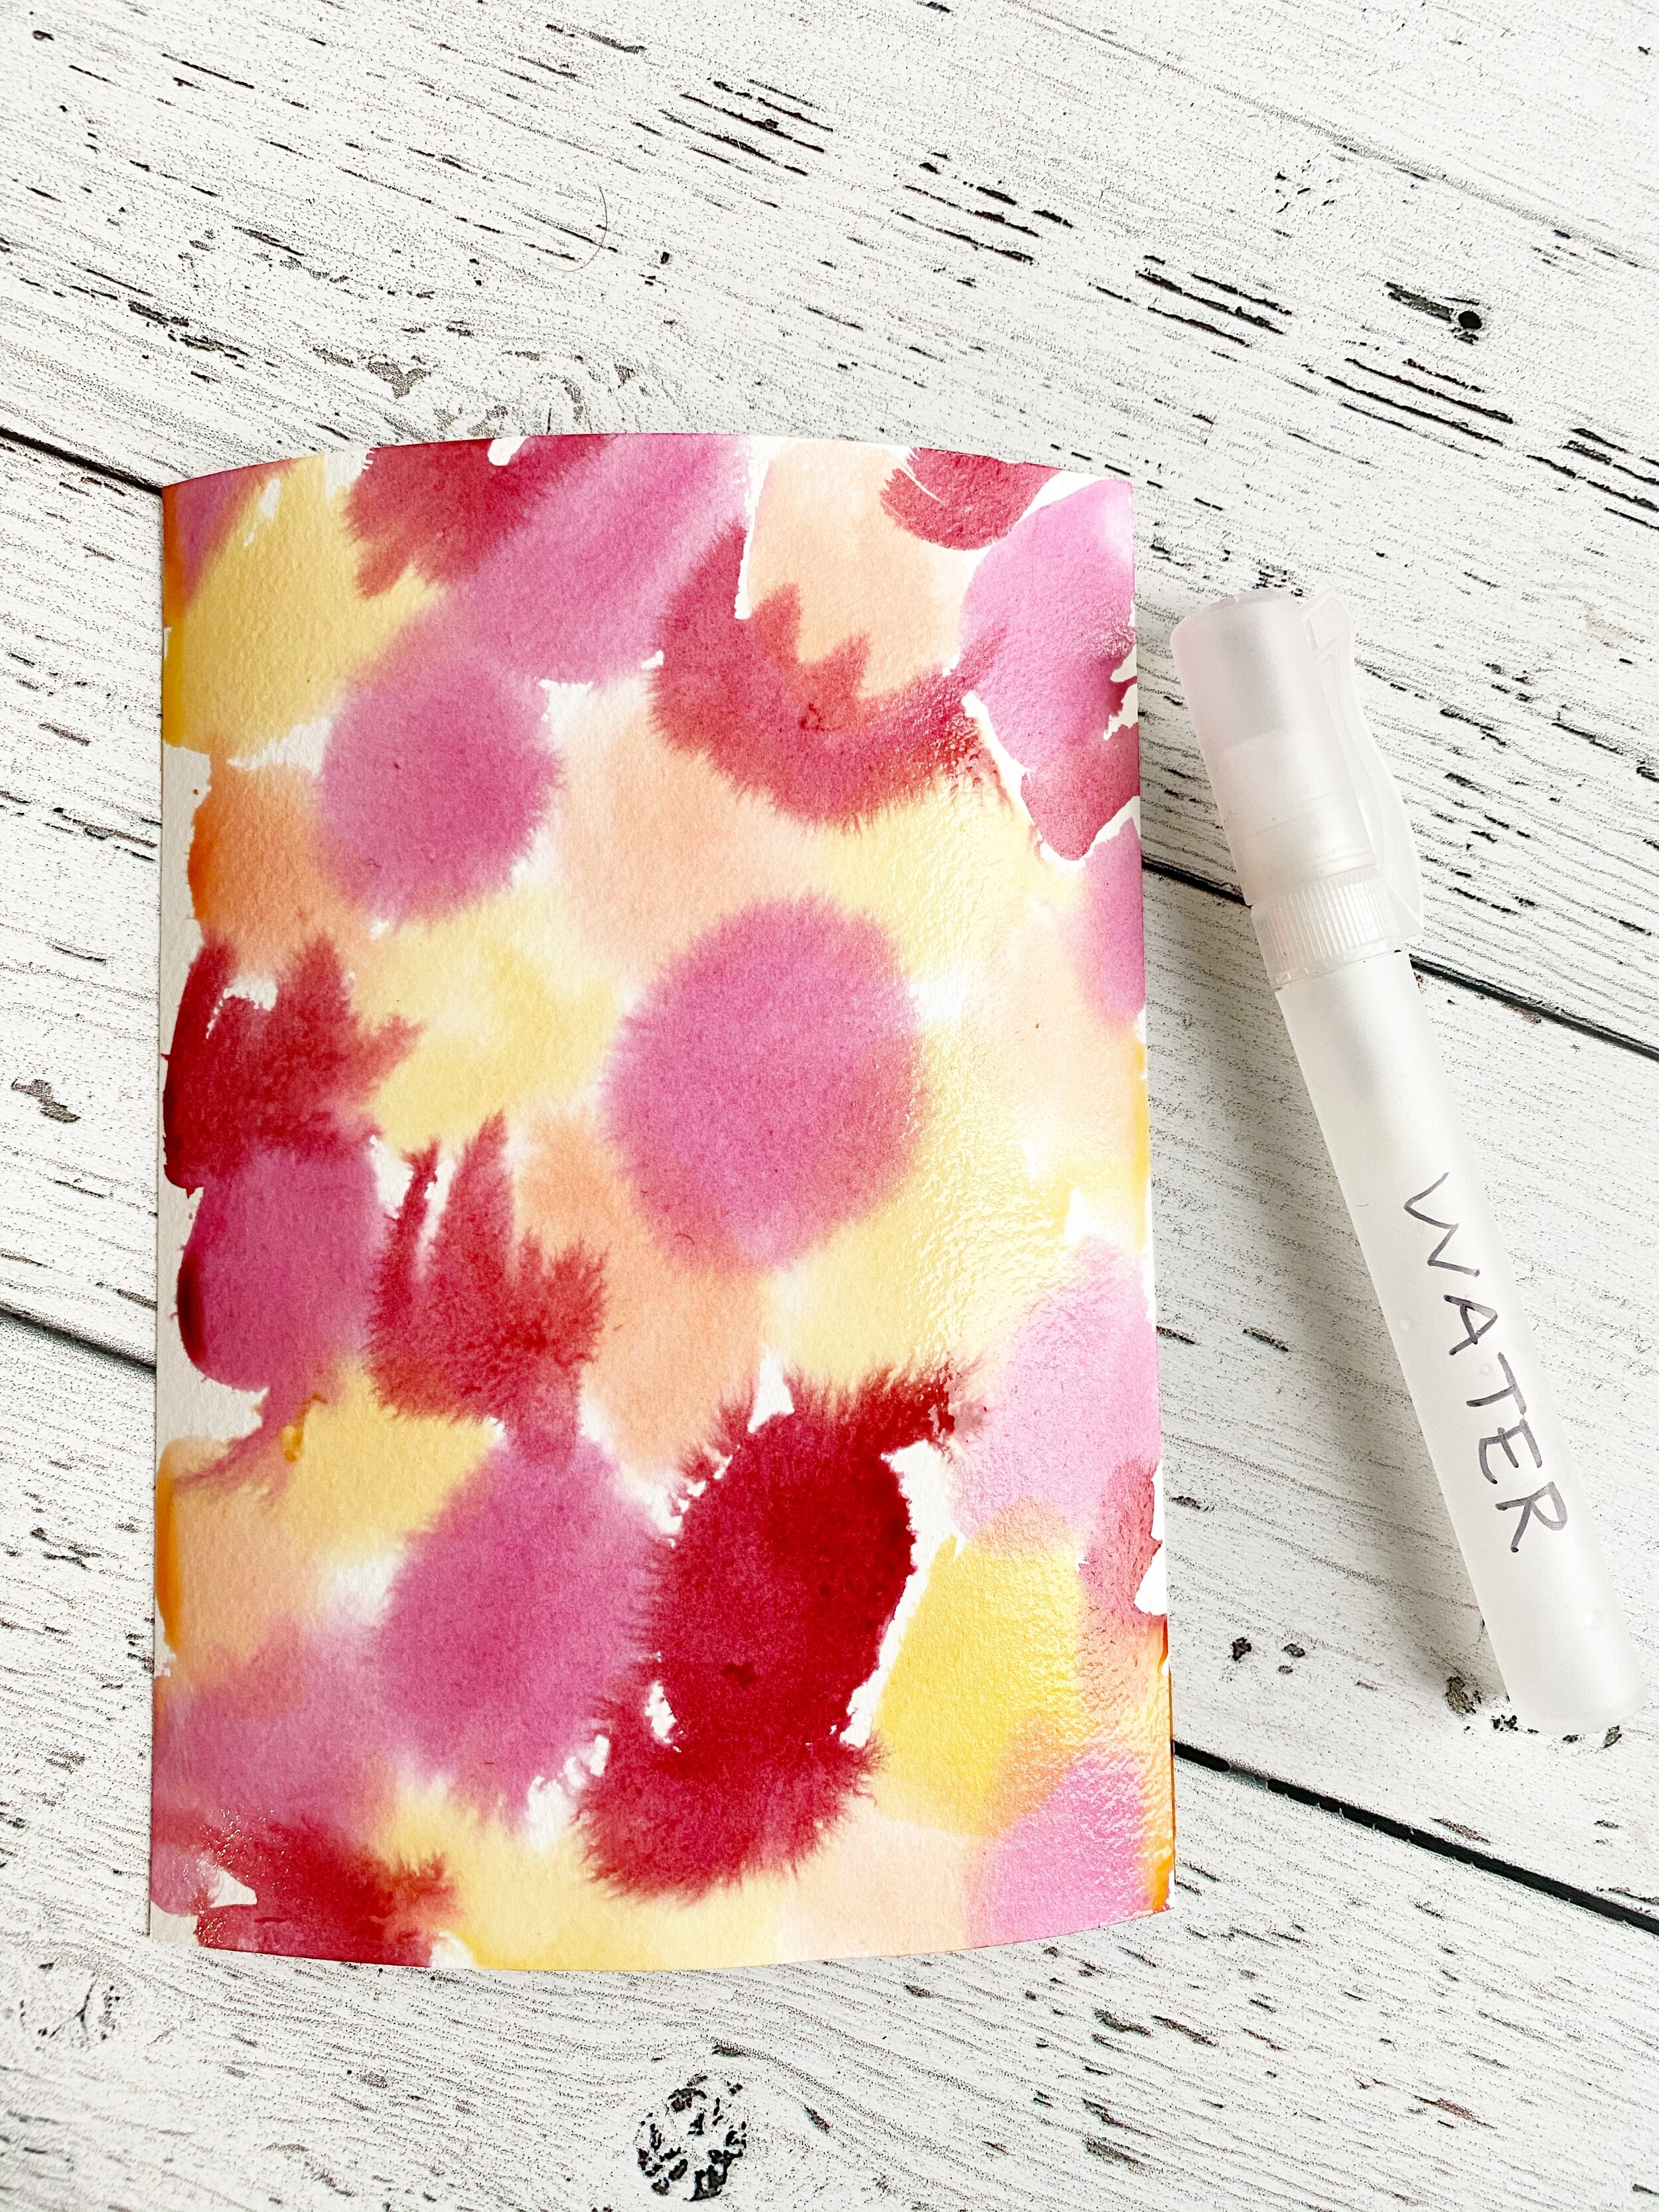
I used a really fun and easy watercoloring technique to create these leaves! Something similar was shared on the Stampin’ Up! Instagram page recently as well. I love how our Stampin’ community shares and inspires each other!

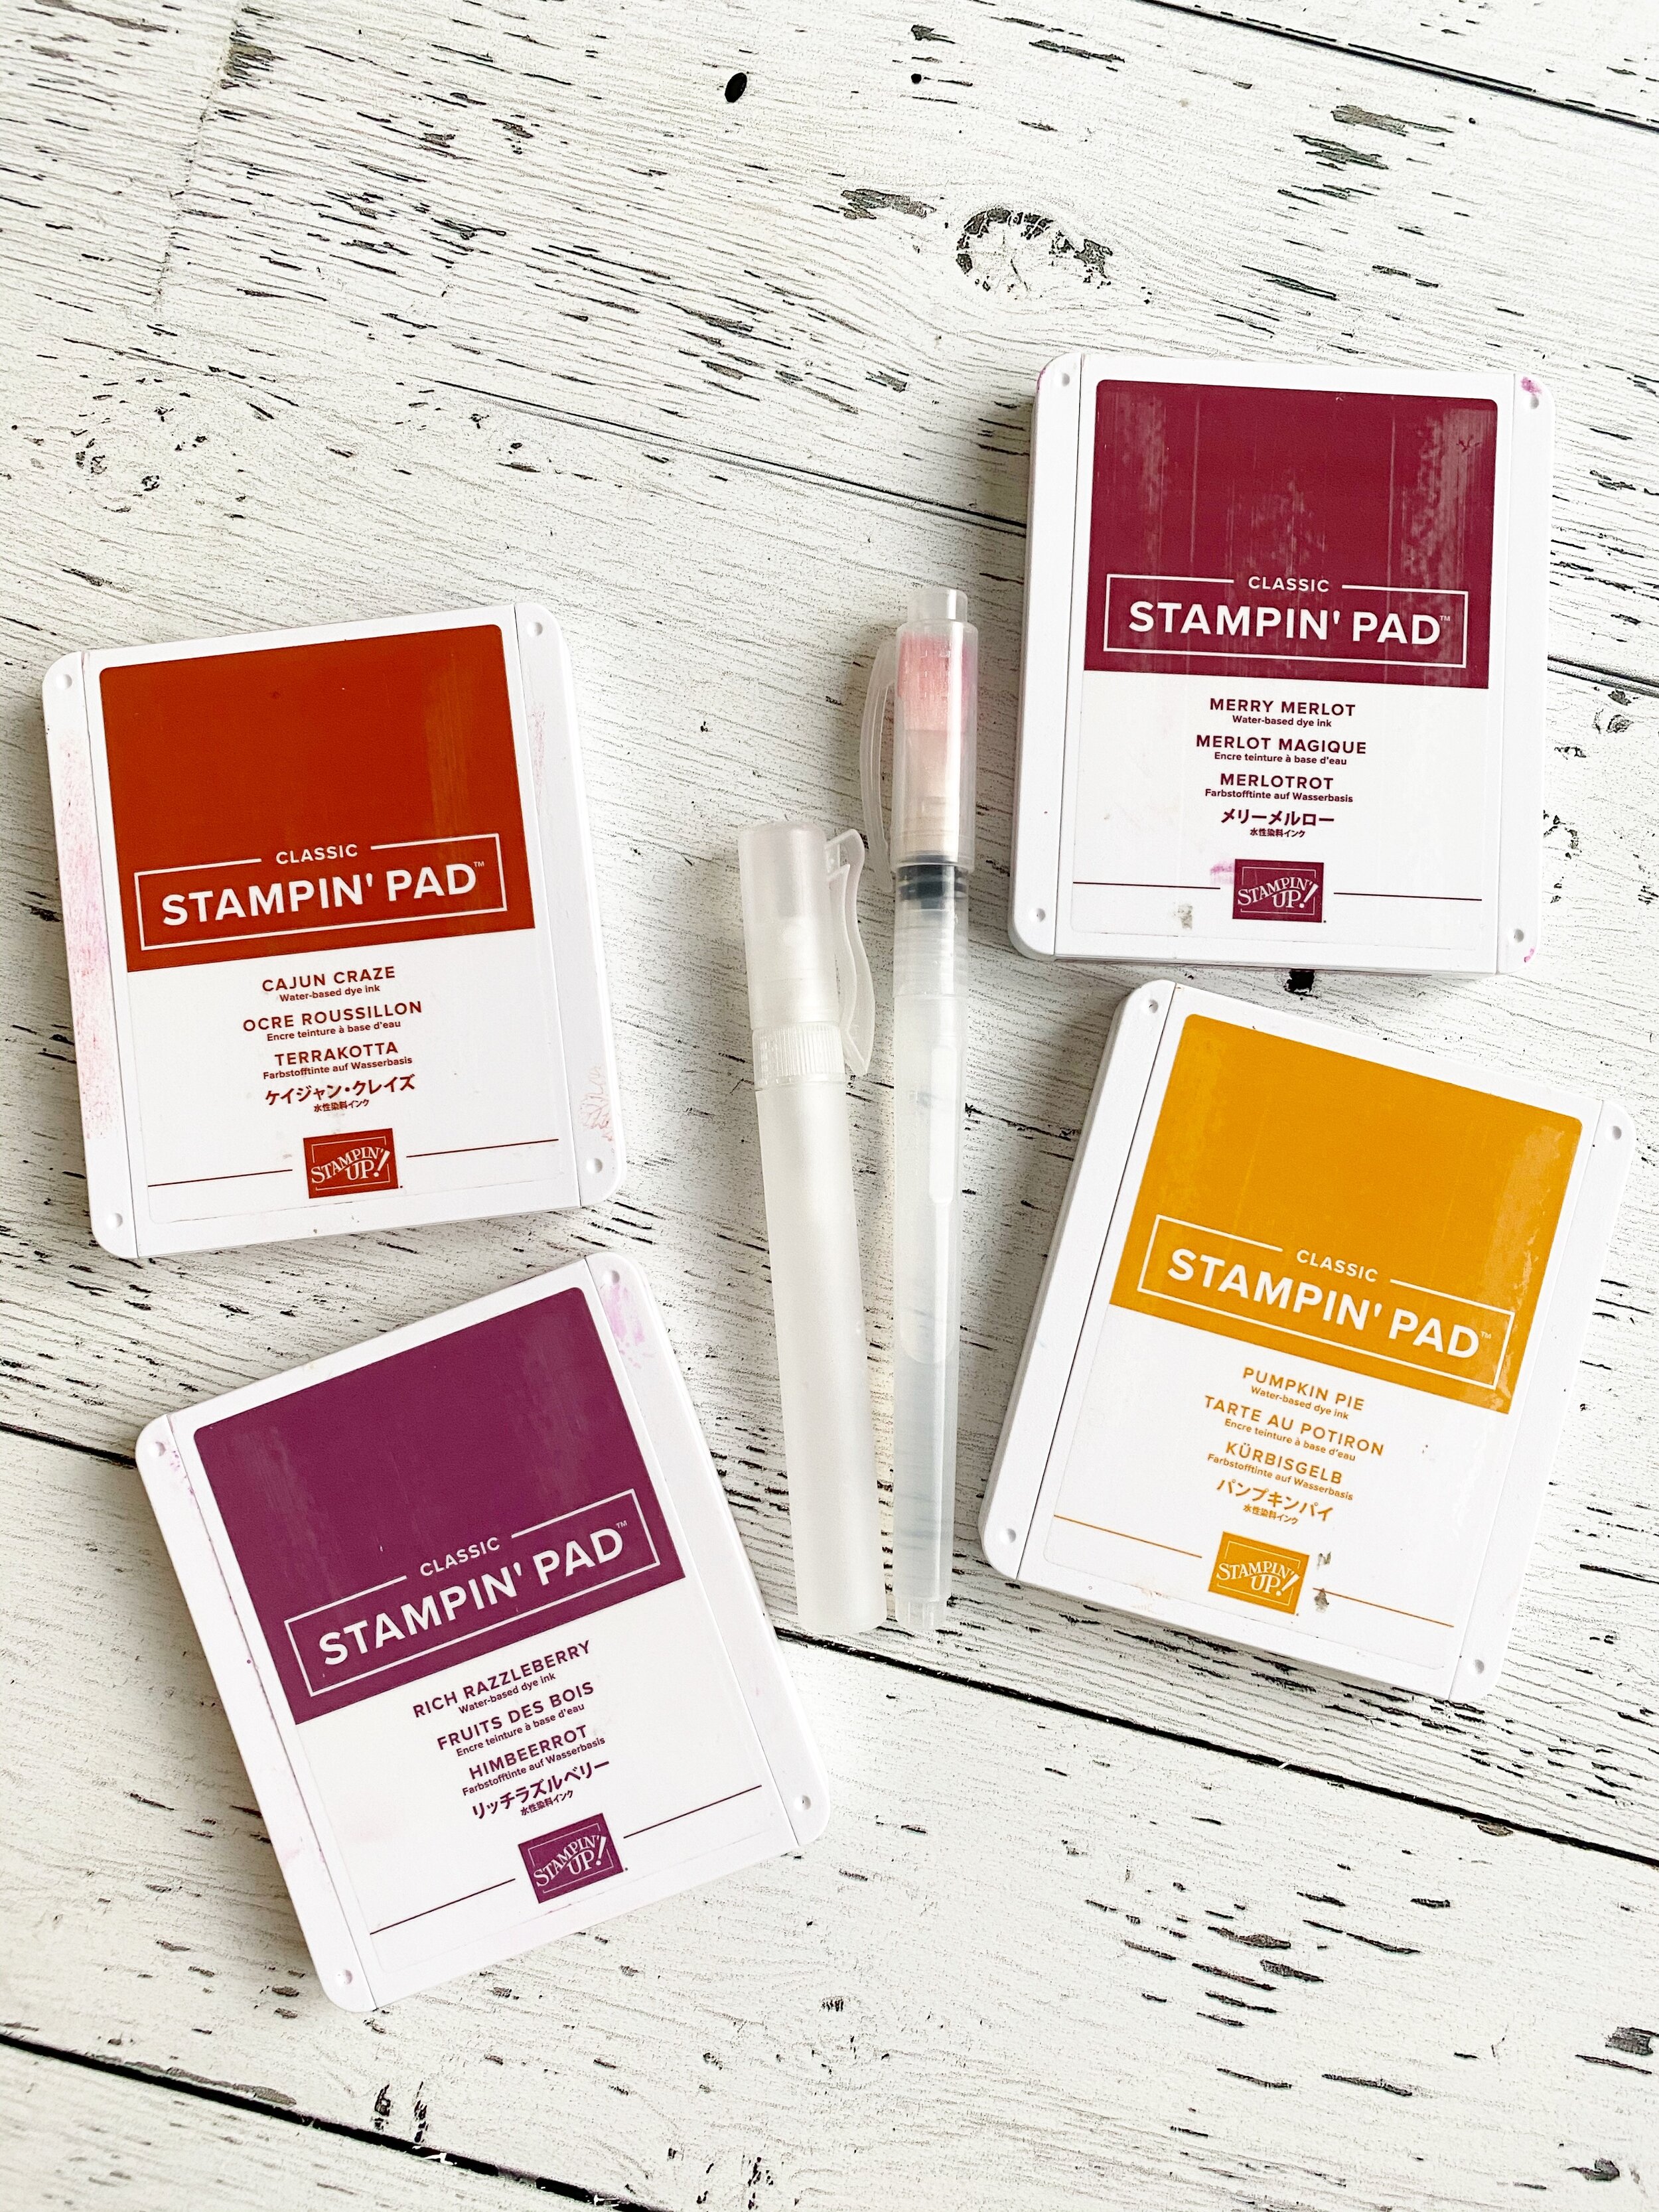
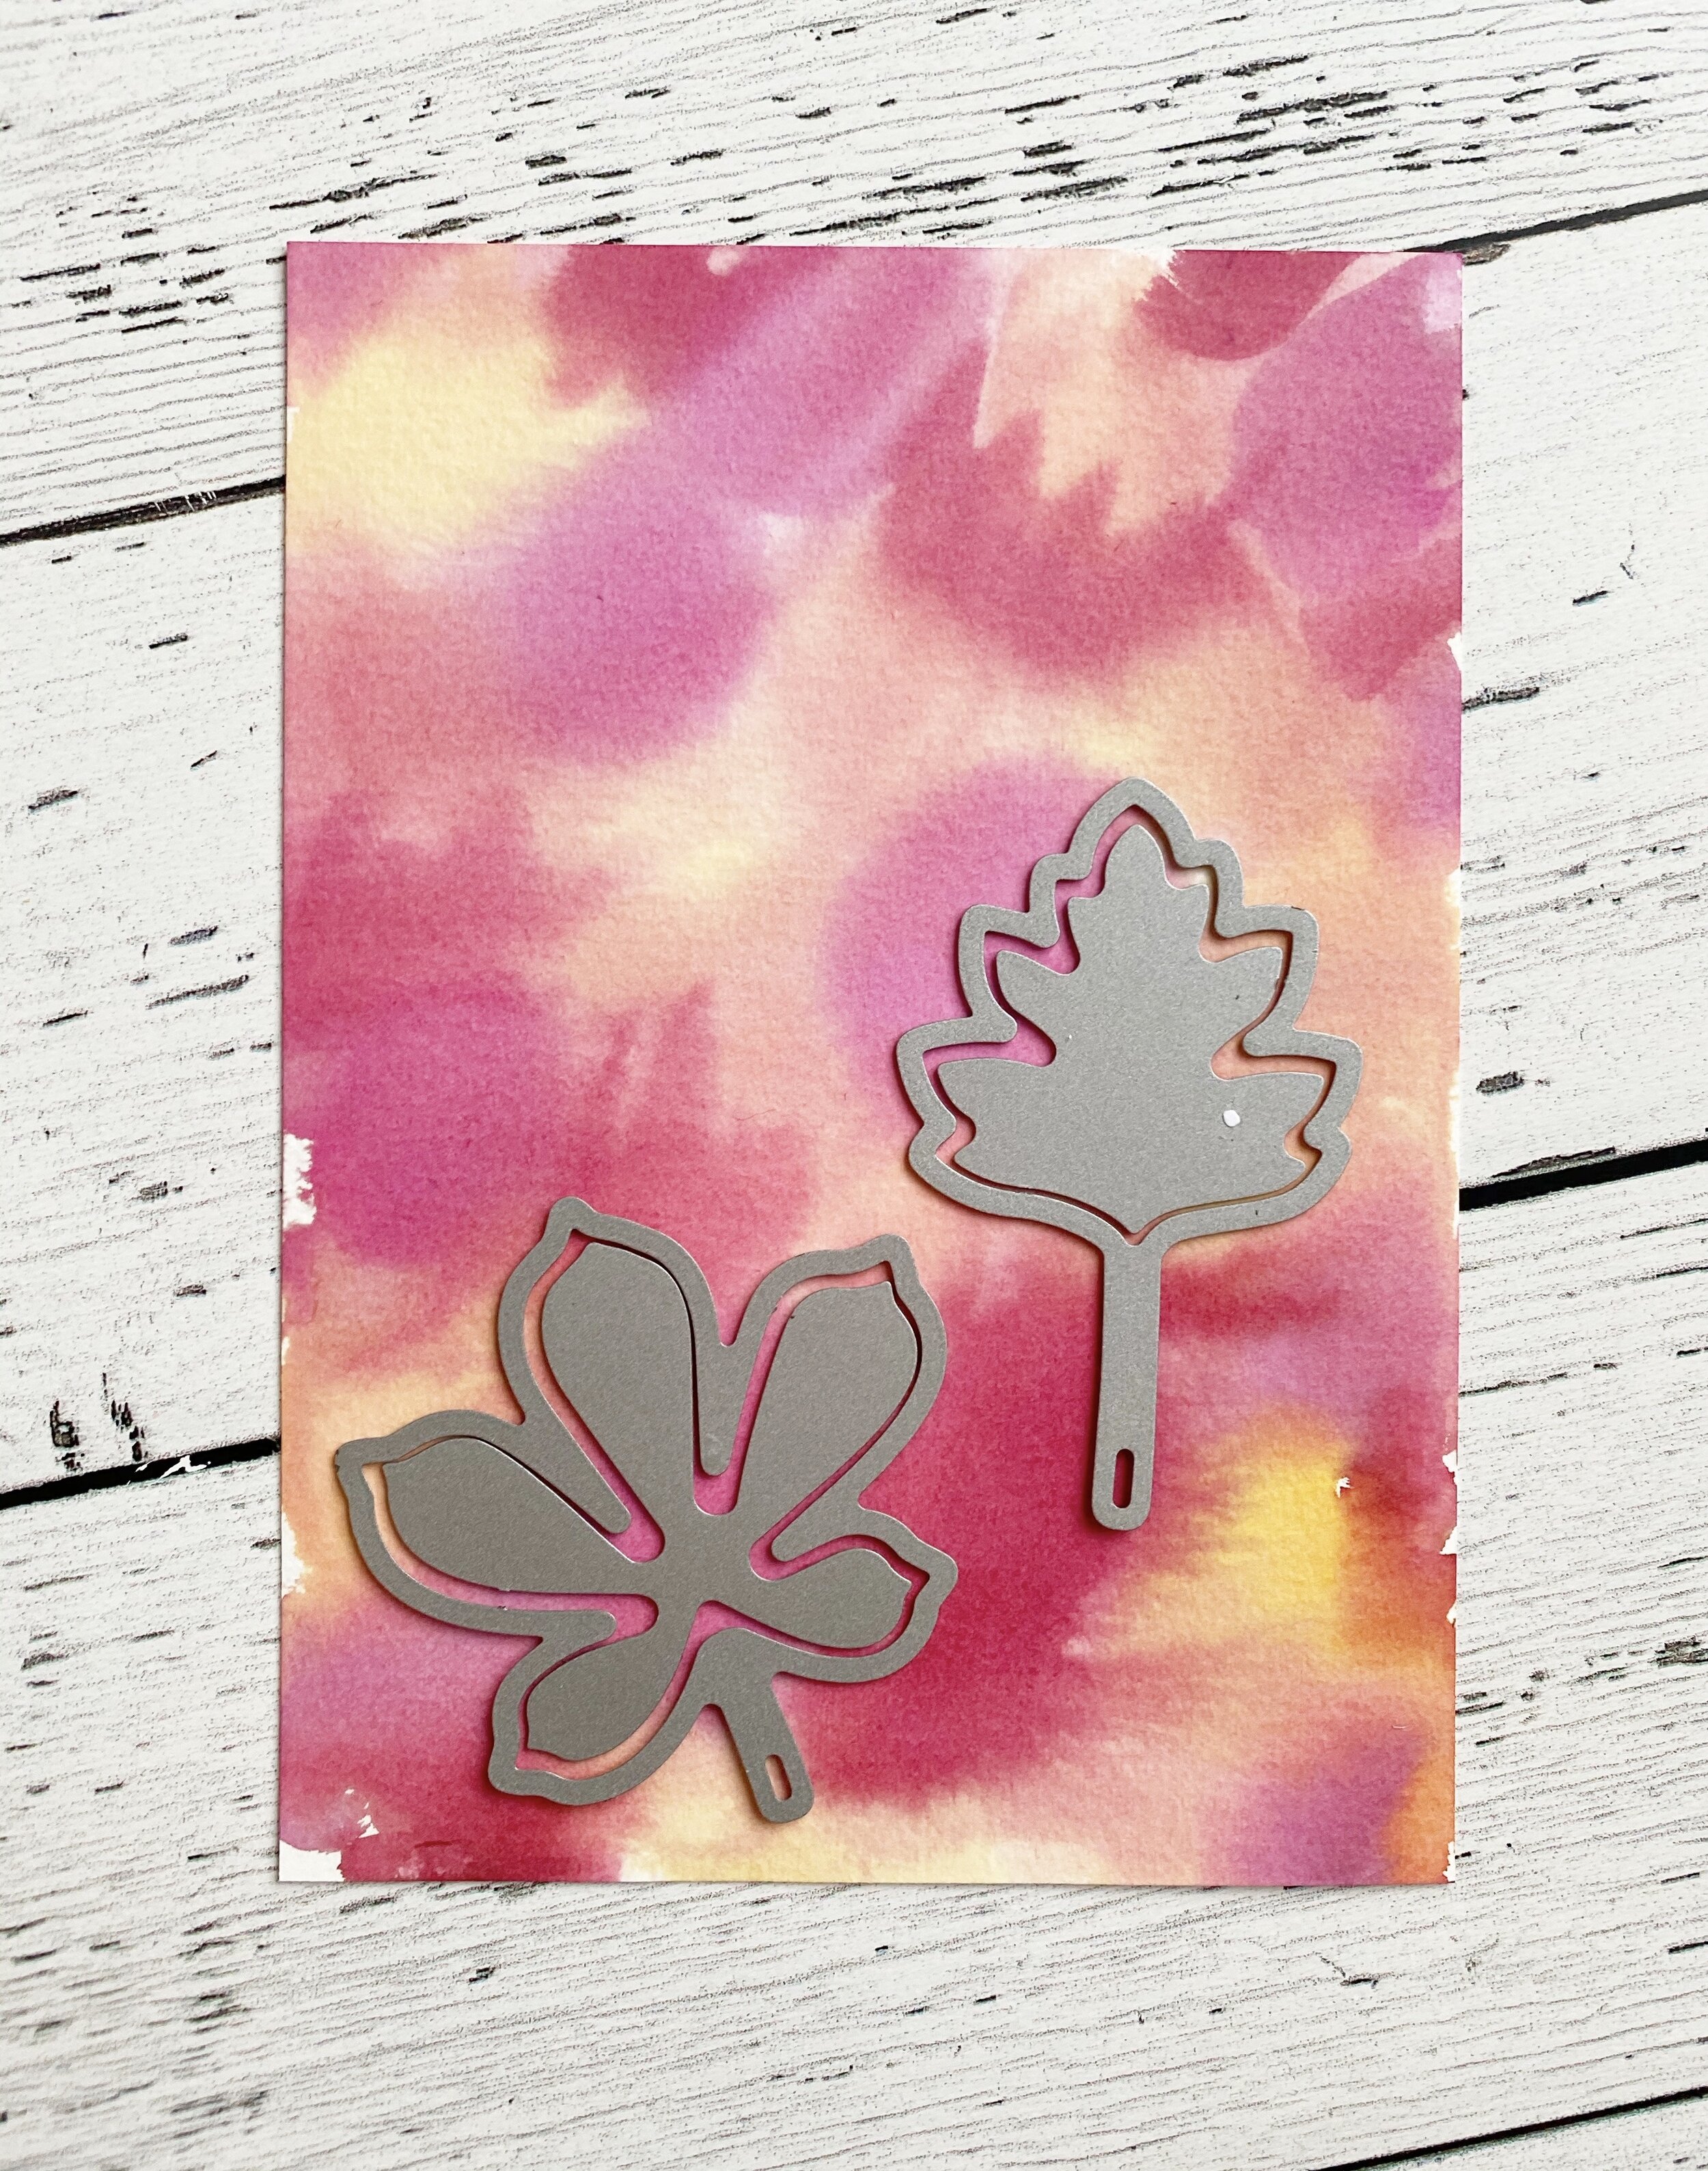
I chose the colors Cajun Craze, Rich Razzleberry, Merry Merlot and Pumpkin Pie. You will need a piece of water color paper, the large Water Painter Brush (I used the same one moving from light ink to dark ink), a Stampin’ Spritzer and the Stitched Leaves Dies.

Start by spritzing the water color paper with water and starts adding in your color. It may look a little weird but after you spritzer it one more time at the end and either let dry or use your heat tool it blends all the colors together. Cut out your desired leaf shapes for your project.

fullsizeoutput_12dc2.jpeg

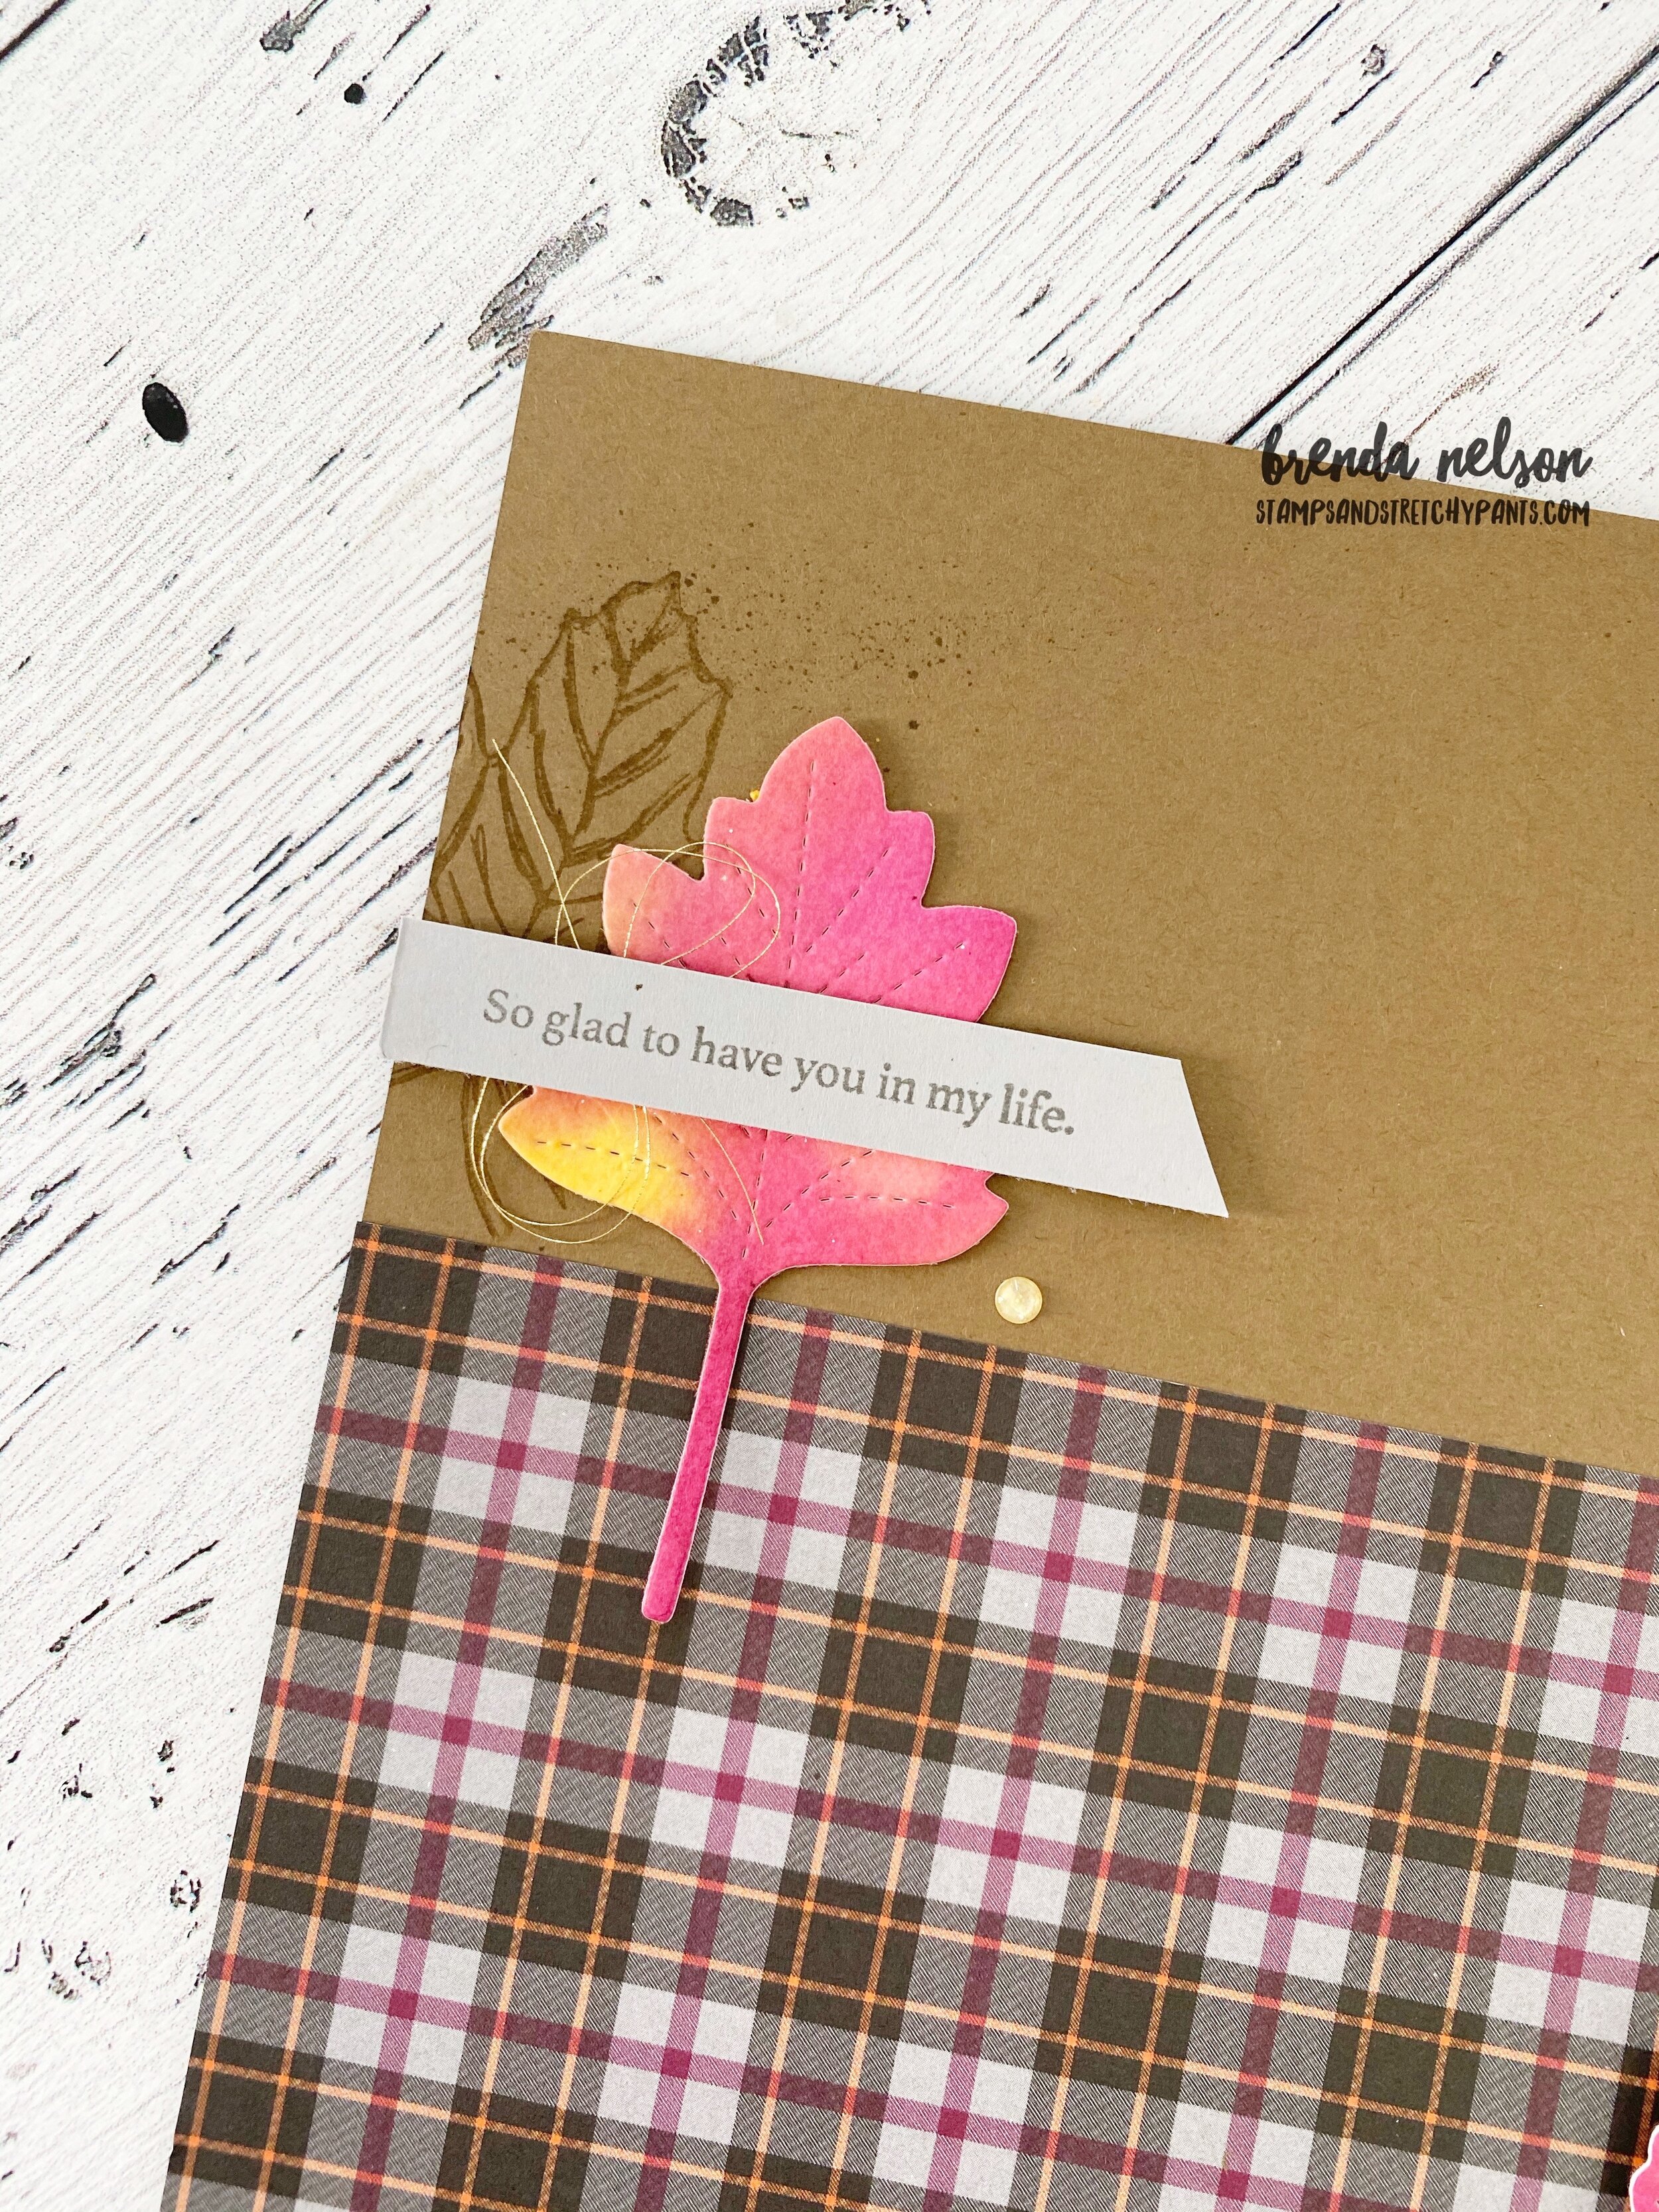
I also wanted to play off of the grey tone in the Plaid Tidings DSP with the photo mat and some grey leaves. The photo mat has little leaves stamped on it in Smoky Slate ink to coordinate with the paper. The stamp set I used is Banner Year, don’t overlook it at the back of the Handmade for You catalogue! pg 65! It has tons of potential!

I used the old school Rock’n Roll technique on my grey leaves. Stamp them in Smoky Slate and then ‘roll’ the edges in Basic Grey Ink.

I also pulled in the large maple leaf image from the Gather Together stamp set for some background stamping. And I love the stitched look of the leaves so I decided to use the Hippo & Friends dies to cut out the sentiment with a stitched detail.


When I am creating scrapbook pages I find the magic is all in the details. Adding in different threads, textures, embellishments, layering stamps and colors. This little corner is a perfect example!

If you are in Canada and want to recreate this page you can order all the supplies from my online store! Just click below to head right there!


fullsizeoutput_12dbe.jpeg

Thanks for hopping along with us this week as we are wrapping up August and heading into September. You can go back to see what Melissa has made if you are just joining in here or continuing hopping forward to see what Connie has designed! See you next week!

Create with Connie and Mary--Back to School!

Typically around this time of year I find myself thinking, wow, its time to start getting ready for school to start! And then I procrastinate on actually buying school supplies and getting anything organized. I mean, it’s not like my kids are even thinking about back to school, they are in summer mode. Even though its been a 5 month summer because of Covid!

fullsizeoutput_12d57.jpeg

So I was excited when this week’s theme was shared as ‘Back to School’ as putting my project together helped remind me I really need to get organized this year! I knew that I had some pictures of my kids that I had not scrapbooked yet as I never follow any kind of order when I decide what pictures to use. I am however, someone that regularly prints pictures—I have bins and bins of them that I have somewhat categorized and labelled. I am someone that almost always needs a photo to get my creative juices going!

 
final.jpg
 

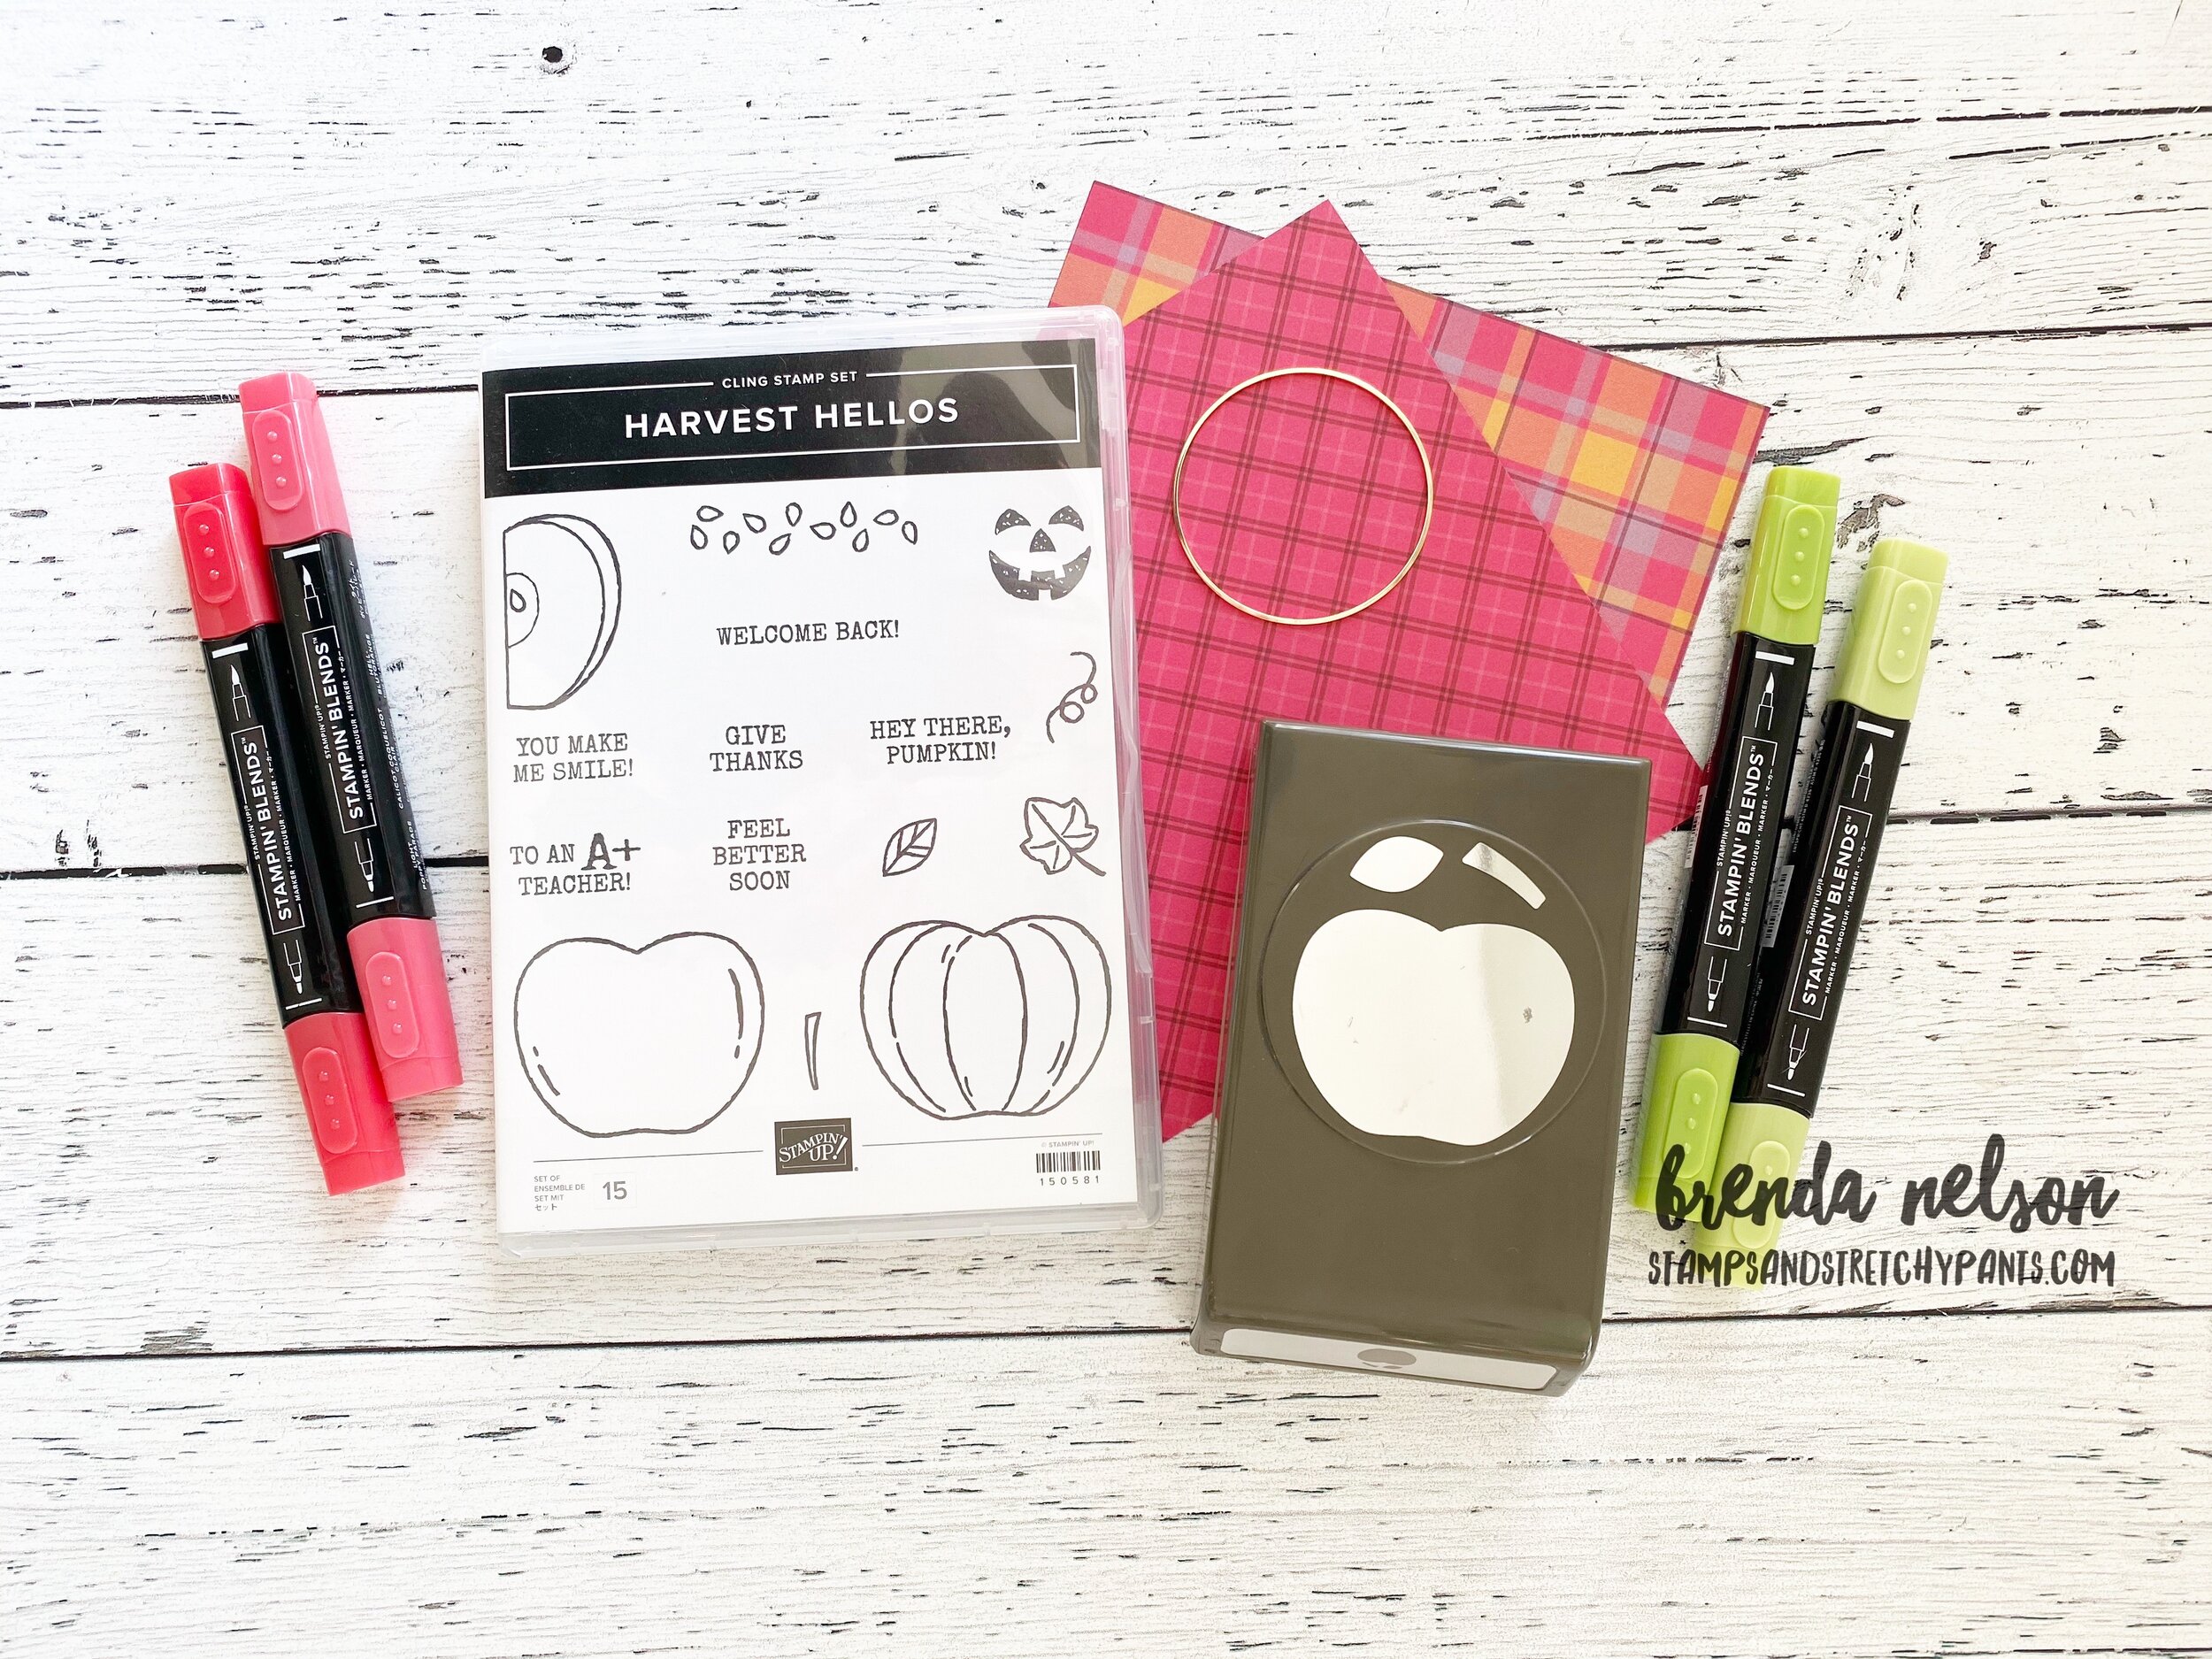
The Harvest Hellos and Apple Builder punch were my go to craft supplies to create this page! I have no idea why apples feel like back to school but they just do! I also knew that I wanted to incorporate the Plaid Tidings DSP as well as plaid feels like fall to me too.

This page actually didn’t require too many supplies like some of my scrapbook pages! I kept all of the phrases from the Bundle which I do find helps my stampin’ customers feel inspired to make a purchase, knowing they can make a page with one stamp …

This page actually didn’t require too many supplies like some of my scrapbook pages! I kept all of the phrases from the Bundle which I do find helps my stampin’ customers feel inspired to make a purchase, knowing they can make a page with one stamp set.

I coloured the apples in with my Stampin’ Blends using the Poppy Parade and Granny Apple Green. I also decided to use one of the gold hoops to create a little focal area on the left of the page. Because I was using three pictures, I made sure that each picture had a ‘phrase’ attached to it as well to help draw the eye across each photo. And a little background stampin’ and maker flicking helped fill in the right side of the page!

I added a little extra greenery from the Forever Fern bundle on the hoop and a little bit of Real Red ribbon

I added a little extra greenery from the Forever Fern bundle on the hoop and a little bit of Real Red ribbon

final.jpg

Thanks for hoping along with all of us again this week! And if you are new to our blog hop, we share a project every Saturday! So mark us on your calendar!

You can click BACK to see what Melissa has created and NEXT to see what Connie has crafted for us! She mentioned she was really excited about her project this week so I can’t wait to see it myself!

Around the World on Wednesday--We Are Shaking Things Up!

Happy Wednesday! Thank you for travelling around the world on this virtual blog hop! I love how we have so many people participating from the many corners of the crafting world! So thank you for hopping along with us! I live in Edmonton, Alberta, Canada!

This month, our theme was SHAKE THINGS UP—-I took this literally, haha! To create a shaker card! Its actually been a while since I have played with this fun card style.

91442295_10216484369808661_2887014979863576576_n.jpg

I actually wanted to create a ‘simple’ shaker card and the easiest way to do this is to use our clear envelopes. You can find these in the catty with our medium envelopes on page 153. I use them for card pieces (my stampers have lovingly referred to these bags as their Brenda Bag!), as a glossy surface for water colouring techniques and to create shaker cards!

final 74.JPG

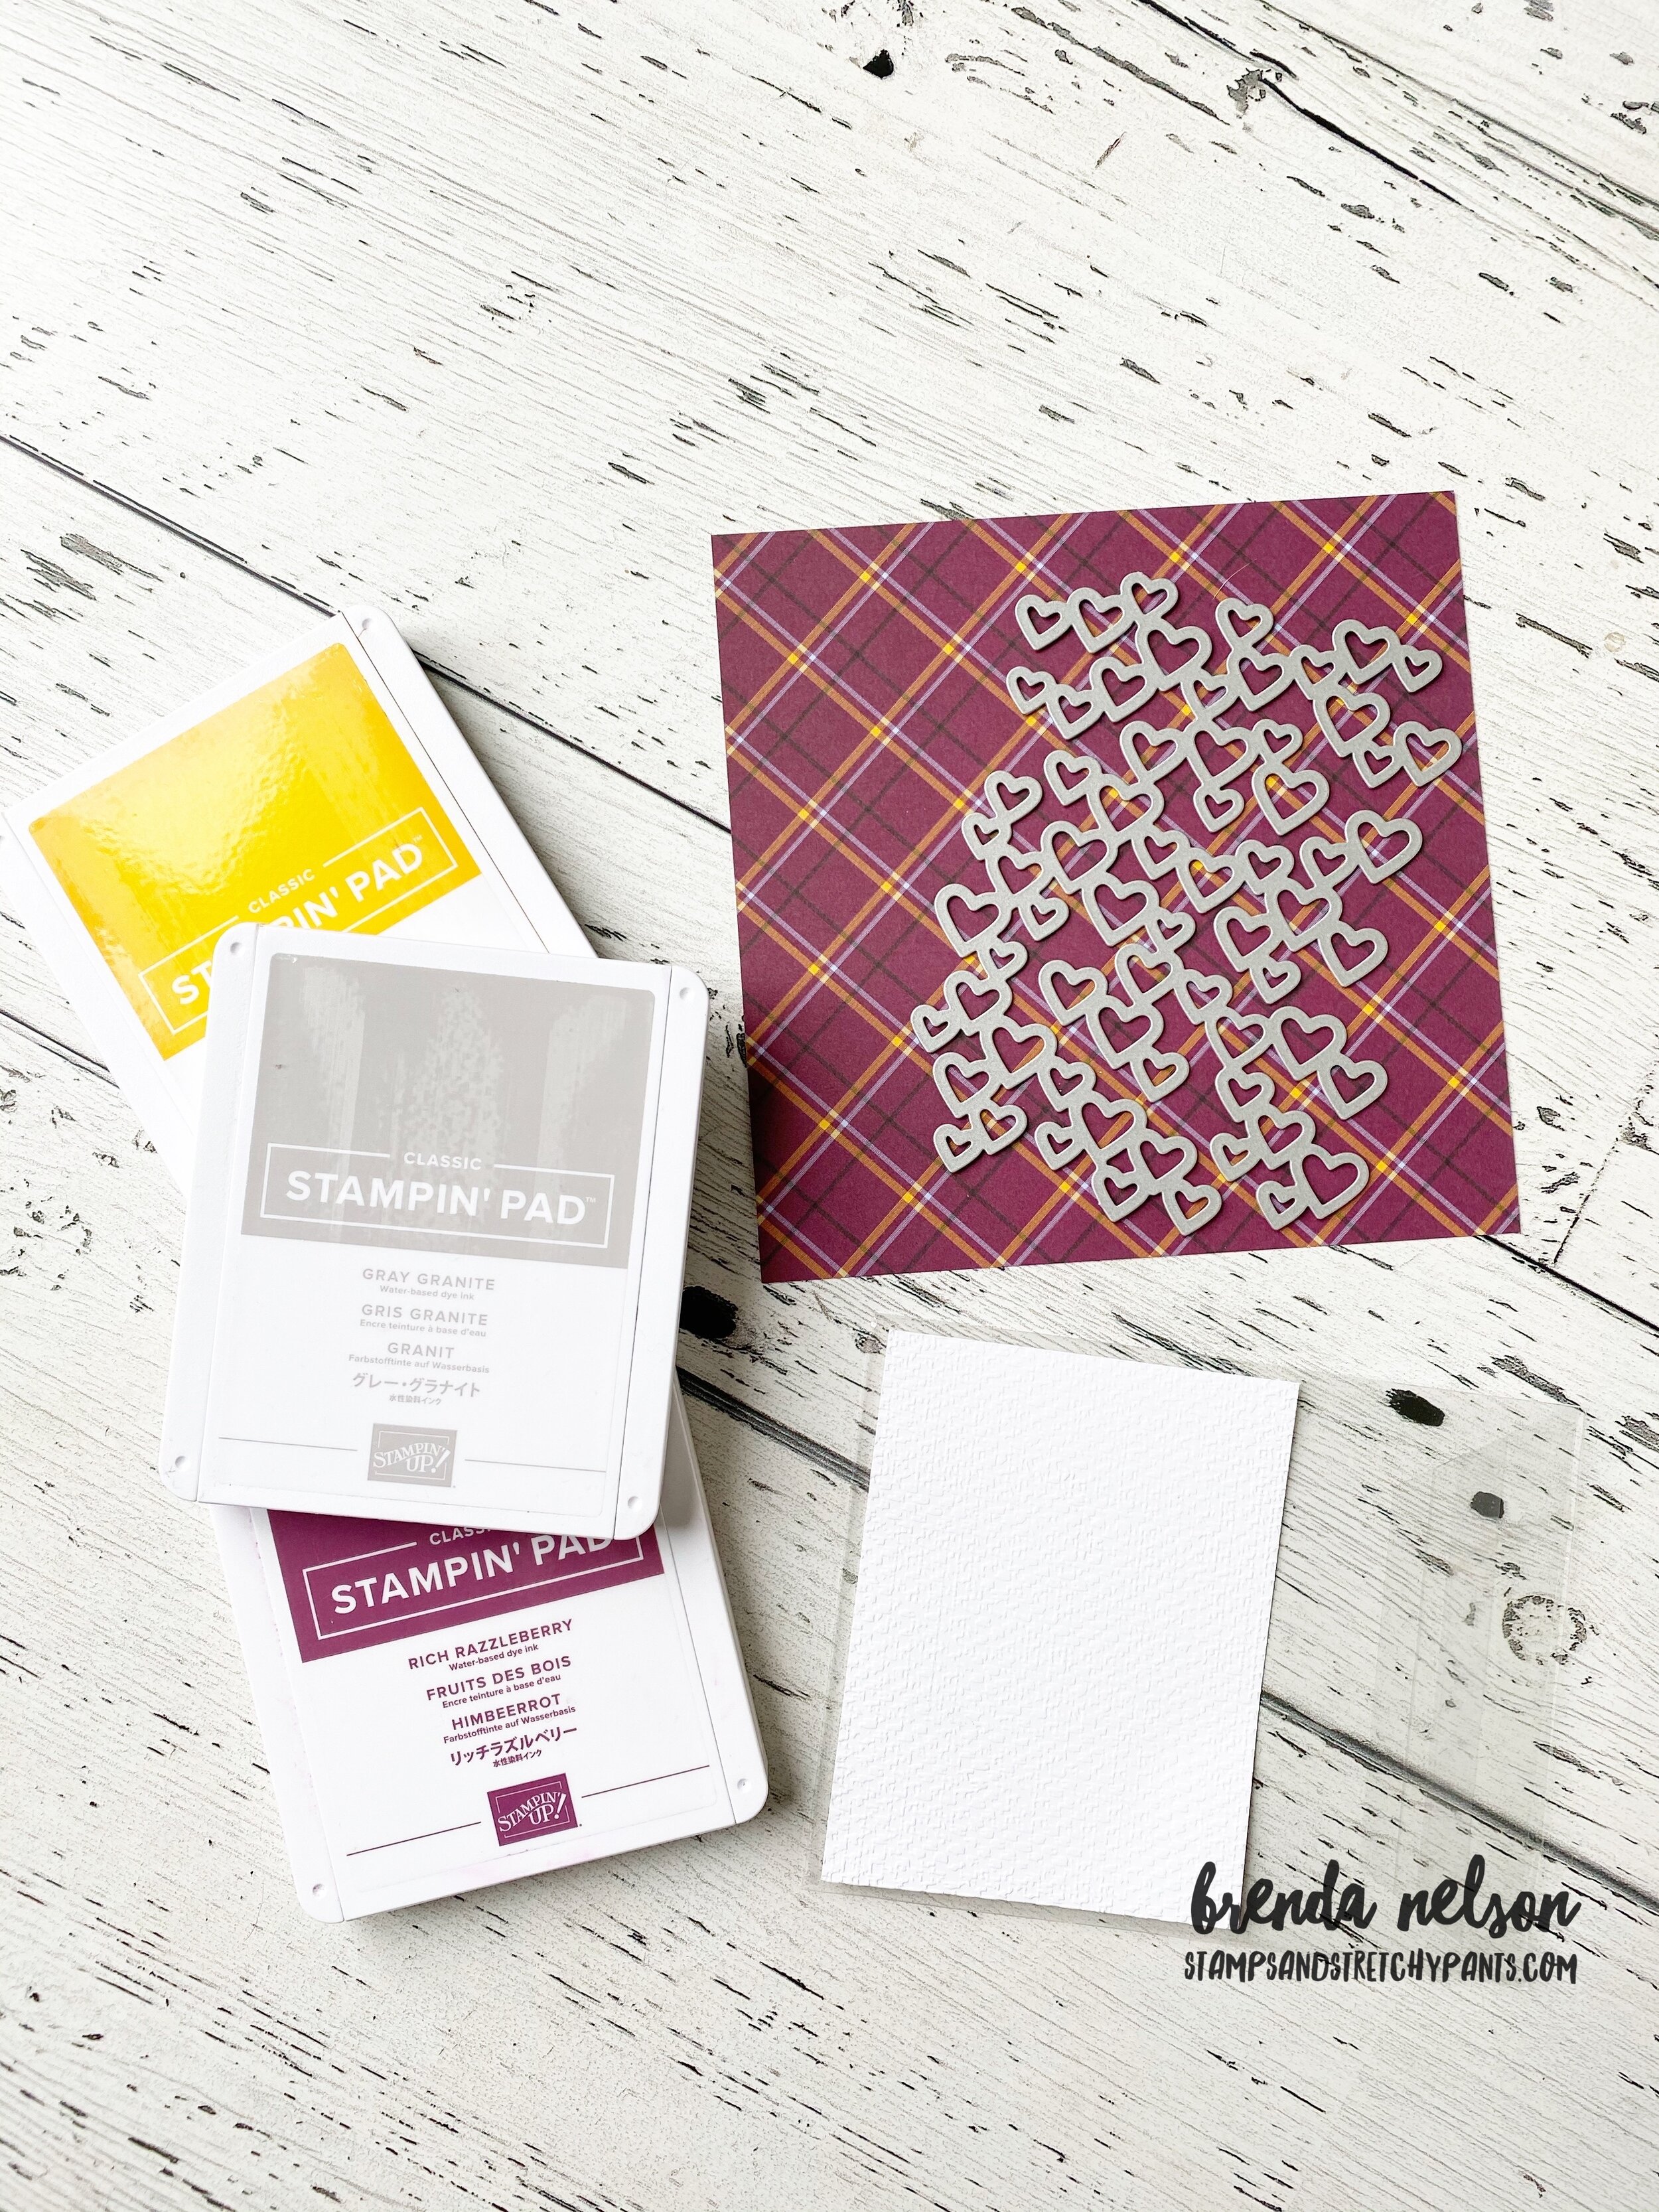
I took one of these clear envelopes and stuffed it with a piece of Whisper White card stock that was run through the NEW Stampin’ Cut & Emboss Machine with the Tasteful Textile 3D embossing folder. Ok, let’s stop right there! The NEW machine is a dream, its like butter! Even my stampers commented how smoothly things run through and how easy it is to use with all of the plaforms being labelled! So well done, SU, well done!

Now I knew I needed some filler for my shaker card and I ended up using the Detailed Hearts Die on some Gold Foil paper. I was thinking convenience people, haha! I knew this die would cut out a ton of hearts and would leave me with a fun piece I could use on a future project! I dropped all of my hearts into the clear envelope, folded it in half and sealed it shut. Seriously, this could NOT be easier and is such a fun way to create a shaker card, especially for new stampers!

I really wanted to play with some new stamps so I decided to embellish the front of my card with the Love of Leaves Bundle and the Plaid Tidings DSP. The little ‘hello’ is stamped and embossed in gold and is then cut out using the itty bitty tag that is a part of the Gift Bow Builder punch. Its literally too cute for words!

I love all of the texture you get with the Love of Leaves stamp set.  The dies are fabulous as you can use them to add a stitched detail to your leaves if you choose or just to cut out the image! You can use my Hostess Code if you want to add them t…

I love all of the texture you get with the Love of Leaves stamp set. The dies are fabulous as you can use them to add a stitched detail to your leaves if you choose or just to cut out the image! You can use my Hostess Code if you want to add them to an order!

Next up on your virtual world tour is to visit Tricia Butts from the United States. I can’ wait to see what she has created for us, I know you will be inspired! Just click on the Next Blog and it will take you there! Have a wonderful day!