Create with Connie and Mary--Home for the Holidays!
/Hello and welcome to our weekly Saturday Blog Hop! This week we are sharing projects with the theme “Home for the Holidays” so naturally I thought of the Trimming the Town suite as it has stamp images to create a bunch of different homes!
Recently my team had a virtual meeting and we made a Cube Card together! Have you tried this fun fold style yet? I actually thought it would be complicated but its actually surprisingly easy!
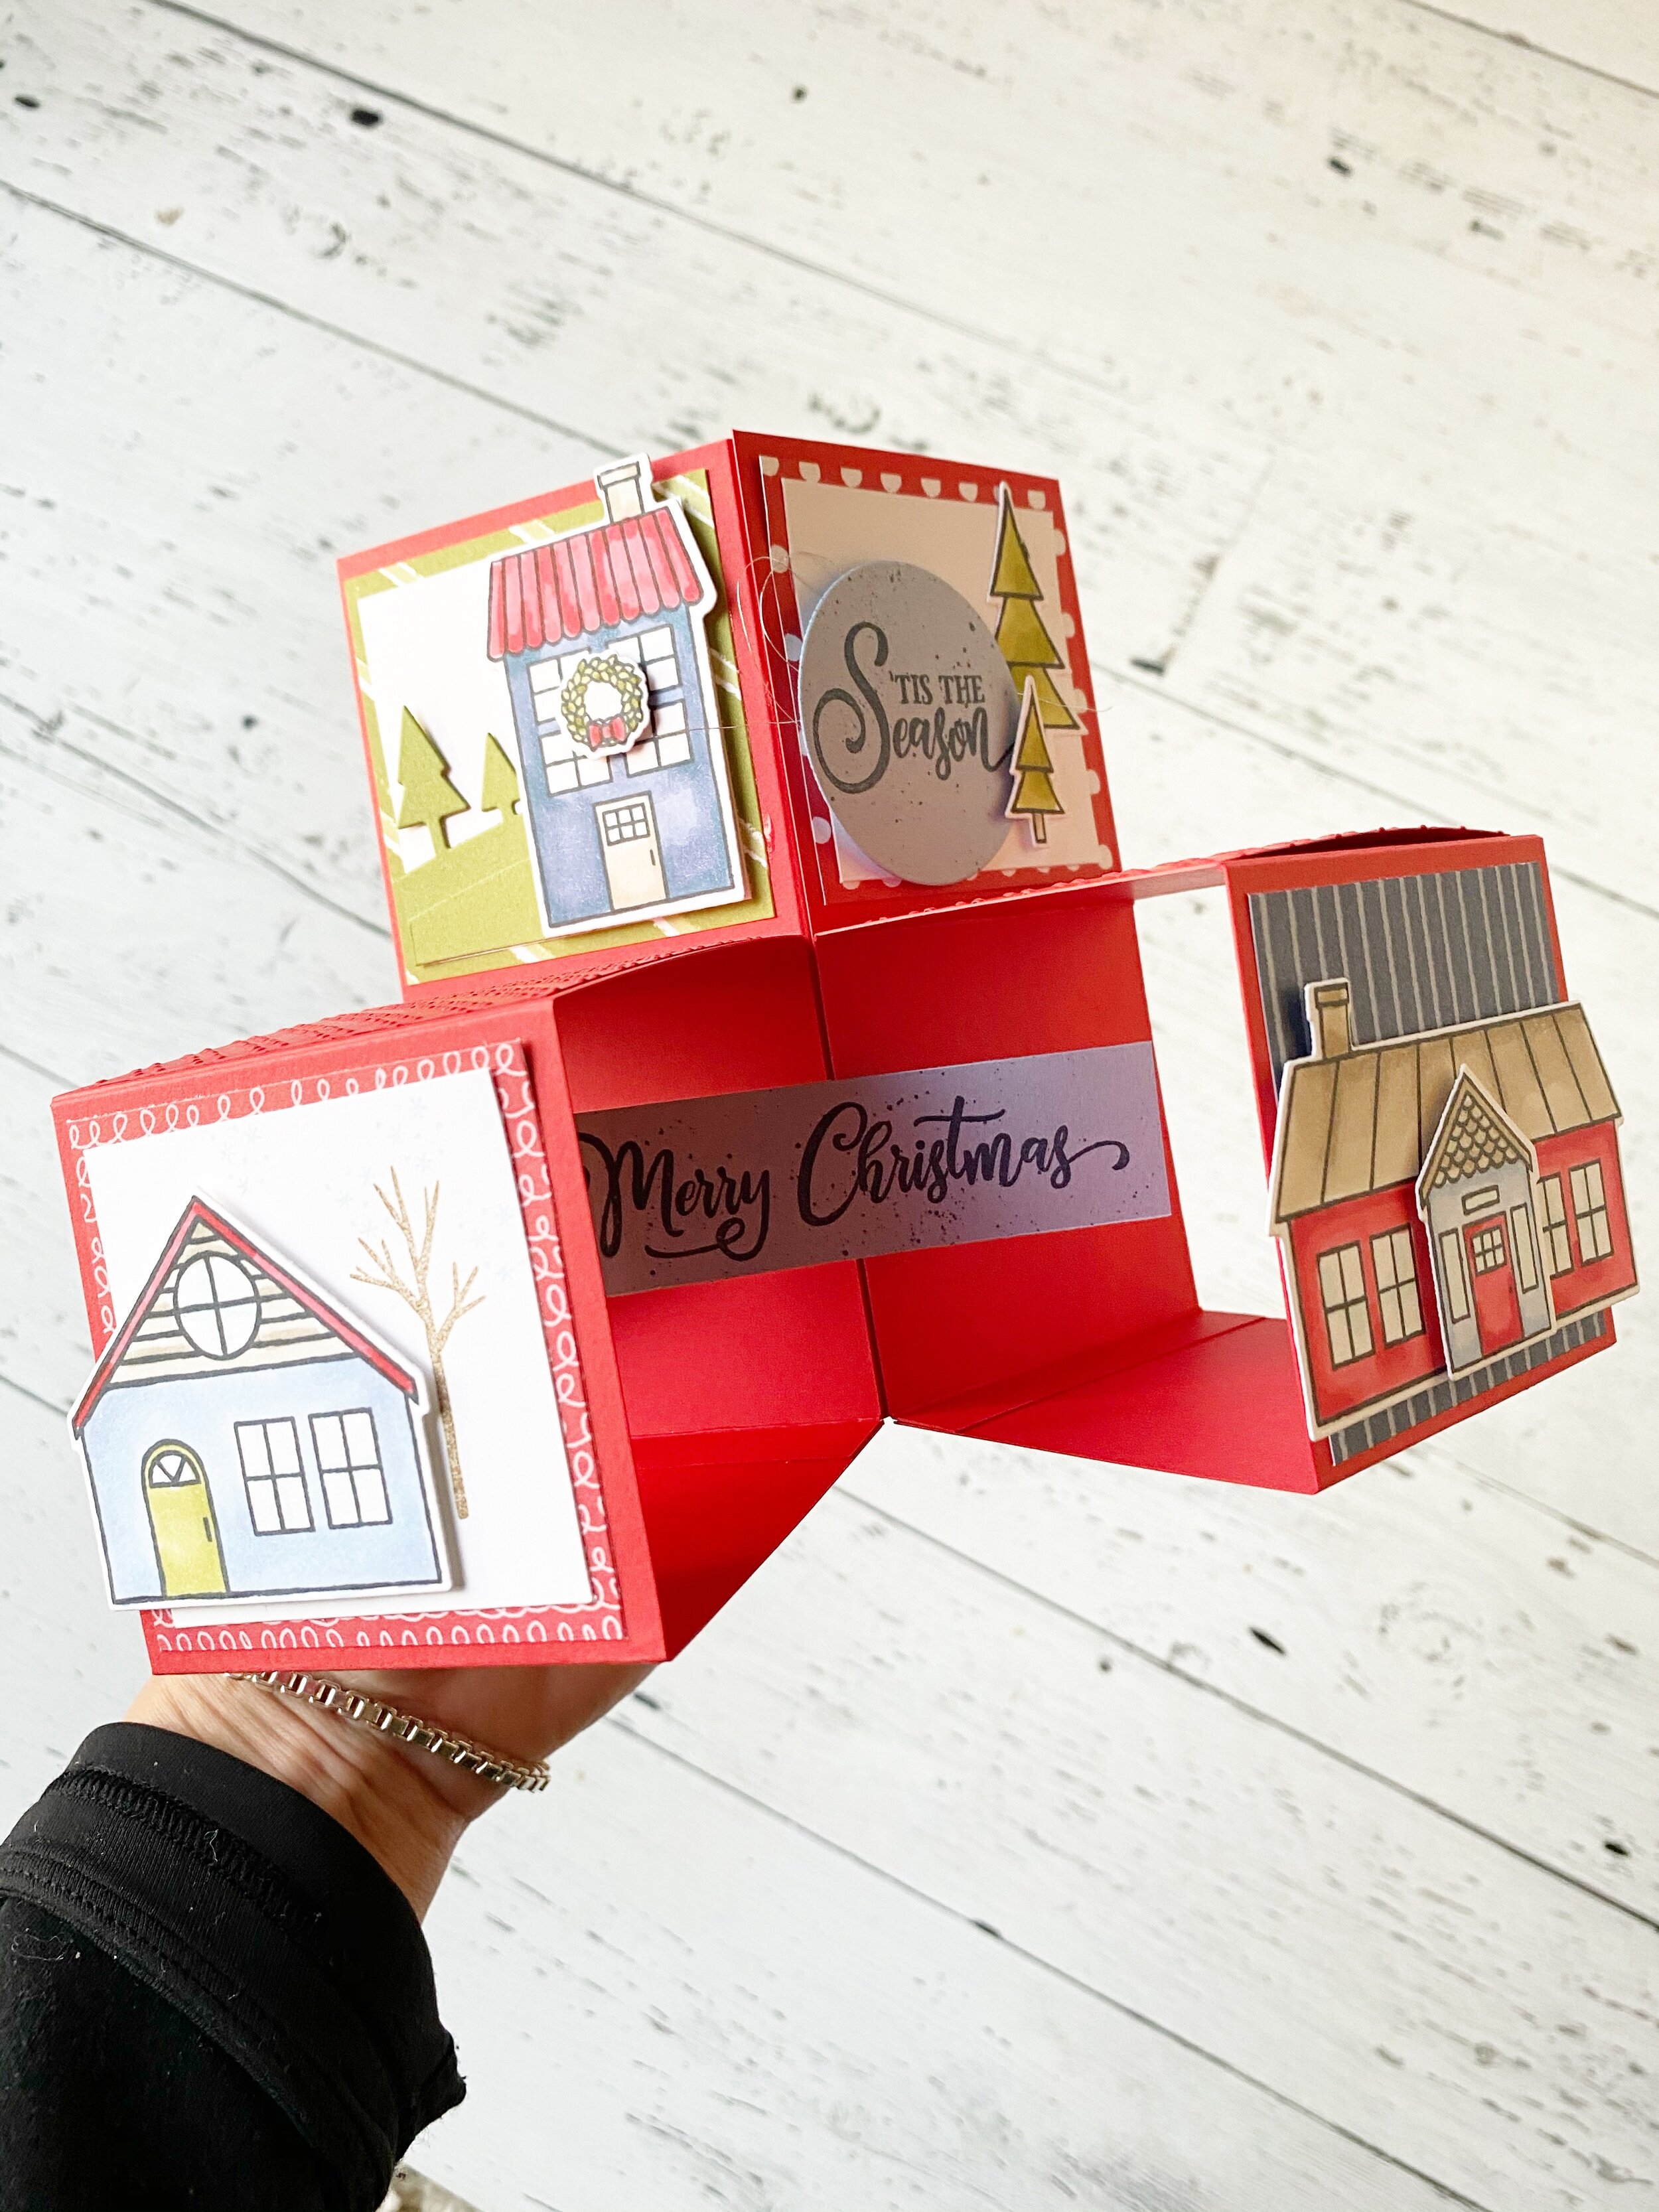
This is my ‘Home for the Holidays’ themed Cube Card! I really enjoyed designing the panels and putting this project together.
To create a cube card you will need a piece of 12x12 card stock. I used Poppy Parade as my base because its coordinated with the Trimming the Town DSP.
On your trimmer cut down one side of the 12x12 to 11 1/2 inches. On this side (11 1/2) SCORE at 2 3/4, 5 1/2, 8 1/4 and 11.
Rotate the paper so your 12x12 length is across the top and CUT at 2 3/4, 2 3/4 and 5 1/2. Thus creating 3 strips of paper—-2 will be at 2 3/4 width and one at 5 1/2 width
.
You will notice that you have a 1/2 inch section and this will be where you will add your adhesive to fold your paper into cubes. You will have two cubes that are 2 3/4 wide and one that is 5 1/2. The largest one is the base.
You will attach each of the smaller cubes to the largest cube, ONLY adding adhesive to the bottom cube. If you glue the whole thing is will not pop up into the cube card shape.
Hopefully this visual helps you as well. There are a bunch of YouTube videos you can also watch on how to create a Cube Card.
Once you have the basic design mastered, decorating and embellishing is all up to you! I decided to mix up some of the panels with DSP and card stock that I ran through the Wrapped in Texture embossing folders from the Heartwarming Hugs suite.
I added in Merry Christmas and ‘Tis the Season from the Tag Buffet stamp set.
I hope you are inspired to give this fun Cube Card design a try! My team had a lot of fun putting its together and I challenged them to share their finished design on our group page.
I can’t wait to see what the other gals create this week! You can go BACK to see what Melissa has designed and NEXT to see what Connie has created!


