Color Fusers--August Blog Hop!

IMG_0110.jpg

Hello friends and welcome to another fun hope featuring the Color Fusers Design team and this awesome color combo! I really love purples and Just Jade has been permanently living on my craft table lately so I was super excited to create something with these four colors!

final 13.jpg

This card is all about the layers beginning with a base of Basic Grey! I cut a base layer out of Basic Grey as well and stamped some little flowers from the In Bloom stamp set in Basic Grey ink. A great tip for background stamping is to add all of the images , in this case little bitty flowers, on the block at once! It is a great time saver!

final 14.jpg

This card is an eclectic mix of items from the Annual Catalogue, the July-January Holiday Catty and Sale-a-bration! I just couldn’t resist using a little bit of something from all three of our publications!

The next layer on top of the Basic Grey is some Just Jade DSP from the Penguin Playmates collection in the Sale a bration catalogue. Off set to that I added some Basic White card stock that I ran through the new Timber 3D Embossing Folder from the July-January Catty and lastly, the Highland Heather DSP print is from the Hand-Penned collection.

final 10.jpg
 

Have you ordered this new Highland Heather 1/2 Grosgrain Ribbon yet? If not add it to your cart now! I love the shimmer to this ribbon and its easy to fold and tie and was the perfect add on behind the sentiment “Congrats You’re so Fancy Now”.

I die cut flowers from the Pierced Blooms dies in Gorgeous Grape and Highland Heather. A few of the purple toned pearls from the Pastel Pearls were an awesome finishing touch!

I also die cut some leaves for a little more Just Jade using the In Symmetry DSP and the Pierced Blooms dies.

final 8.jpg

I hope this card inspires you to play around with this fun color combo. If you look through our many fantastic Designer Series Papers you will see how many awesome options you have to create with!

Up next on the Hop is Melanie! I love her style and am always inspired by her creations! You can visit her next by clicking on the button below!

If you are just joining in her too you can always go back and see what Bonnie has designed as well! Either way, make sure you go all the way around our Design Team!

Color Fusers-February 2021

Hello friends! Welcome to another Color Fusers Blog Hop! I am so excited to be hoping with this talented group of ladies for 2021, especially with these color combos forcing me out of my comfort zone!

The Color Challenge for February includes Gorgeous Grape, Magenta Madness, and Bermuda Bay—three very very bright colors! I was a little intimidated by this color combo!

02_2021 Graphic.jpg

Because these are such bold vibrant colors I new that I needed to begin on a pretty neutral base so I went with Basic White card stock for my base. I had some strips of these colors in my scrap bin which gave me an idea for incorporating them into the background.

The strips of card stock are actually all different random widths which I think helped achieved a whimsical background!

The strips of card stock are actually all different random widths which I think helped achieved a whimsical background!

I decided to use the Pretty Perennials Bundle on this card project as I haven’t had much of an opportunity to stamp with it quite yet. I stamped some of the images from the stamp set on the Magenta Madness and Gorgeous Grape strips on the coordinating ink color.

I really wanted the colors to be the focal point of this card so I used Basic White, Vellum and the new Pearlescent Specialty Paper to embellish the card with flowers and leaves from the Perennial Petals Dies.


The flower on the top right is on a Pearlescent base with Basic White layer on top and Opal Round.

The main flower is on a Basic White base with a Pearlescent layer on top and a large Opal Round in the center.

I cut apart the large vellum leaf/sprig to add in few more sprigs.

final 13.jpg

The word ‘Happy’ is stamped in White Craft Ink and embossed with White Embossing Powder on Bermuda Bay card stock. You will need to hand trim this word as the die set does not include a die to cut it out.

“Sending Lots of Happy” is stamped on another strip of Magenta Madness in the coordinating ink. Both of the sentiments are popped up with Dimensionals.

I hope you are inspired to create a fun project using this color combo yourself!

You can visit Melissa next to see her amazing creation! I know you will be wowed!

Create with Connie and Mary--Pile it on!

Hello friends! This week our theme is “Pile it on” which means layers and embellishments and all the stuff you can possibly pile onto one card! I was excited about this challenge and knew that I wanted to use the new Sweet Ice Cream bundle.

Design Team.jpg

Being on the Design Team is tons of fun as it challenges me to create new things and play around each week. I knew I wanted to create a soft background as my first layer so used the new Blending Brush with Seaside Spray ink.

final.jpg

After I had the background a nice light blue I stamped “Treat Yourself” in the same ink color (Seaside Spray) and then took my ink pad and water painter to create a spray of ink. I really piled on the elements for this first layer!

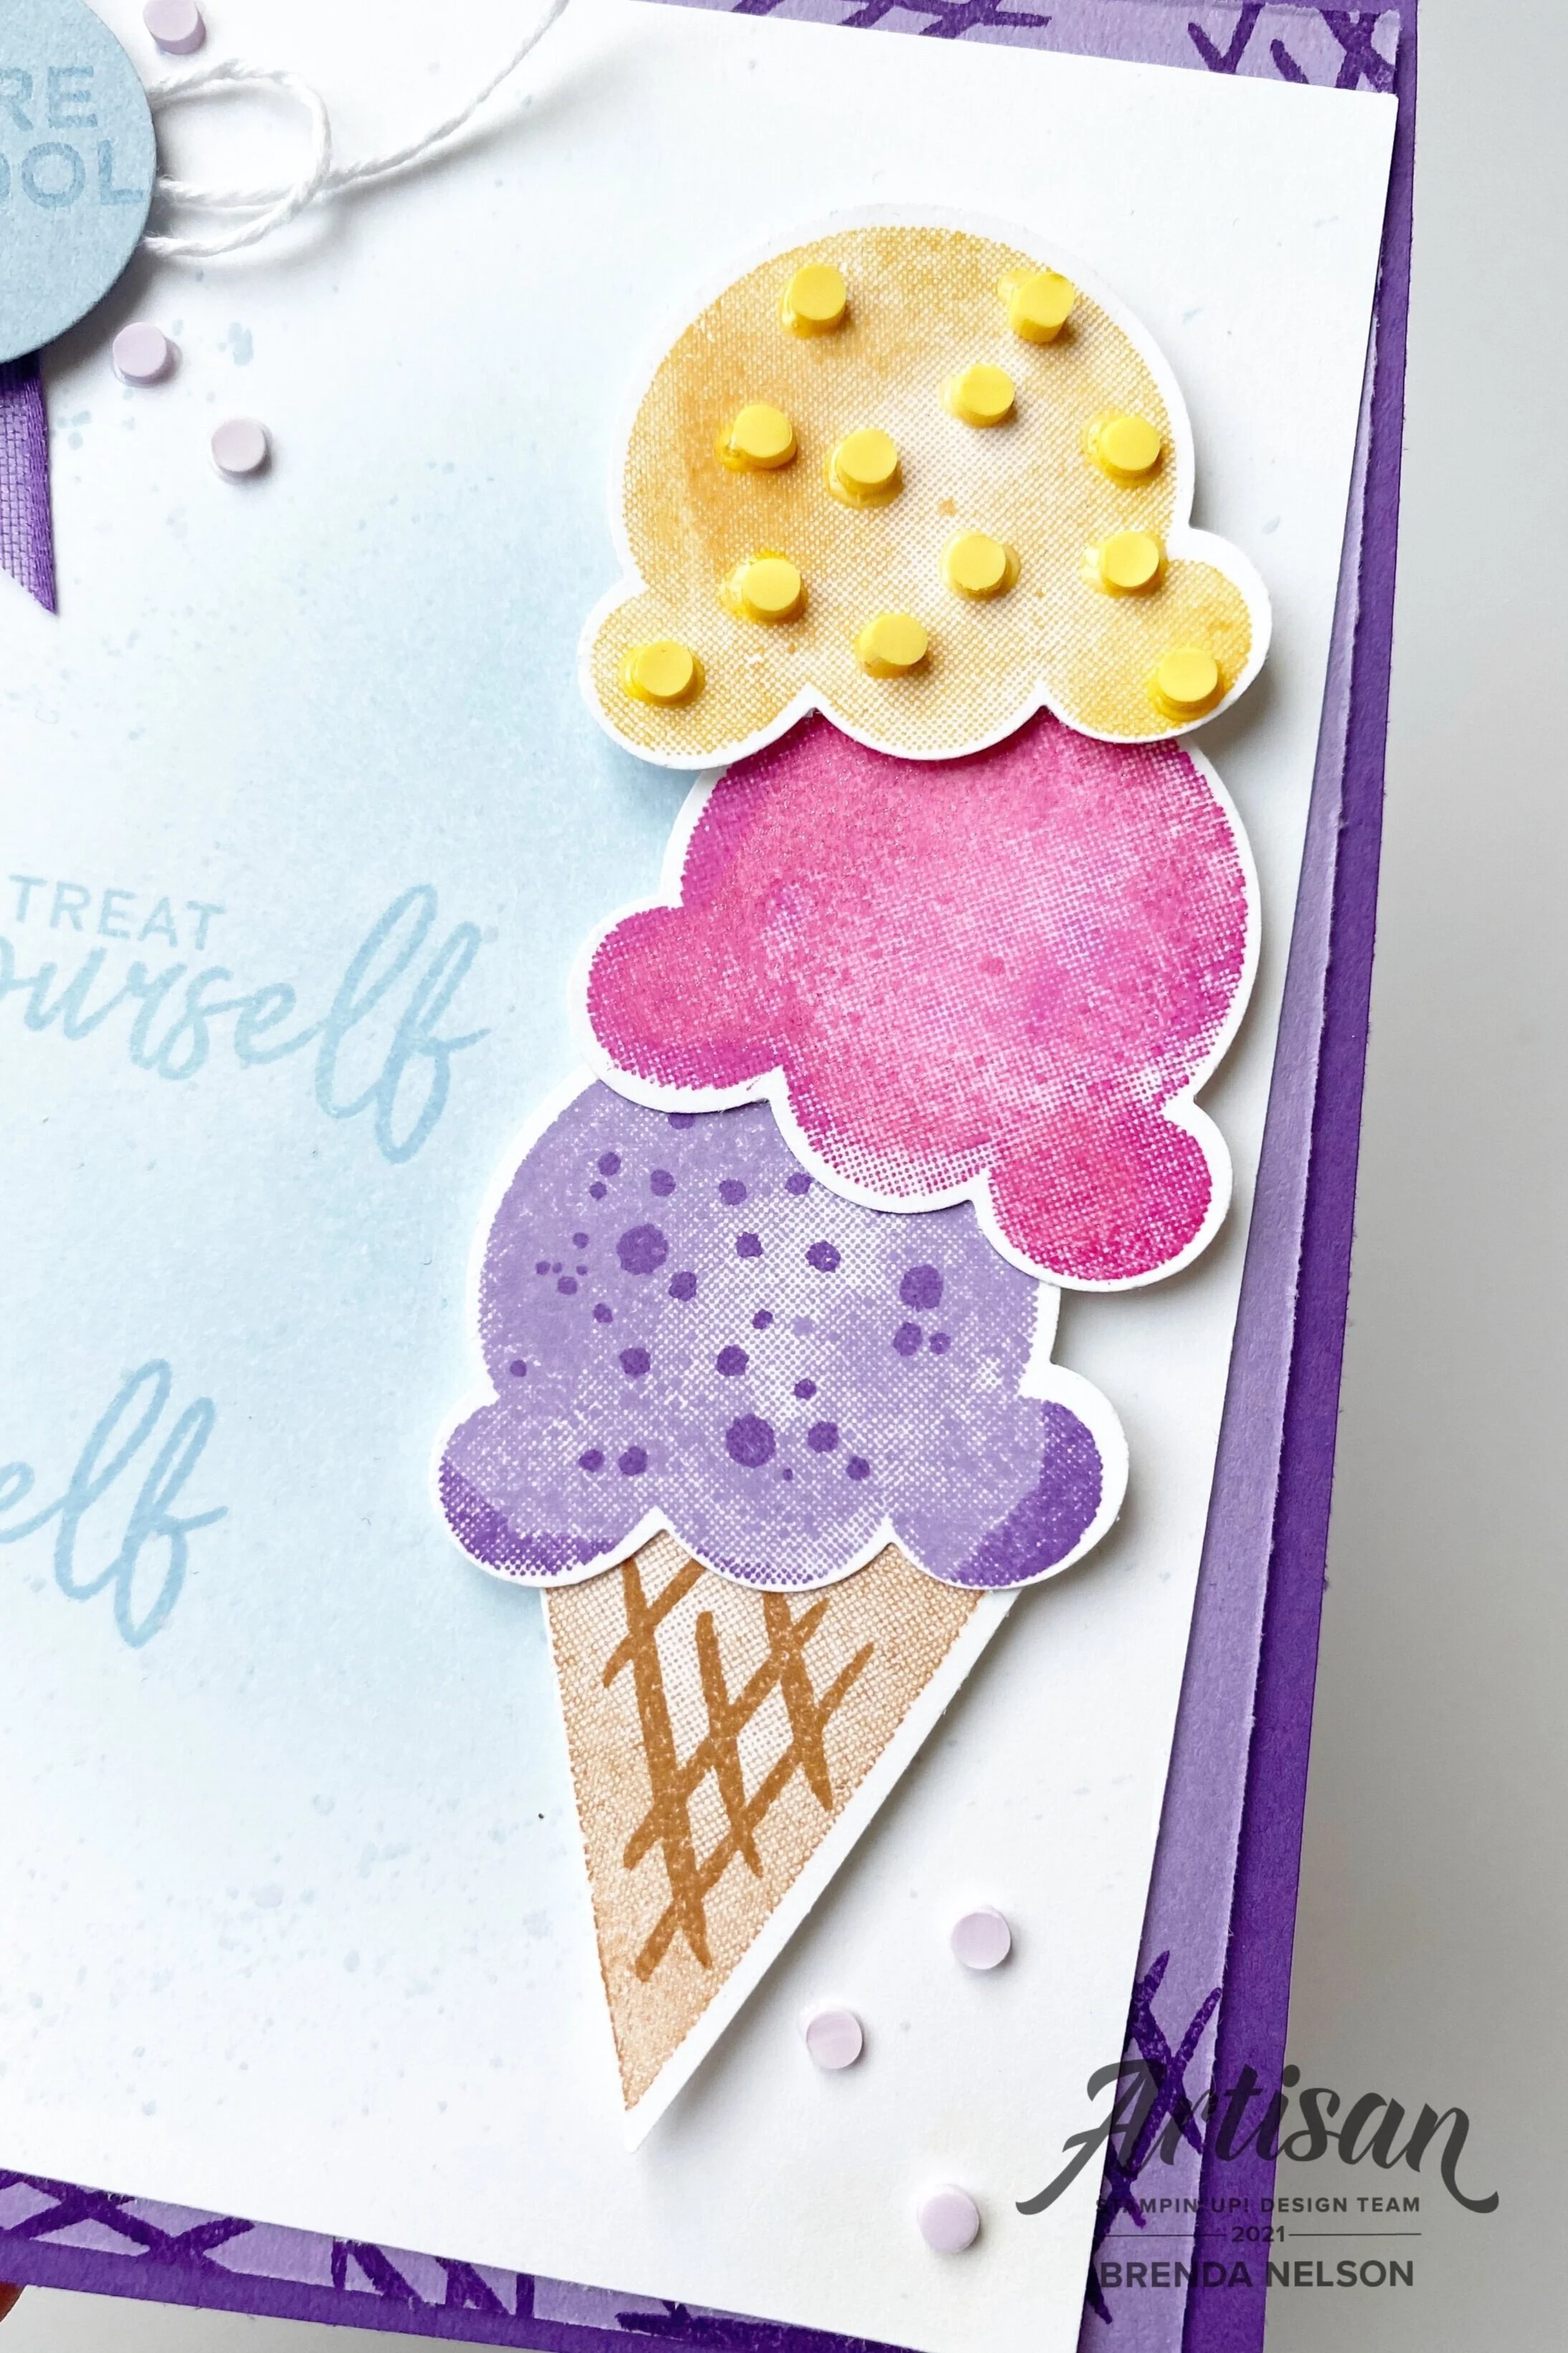
Creating the stacked ice cream cone was alot of fun. I started with the cone and Cinnamon Cider ink. The triangle of the cone is stamped off so it is a tone lighter than the waffle layer added on top. I love to get my icecream in a waffle cone, don’t you?


For each of the ice cream flavors (colors) I used two ink colors and a rock’n roll technique to blend them.

For the top layer I used Mango Melody and then rolled the stamp edges around on the Crushed Curry ink pad.

I added as many of the teeny yellow Ice Cream Corner Sprinkles as I could on this layer!

The middle ice cream scoop is Magenta Madness and Melon Mambo with some Wink of Stella on top.

final+%281%29.jpg

The first scoop is Highland Heather and Gorgeous Grape with some Gorgeous Grape sprinkles stamped on top. I added a few of the Purple Posy Ice Cream Corner Sprinkles around the base of the of the cone. These are easily applied with the Fine Tip Glue Pen.

final (3).jpg

I added a bit of the Gorgeous Grape 3/8 Sheer Ribbon (found in the Hydrangea Hill Suite) to the top left corner of the card. I stamped “You’re Cool” in Seaside Spray ink on the coordinating card stock color. A little bit of white twine from the Snail Mail Twine Combo pack was as added touch along with a few more of the Purple Posy Ice Cream Corner Sprinkles.

I also used the waffle stamp on the HIghland Heather card stock layer using Gorgeous Grape ink. It just gave this layer a bit of added interest instead of leaving it plain. The base of this card is Gorgeous Grape. I hope you love this project as much as I do! It actually has quite a few steps once you break it down.

Can’t wait to see what Melissa (BACK) and Connie (NEXT) have to share with us this week!